|
|
Post by plumbo6 on Feb 22, 2011 10:38:46 GMT -5
|
|
|
|
Post by Full-Throttle on Feb 22, 2011 14:12:30 GMT -5
Looks great. Such a huge improvement. I've been meaning to do this to my intake plenum.
|
|
|
|
Post by plumbo6 on Feb 22, 2011 16:56:22 GMT -5
Thanx  took me 3 houers  |
|
eagletalon
New Member
 Central Florida Chapter Member
LE
Posts: 170
|
Post by eagletalon on Feb 22, 2011 17:41:23 GMT -5
Wow little things like that make such a big improvement!!! Good job man!!!
|
|
|
|
Post by Chino Built on Feb 22, 2011 18:03:52 GMT -5
nice job... my valve cover  |
|
|
|
Post by Chino Built on Feb 22, 2011 18:04:28 GMT -5
|
|
|
|
Post by beetlevegas on Feb 26, 2011 1:26:24 GMT -5
That looks good man. And yes take your time people.
|
|
|
|
Post by plumbo6 on Feb 26, 2011 4:07:05 GMT -5
|
|
Wickedtoyz
New Member
 Don't underestimate what you don't know
Posts: 1
|
Post by Wickedtoyz on Mar 16, 2011 13:37:29 GMT -5
looks good!
|
|
|
|
Post by NEGRO - 7/21/83 - 9/15/13 RIP on Mar 16, 2011 18:15:13 GMT -5
Looks great!!!
|
|
|
|
Post by plumbo6 on Mar 23, 2011 17:13:58 GMT -5
thanx  |
|
jay
New Member
 Central Florida Chapter Member
Posts: 39
|
Post by jay on Jun 1, 2011 7:56:20 GMT -5
not realy a valve cover but this is the old rad in my wagon.... 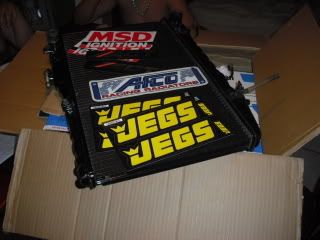 this is how i got it...nicely packed 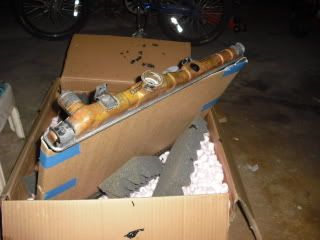 and here we go... 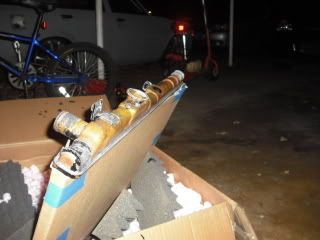 sprayed it with paint remover and this is what i got   this is after the first round of sanding .... 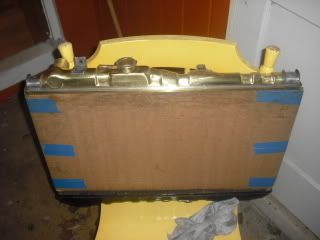 second round of sanding... and after the 3rd round then a hell of a lot of buffing we have the radiator 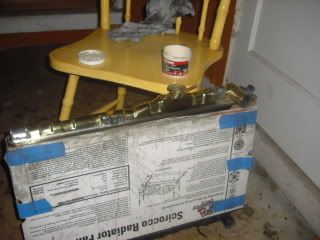 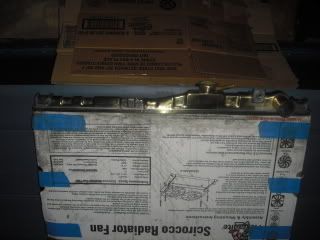 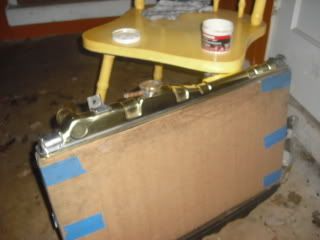 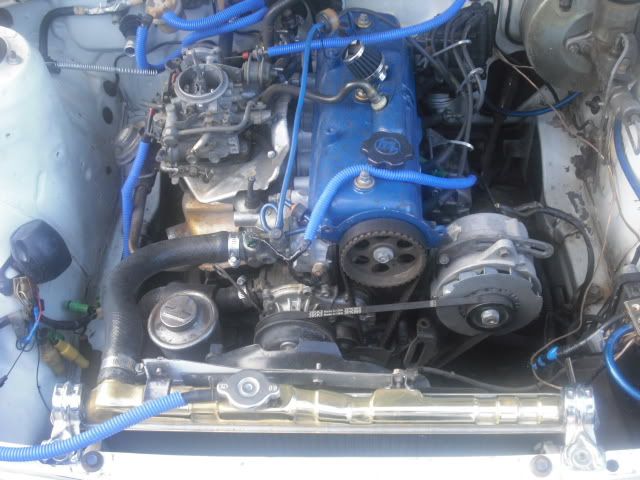 now this is my valve cover i shaved off the T and the O and now it says yota.....check it out still needs one more pass with a wet fine sand paper and then...the clay bar comes out... 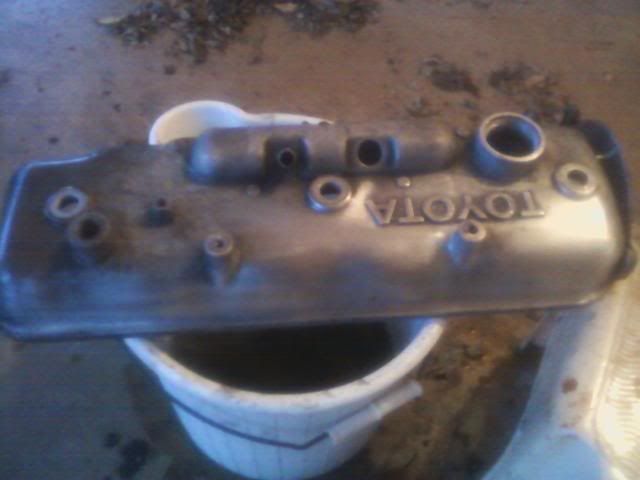 this was it just starting .. i almost stop and painted it cause i thought it was going to be a pain in the ass... to make it my own i grined down the T and the O....for a smooth look...and that came off with a hand file..took almost 45 minutes a letter...  and these pics make sure that it was all wort it.... still not done but better  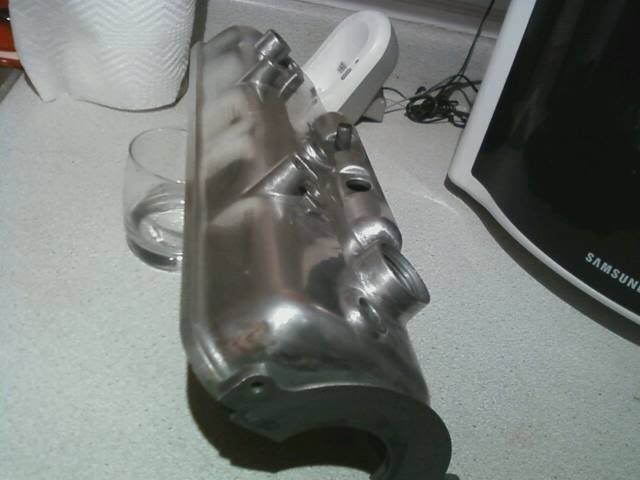 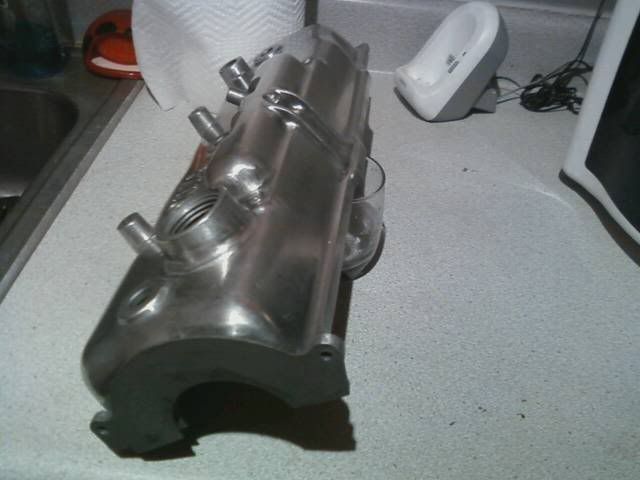 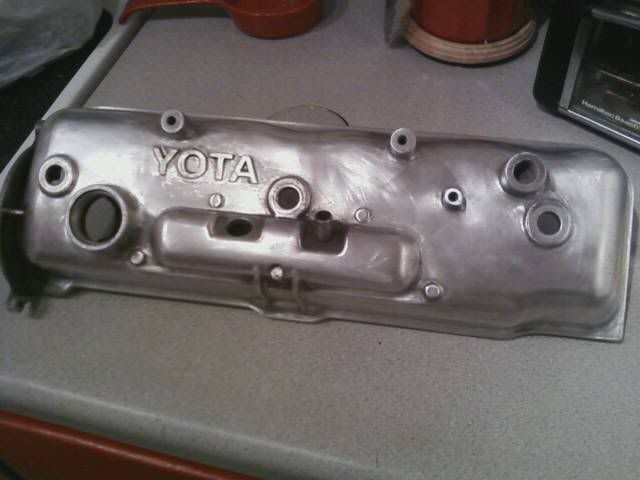 all the scratches have sence been smoothed out and stock right up nicely..still not done have to give it the last sand down with 2000 and buff it out.. not much but it nice when you do it your self.. |
|
|
|
Post by mindbeats on Jun 1, 2011 9:28:06 GMT -5
Looks nice. I wanna do that to mine when I get my car back
|
|
|
|
Post by eltipico on Jun 23, 2011 17:07:36 GMT -5
This is my valve cover   Haha anyways to my question those valve covers came out nice, I want to do this to the lip of my pilone wheels. What's is the p500 is that like a wet sanding paper? If so can I just use any wet sanding paper? I'm painting my wheels center black and want to have the lip polished up real nice. |
|
|
|
Post by plumbo6 on Jul 22, 2011 1:58:02 GMT -5
This is my valve cover   Haha anyways to my question those valve covers came out nice, I want to do this to the lip of my pilone wheels. What's is the p500 is that like a wet sanding paper? If so can I just use any wet sanding paper? I'm painting my wheels center black and want to have the lip polished up real nice. Yes it`s sanding paper. p500 is the grade of cuting on the sanding paper . if you look on the box or on the back of the paper you will find a P and a number ( like : p 1000 or p500 or p60 ,++++ ) exampel :  if you do not have a wet paper you can always wet a dry paper and use that ( i like working on ALU with wet paper. not so mutch dust  ) if you grind it dry you will up like this after one houer  :  |
|
|
|
Post by kennydang91 on Jul 25, 2011 21:59:14 GMT -5
|
|
|
|
Post by mindbeats on Jul 26, 2011 6:26:21 GMT -5
Came out nice.
|
|