|
|
Post by 4agpwr1 on Oct 30, 2012 18:12:28 GMT -5
So its been a while since i posted on this thread and sadly to say...I have sold the turbo kit to friend who was im the need of a turbo kit, but however i have not given up on finishing this build here is a preview of the CXracing bolt on kit i will be geting down the road 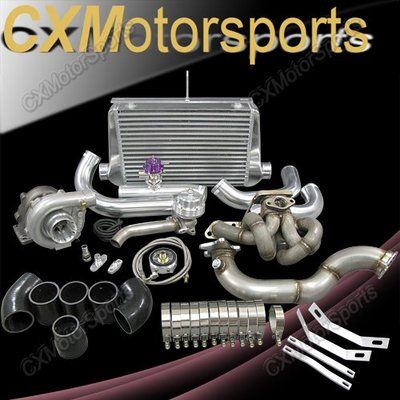 Here is an image of it installed on there project 86 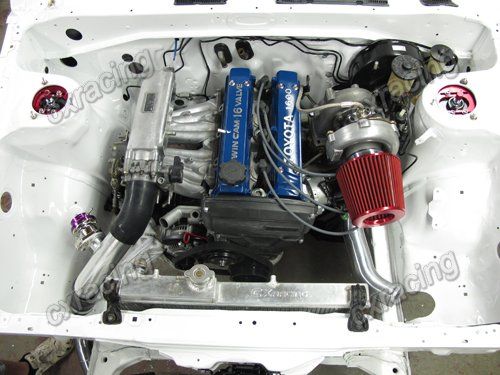 |
|
|
|
Post by kennydang91 on Oct 30, 2012 18:21:14 GMT -5
^ Wow that's hot. Needs a big shiny strut bar though.  I've never heard of that brand though. It's not one of those ebay ones is it? |
|
|
|
Post by 4agpwr1 on Oct 30, 2012 18:51:04 GMT -5
It a company, but they do ebay sales as welleither way if i feel the turbo isnt up for the challenge i'll just run it for know, and later purchase another turbo
|
|
|
|
Post by 4agpwr1 on Dec 15, 2012 19:01:28 GMT -5
Moving along with 86, now some rust removal and reinstalling a spare tire tray, the old was Rusted threw as you can see.Here are some pics 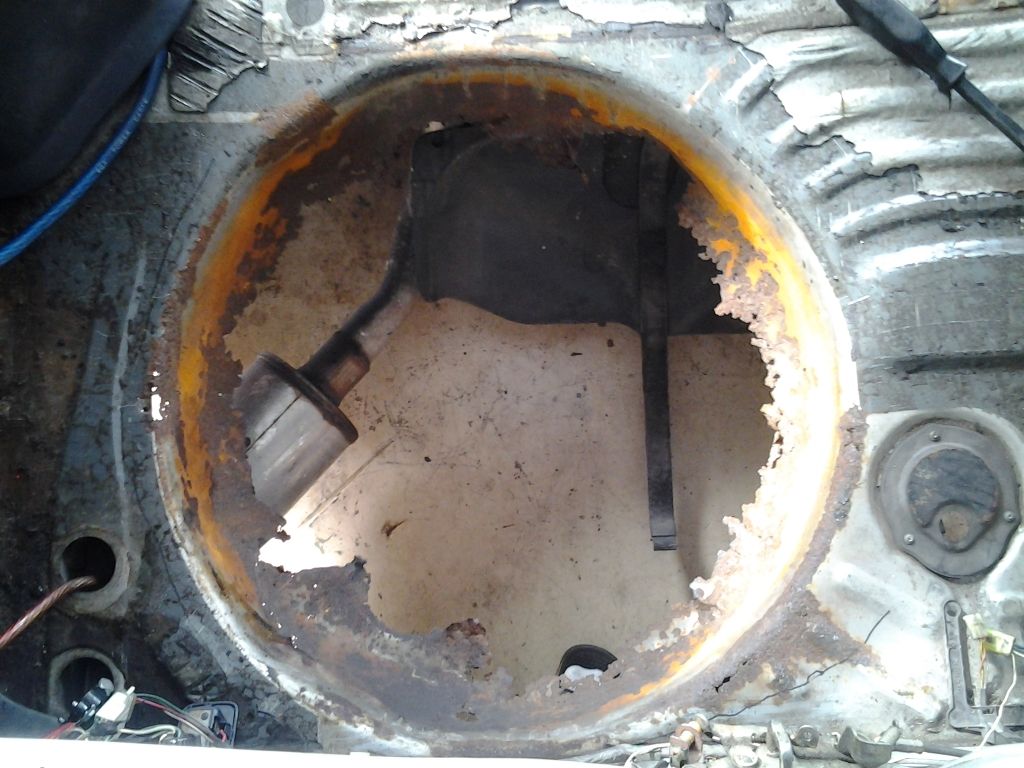 As you can see your gona wana remove the gas tank so you dont cut into it 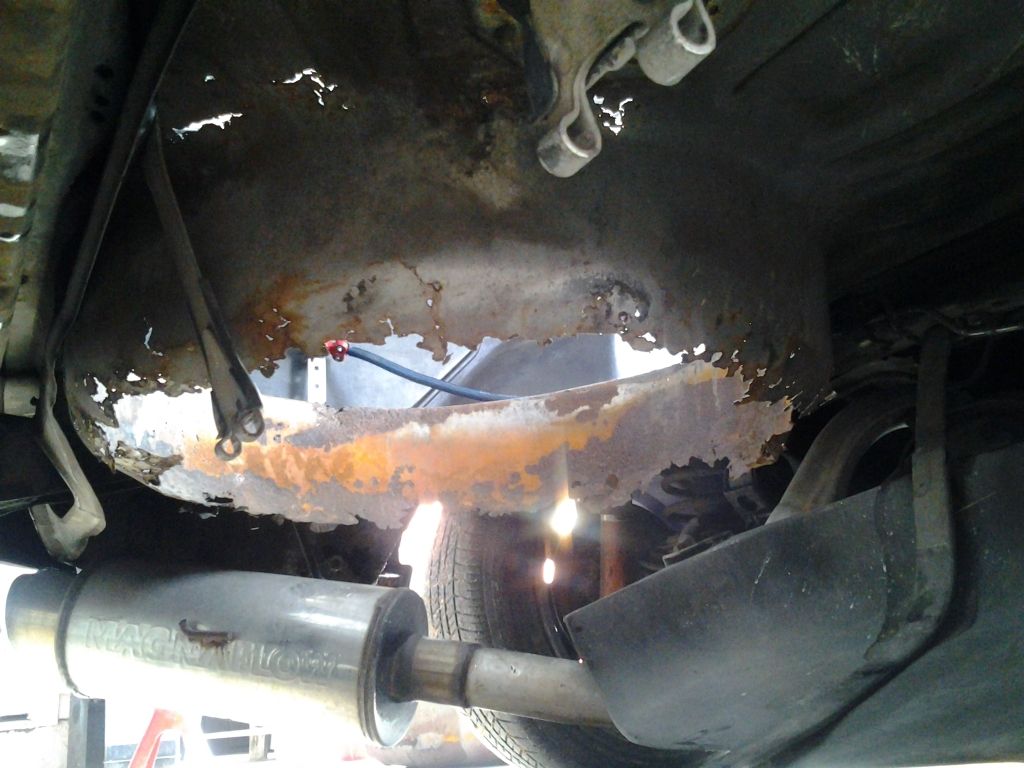 You can see just how bad it is from underneath as well fron the top 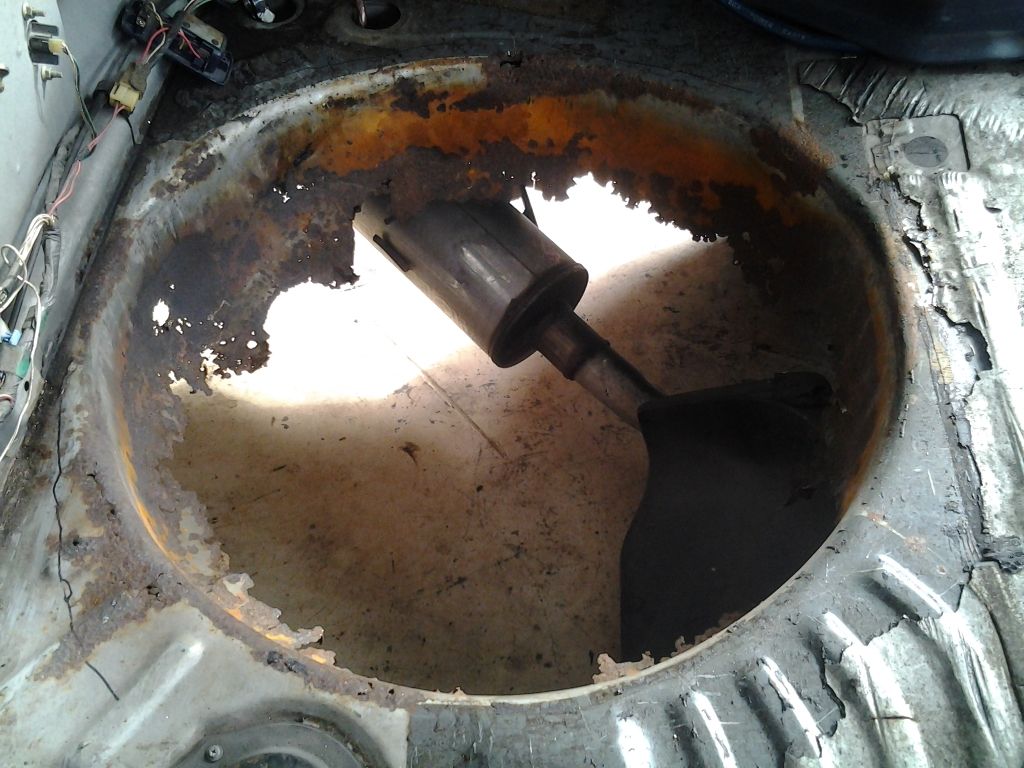 Used a dewaltt to Chop Chop 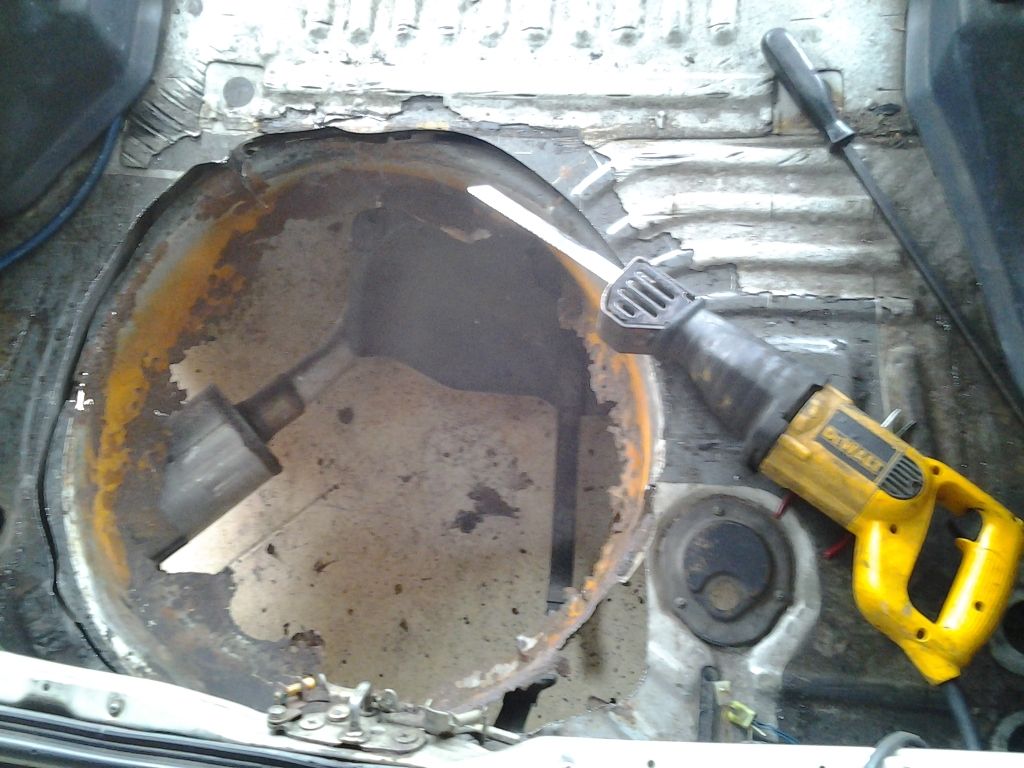 Here it is gone 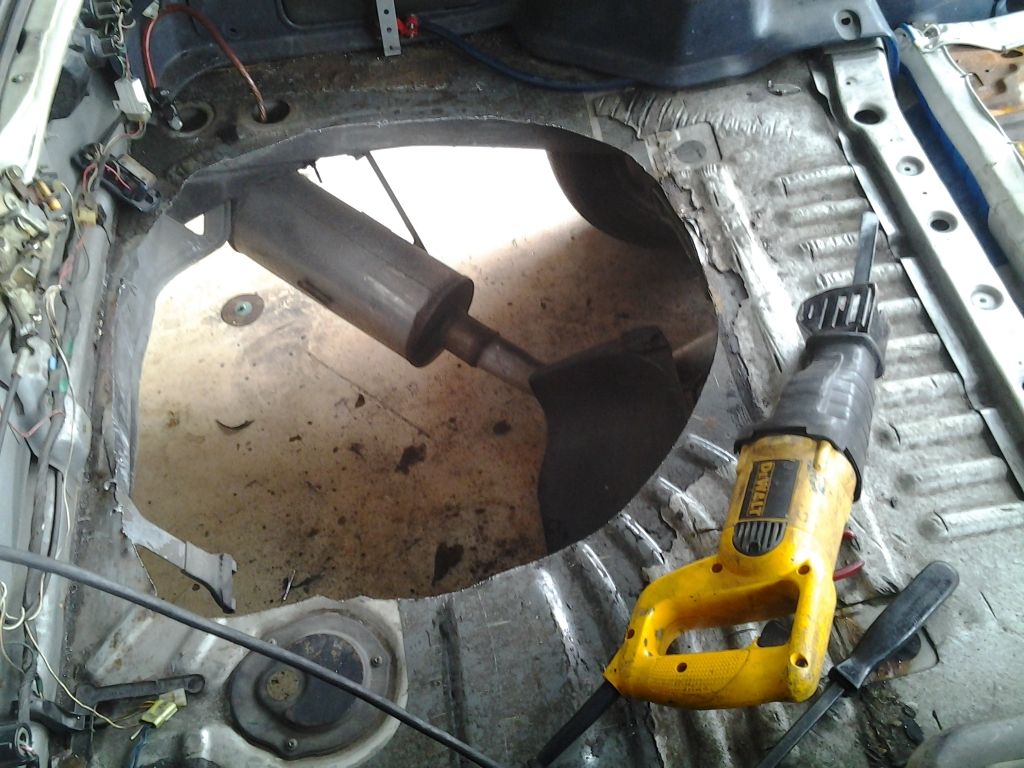 Side By Side 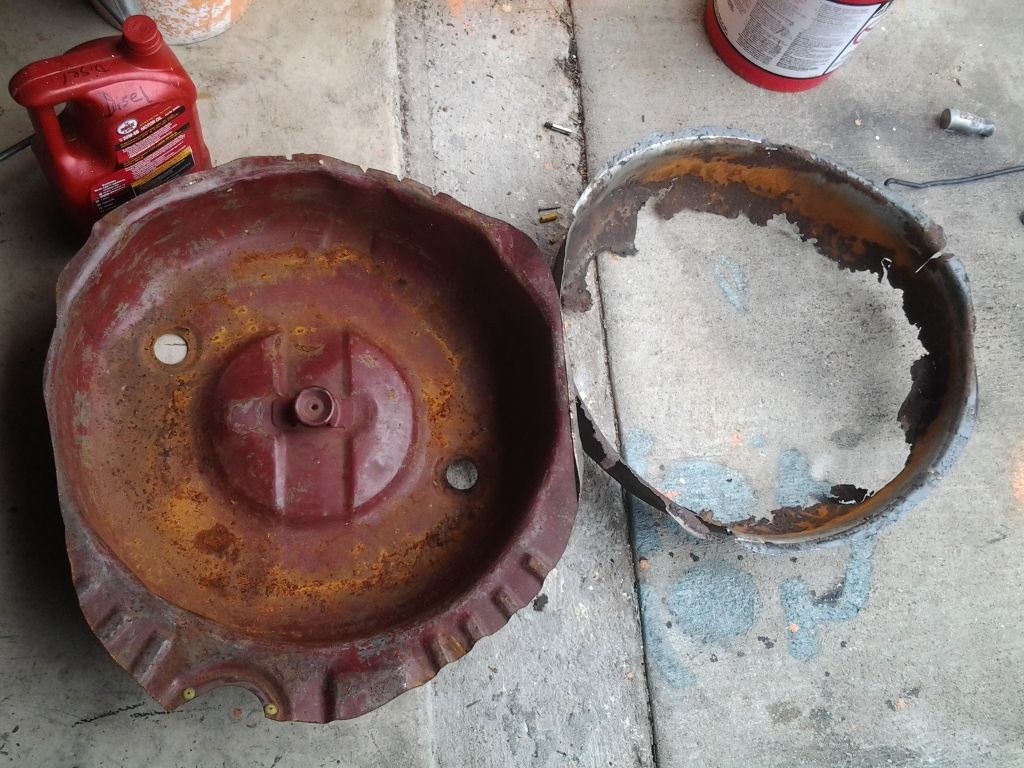 Heres Alex setting it up for welding it in 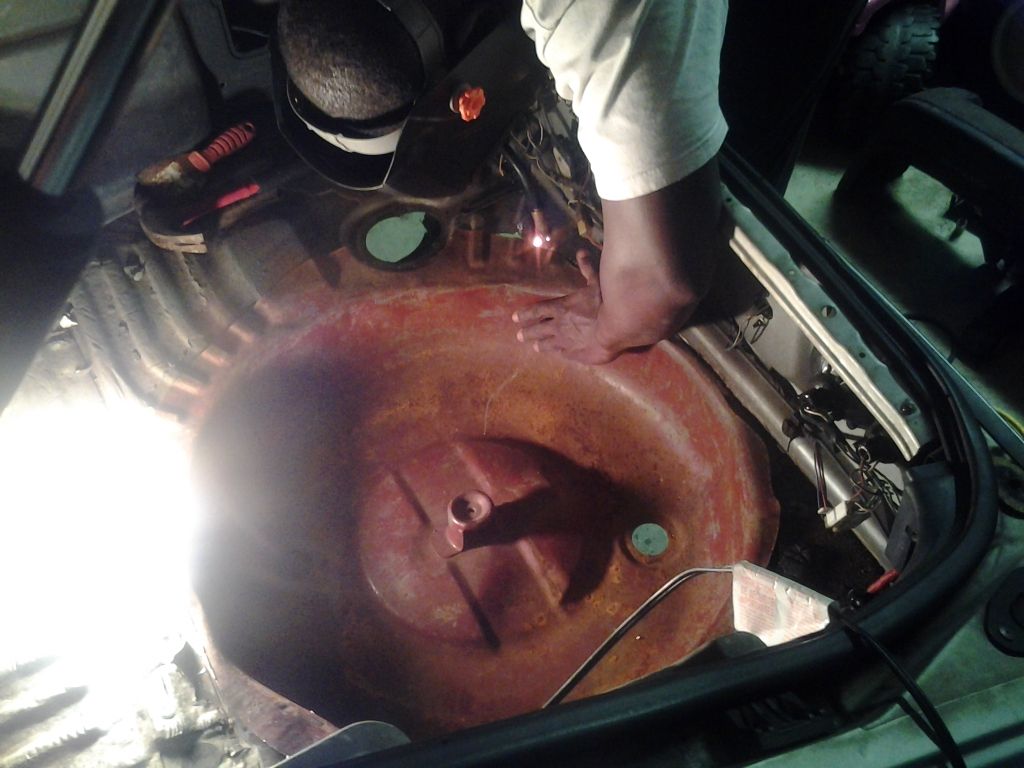 Welding started 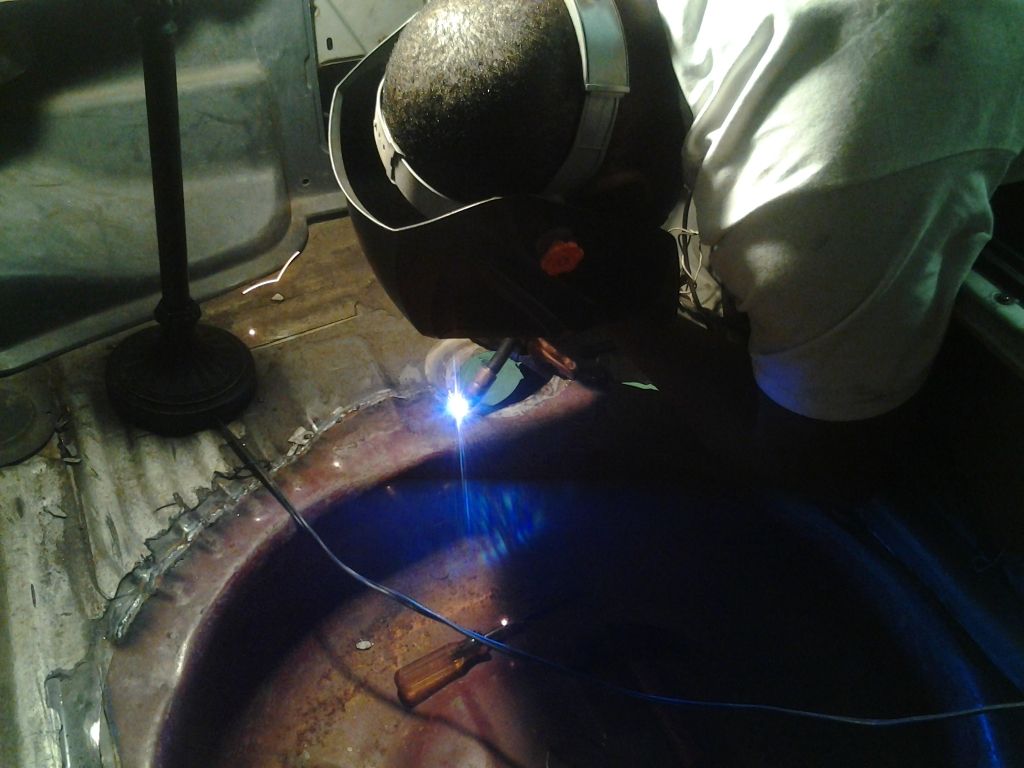 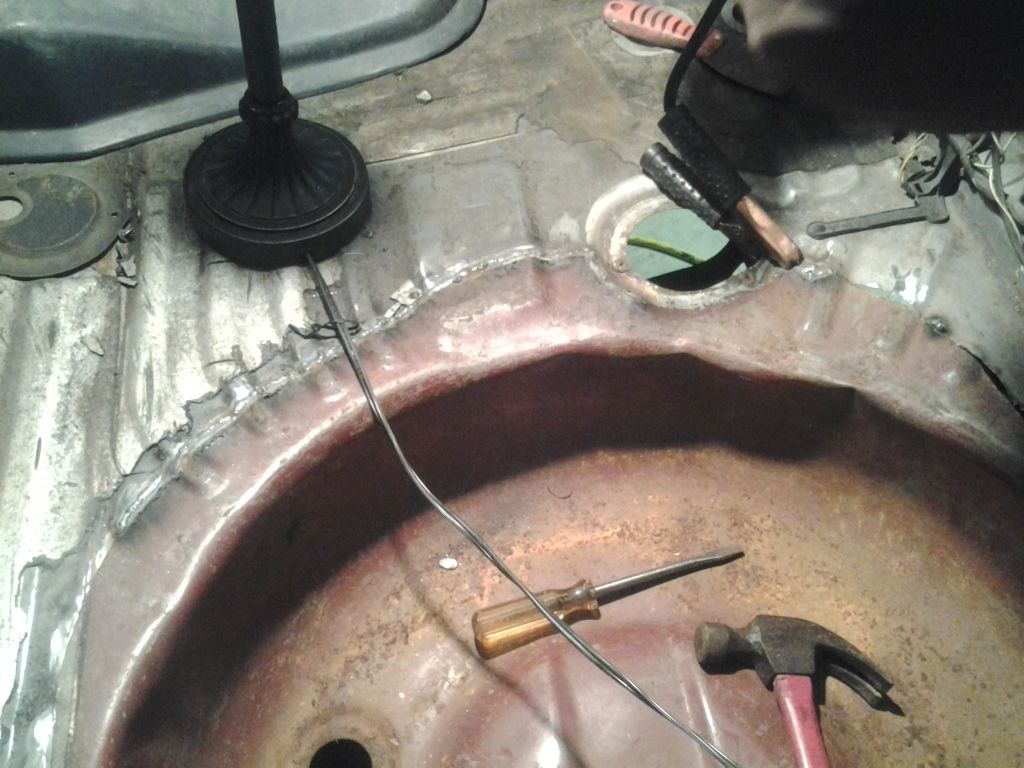 Finished Welded Product and No more Carbon Monixide 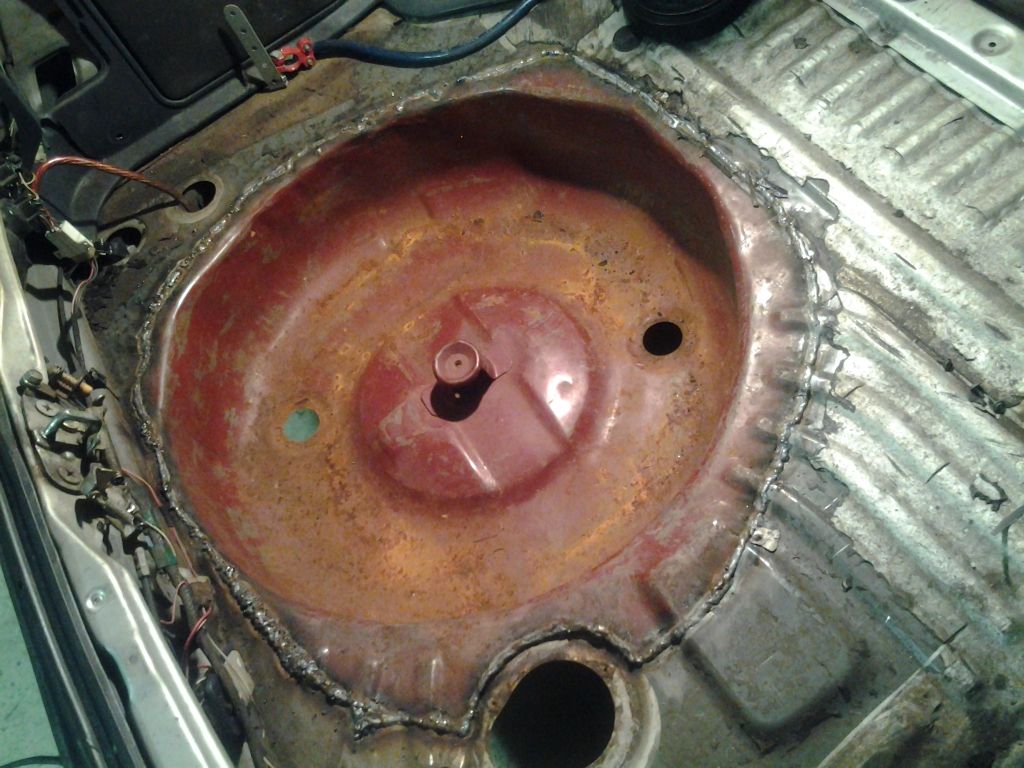 |
|
|
|
Post by 4agpwr1 on Dec 26, 2012 2:15:38 GMT -5
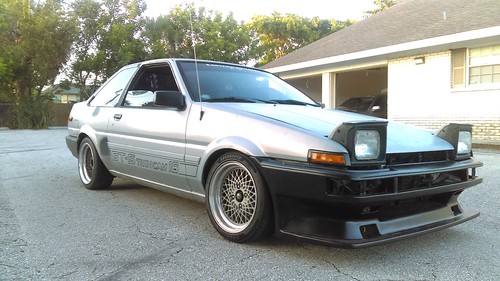
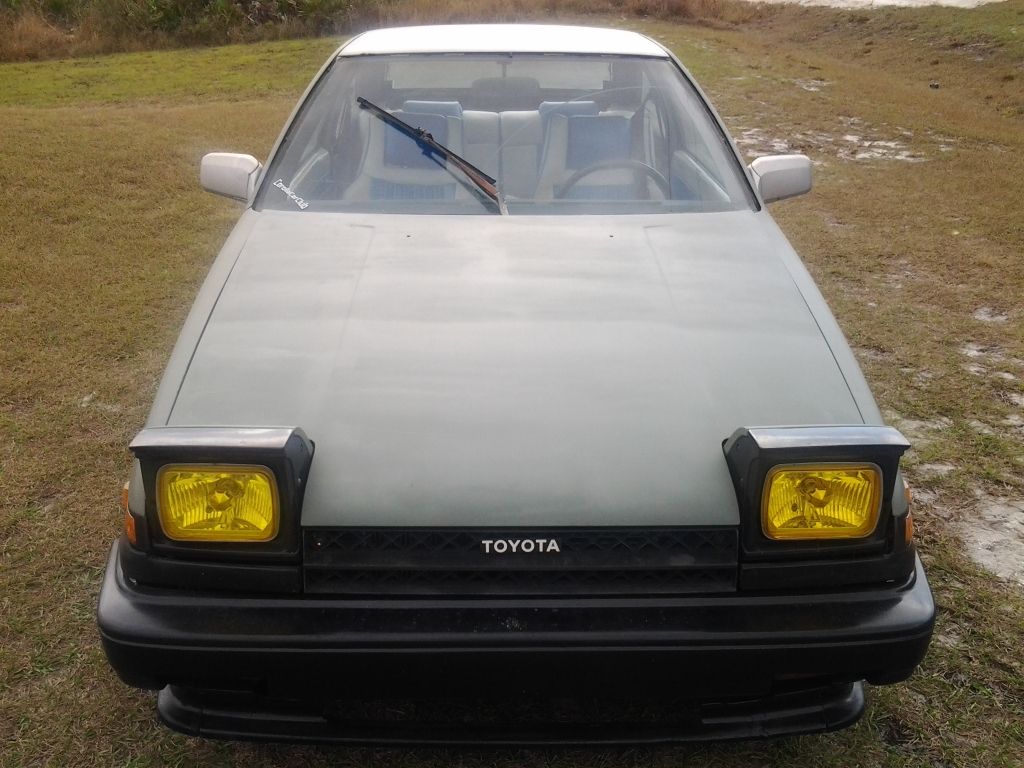
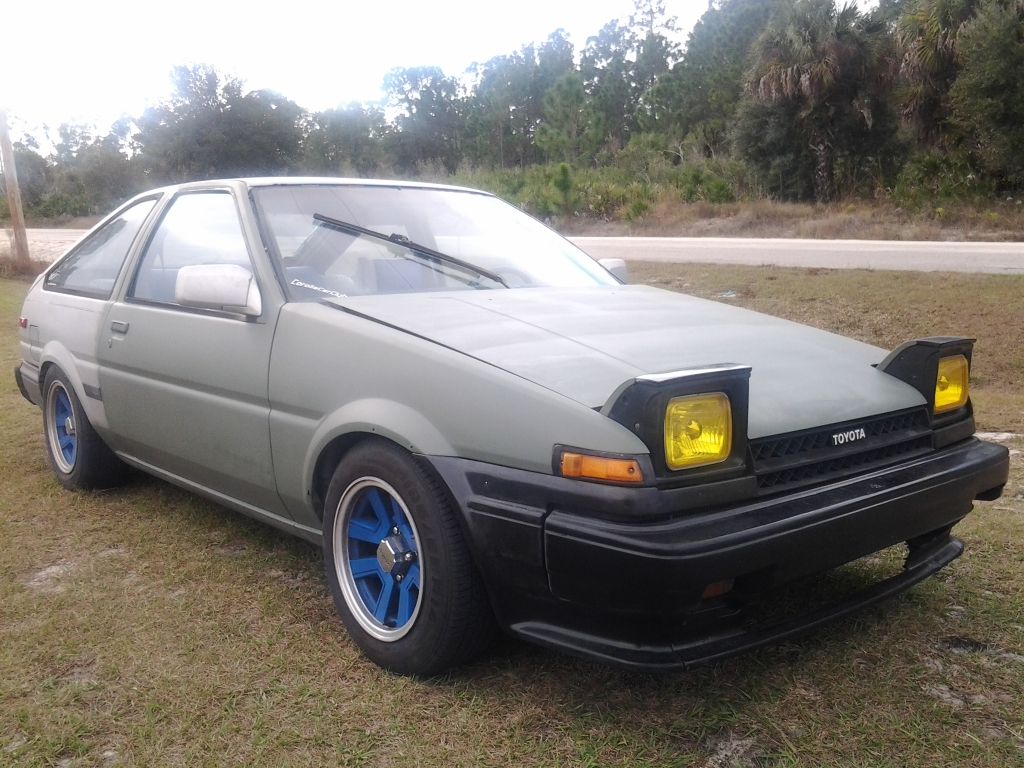
Started working on the Hachi's body for paint prep, had some serious sanding to do.there was bout 5-7 layyers of paint and primer just on the hood and fenders, this is just the front clip getting it into pre under coat etching primer. ...we are talking bout going down tot eh metal 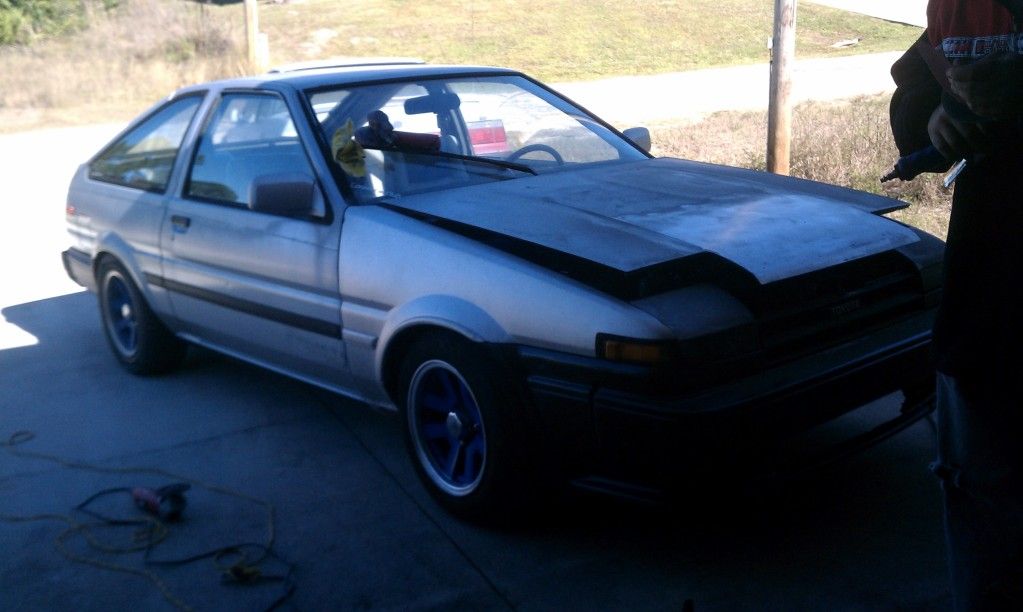 Hoods first  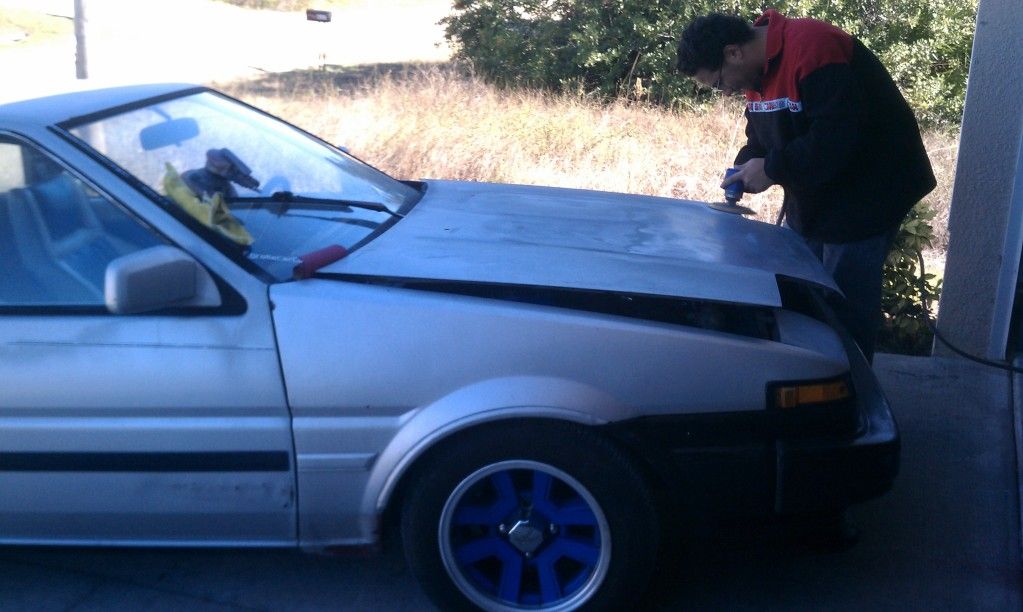 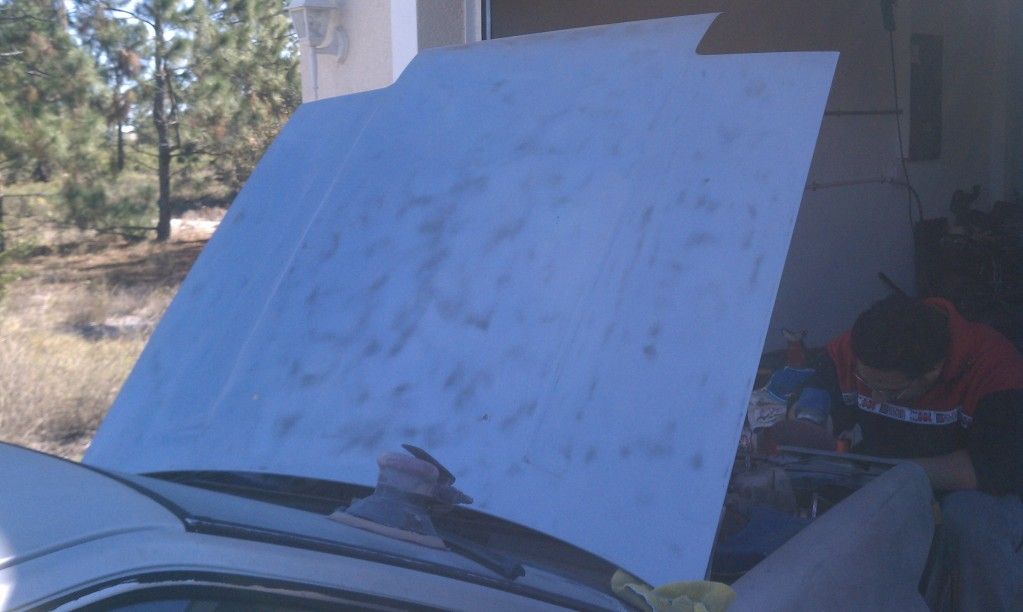 Hood completely stripped and removed headlight covers aswell for sanding 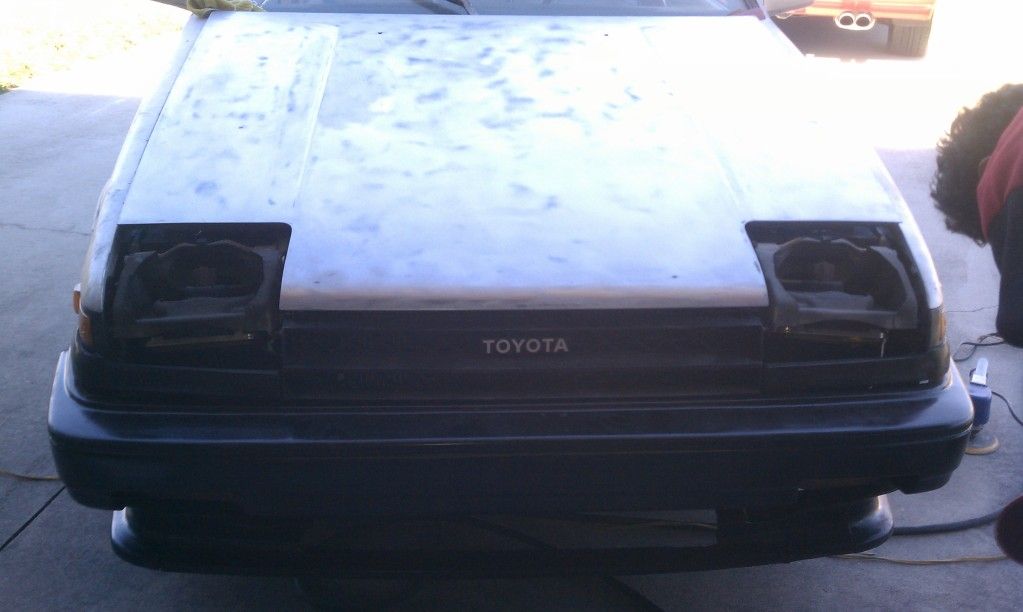 Moving along to the headlights 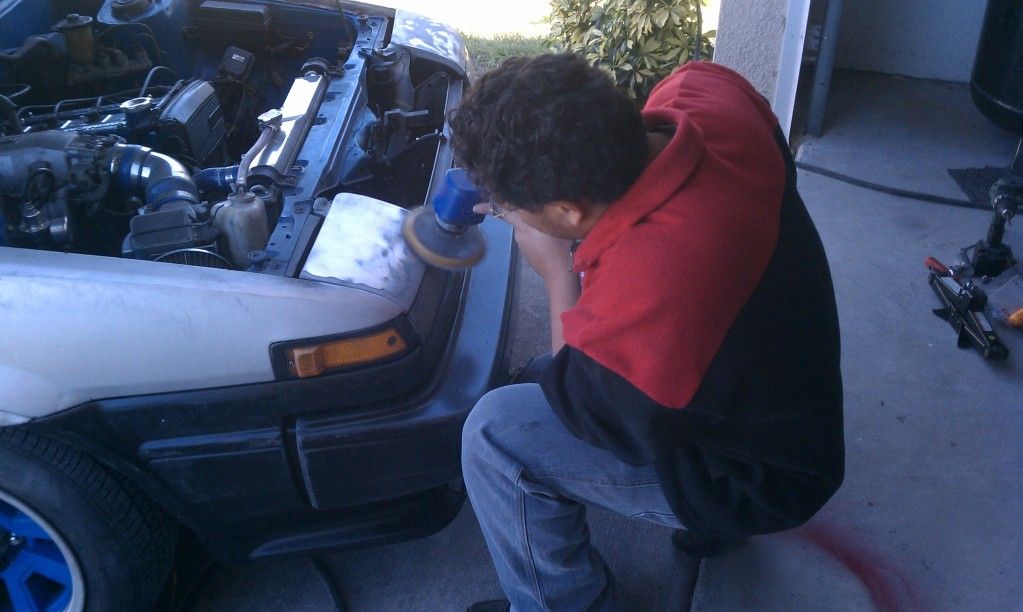 |
|
|
|
Post by BTCreations on Dec 27, 2012 19:46:26 GMT -5
Nice, showing her some love!
|
|
|
|
Post by 4agpwr1 on Jan 8, 2013 12:41:26 GMT -5
to think thiwas just suppose to be the bumper getting repainted, and turned into prepping the Hachi for paint...well here some more enjoy hood stripped and working on the heaadlight covers driverside view 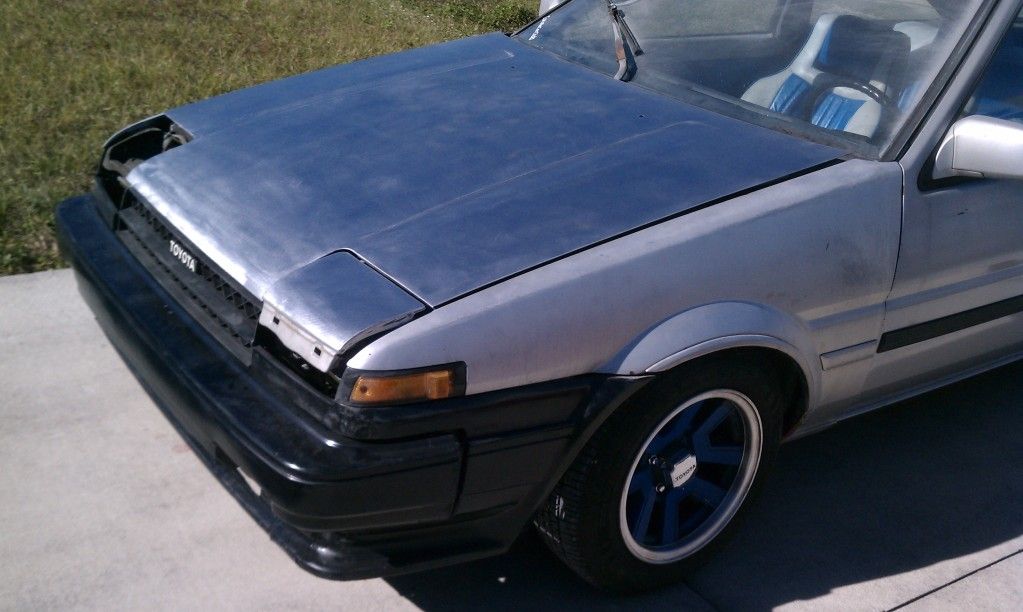 passenger side view 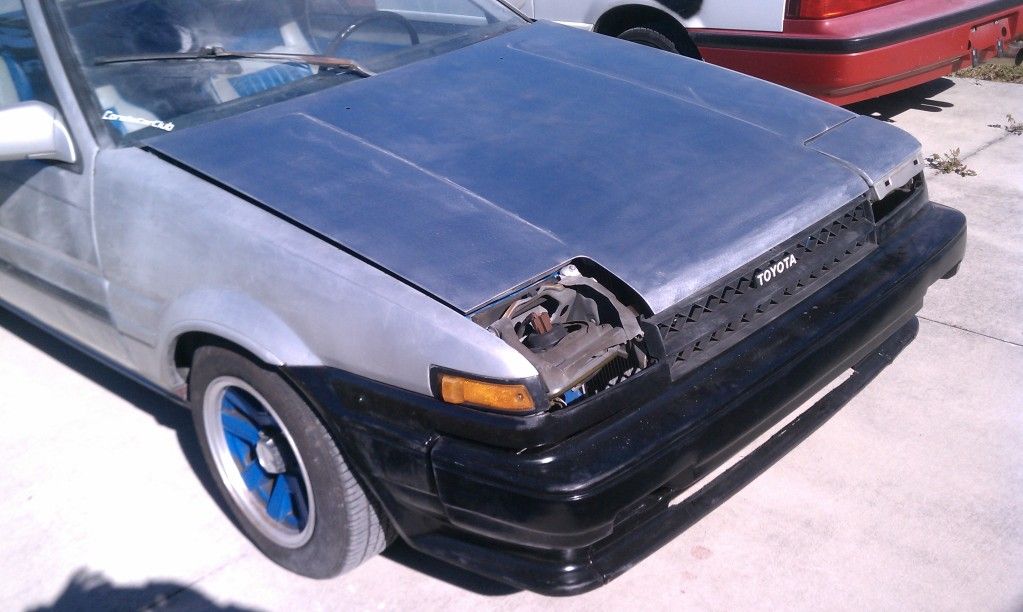 now the fenders, these had some serious layers of paint and primer on them 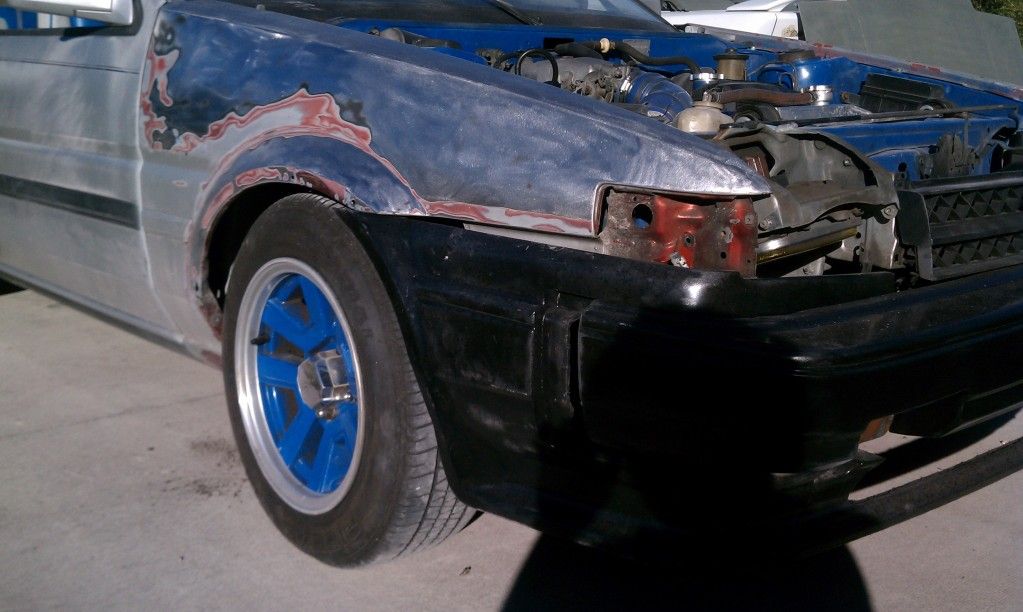 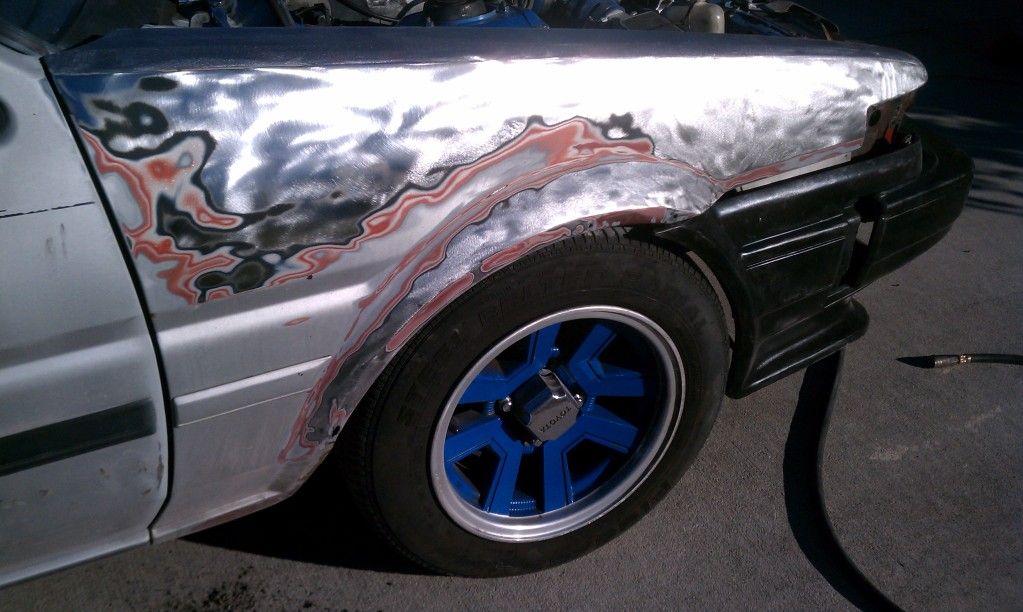 driverside fender 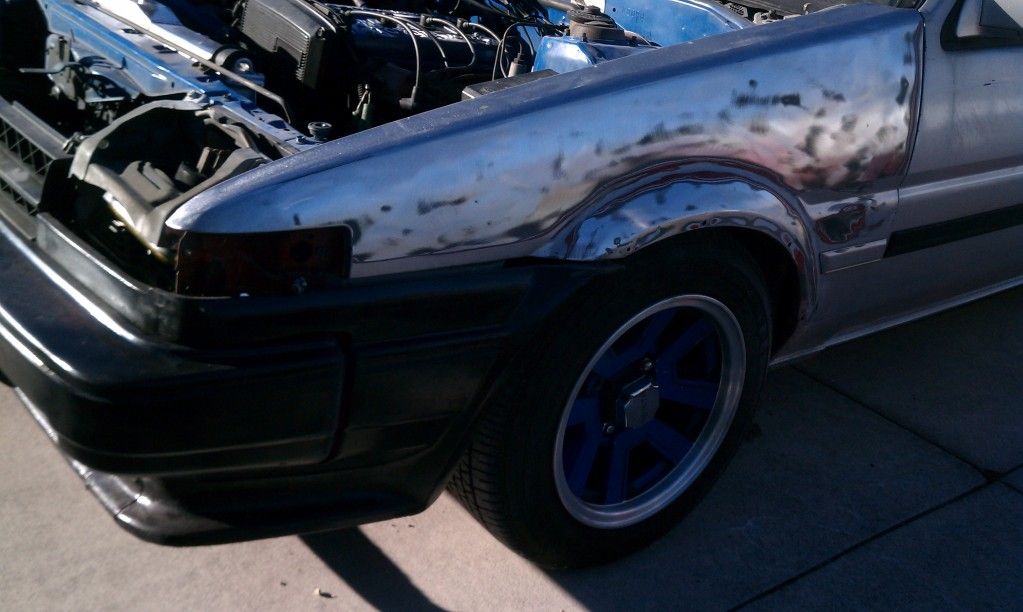 also took alot of sanding 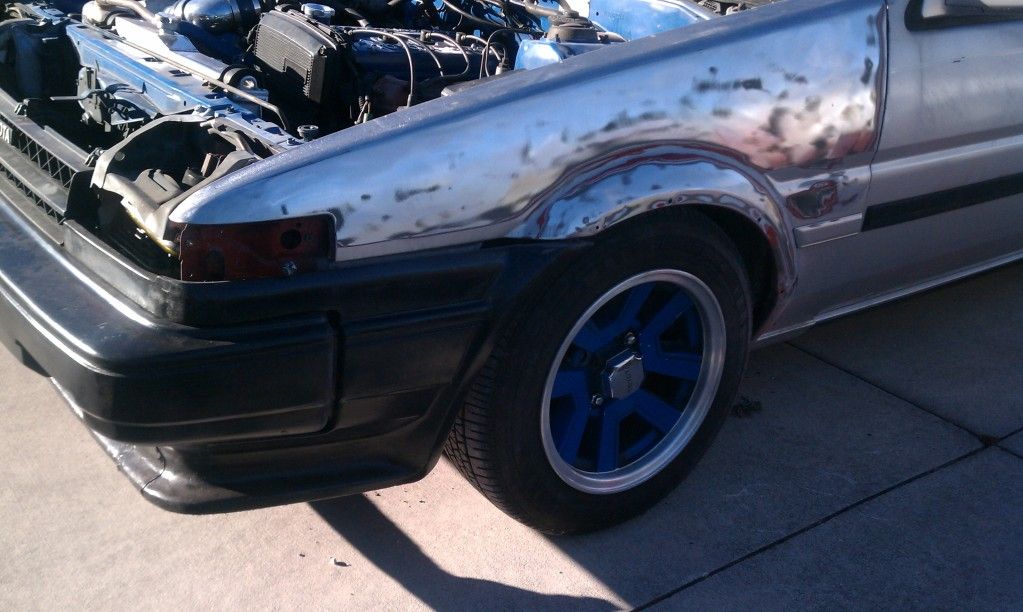 now does any one else besides me see Donald Duck sitting on a toilet here?....Lol 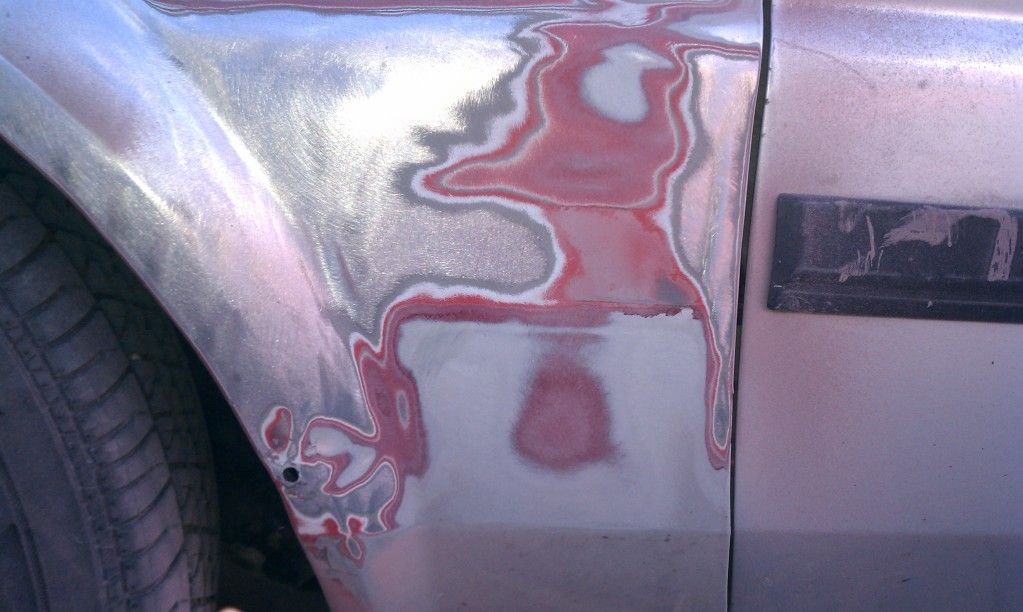 moving along, heres the fender down stripped as well 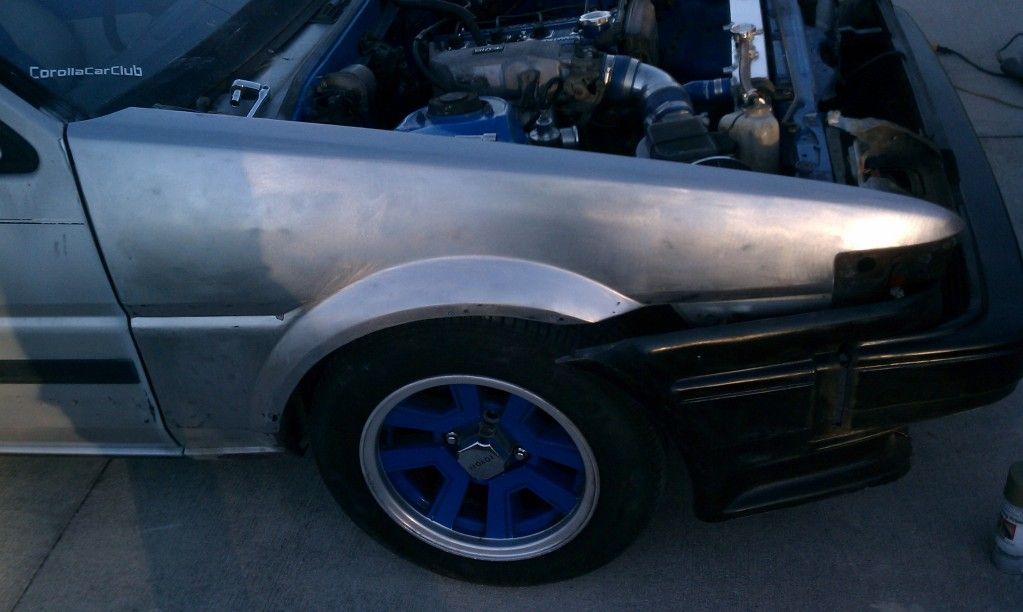 this is the bottem base Etching primer coat, this will keep the rust from returning since we went all the way down 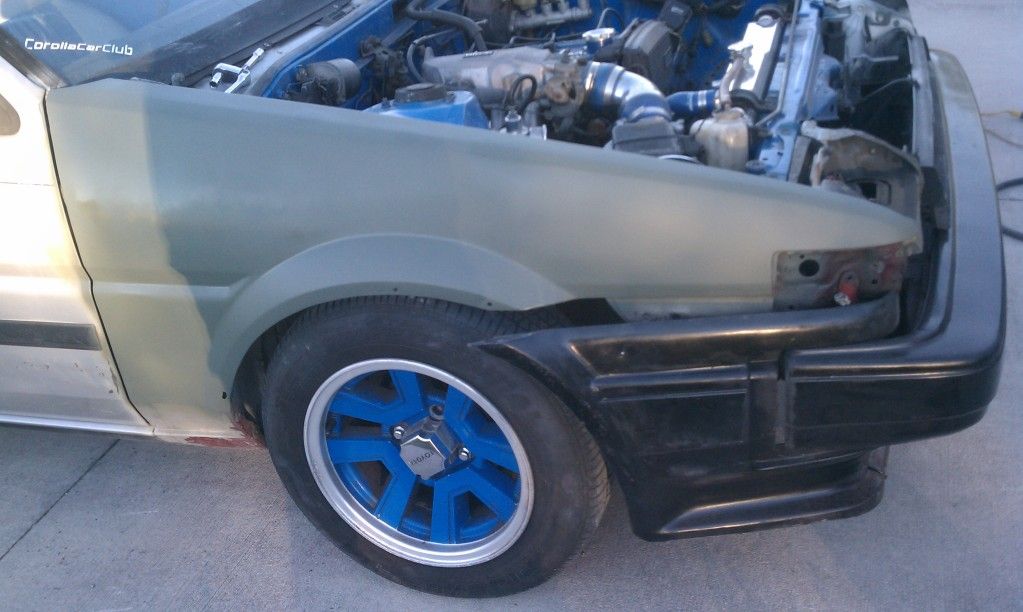 driverside coat going on 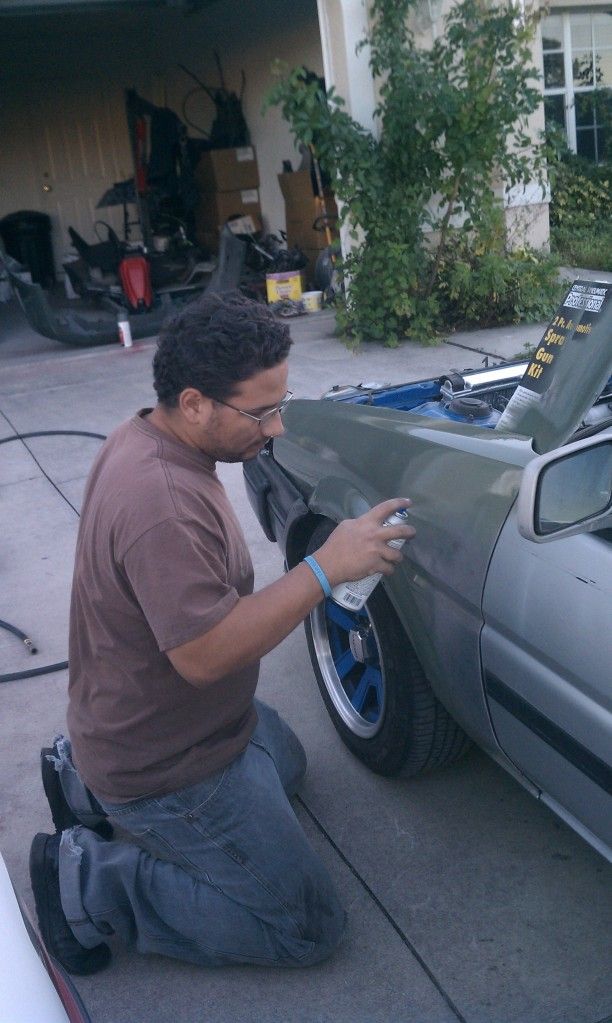 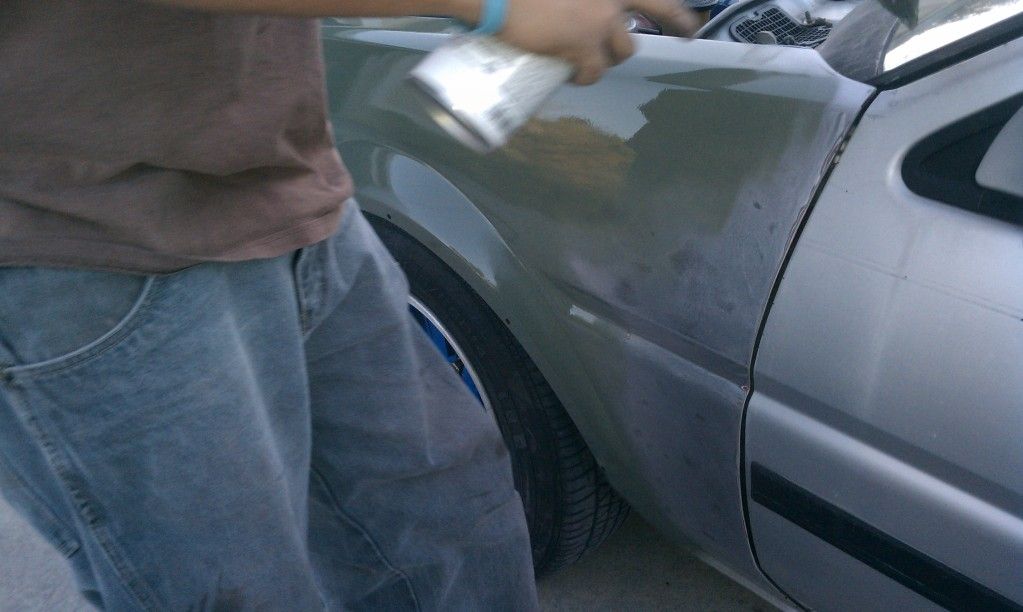 headlights covers getting there coat as well 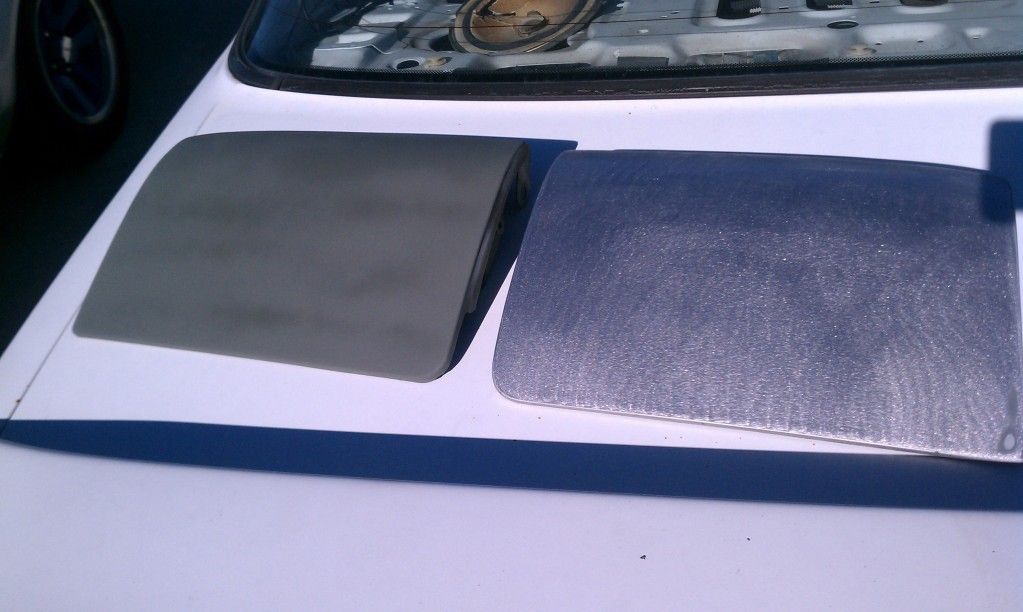 |
|
|
|
Post by 4agpwr1 on Mar 21, 2013 2:47:01 GMT -5
|
|
|
|
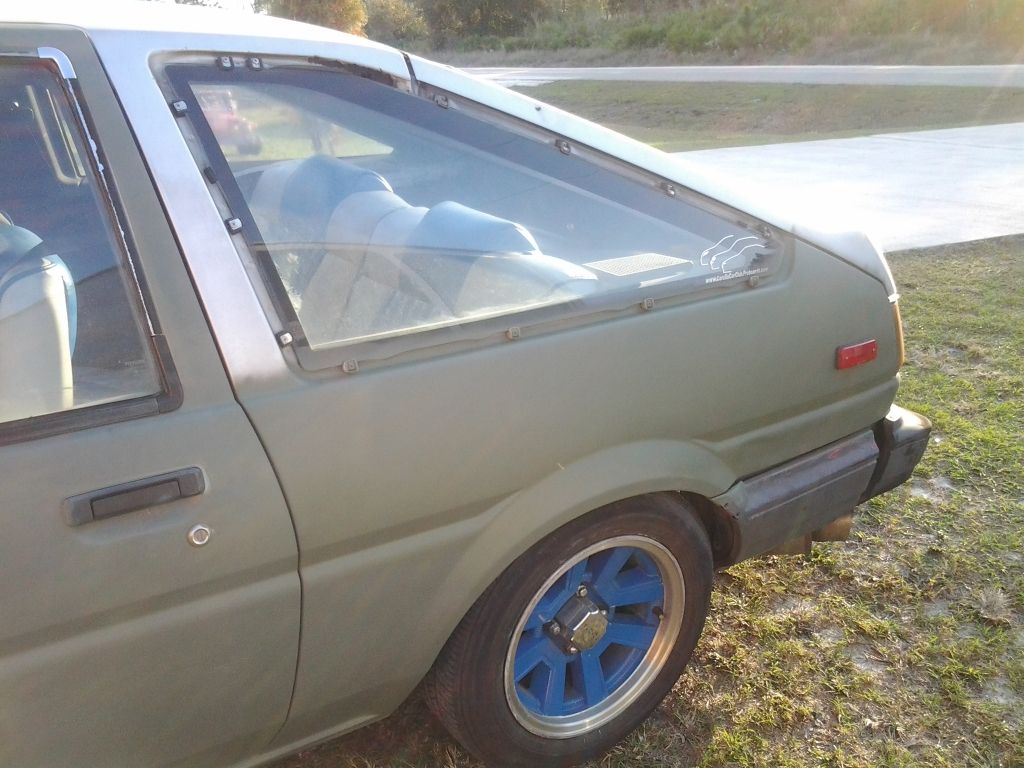
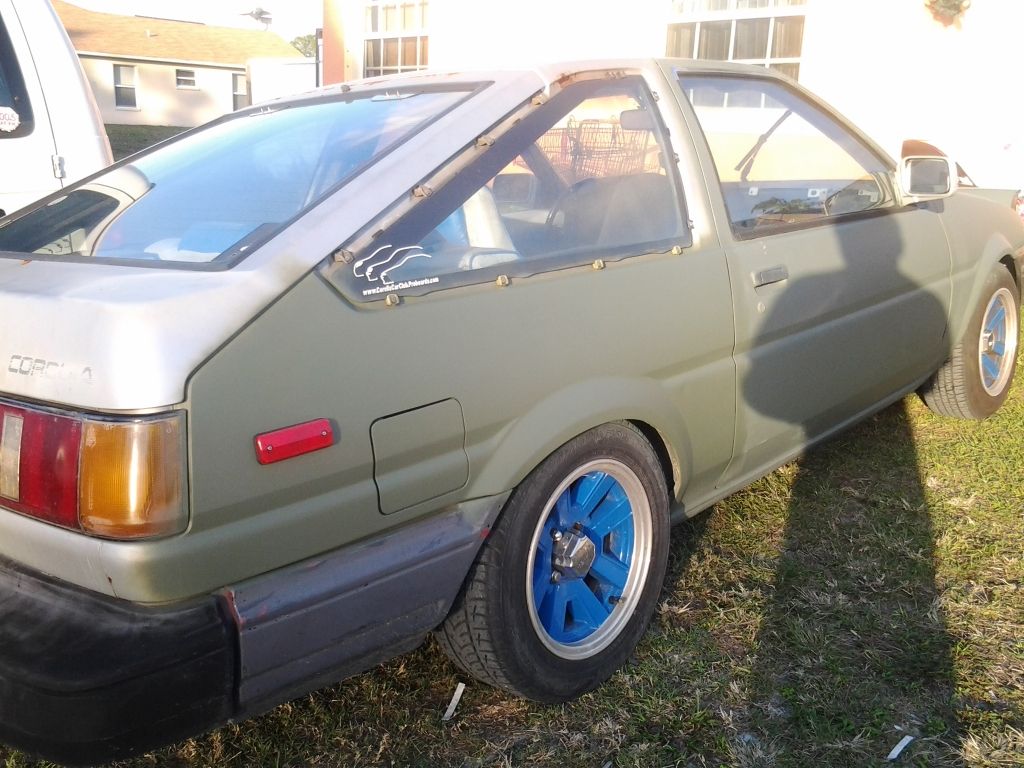
Post by 4agpwr1 on Mar 21, 2013 2:56:23 GMT -5
We will be taking the Side Glass and Rear hatch of to repair the rust holes and rust on the surface as well 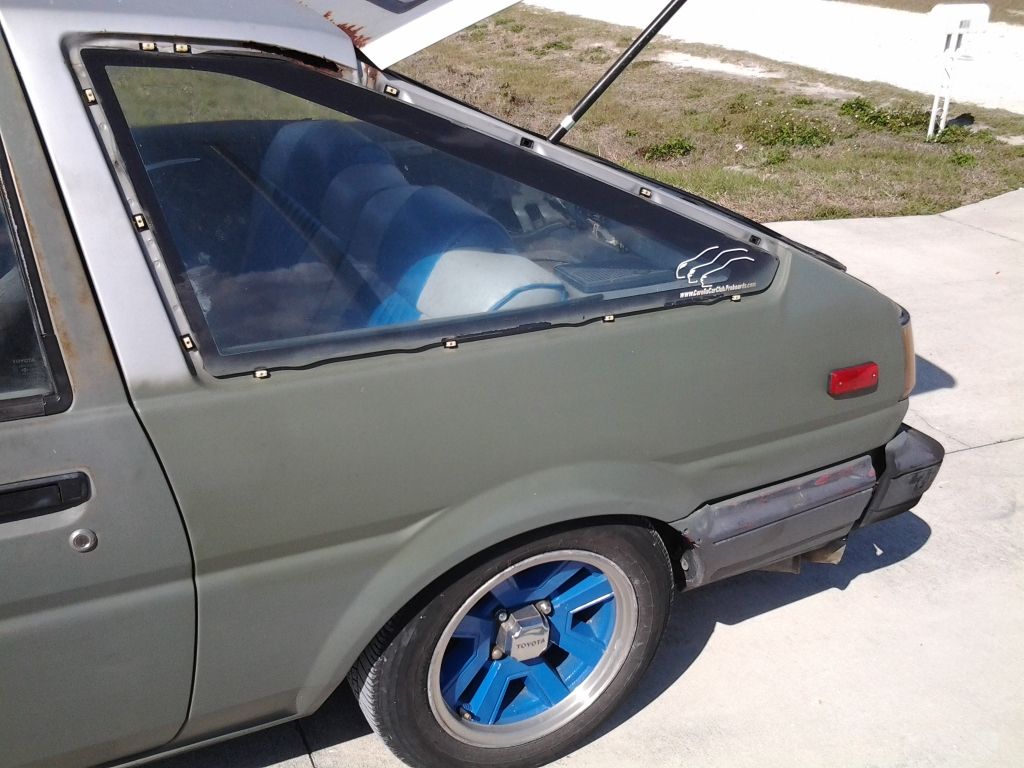 As you can the giant rust holes just above the glass and the glass romoved 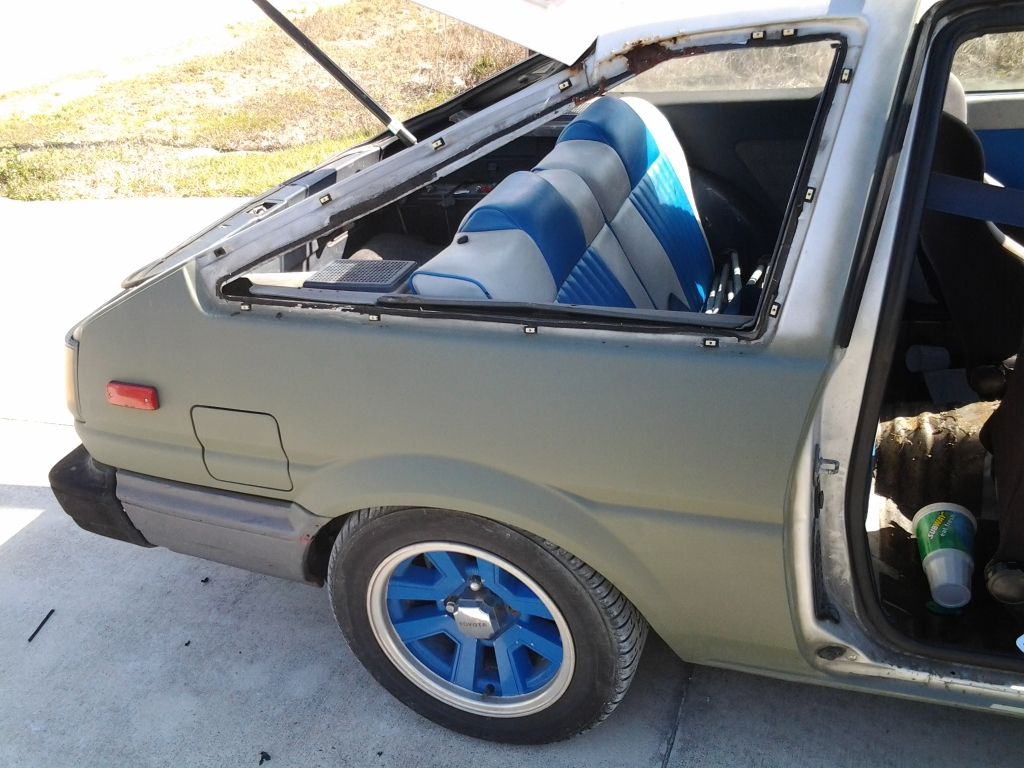 Driver side view  Another passenger and slight back 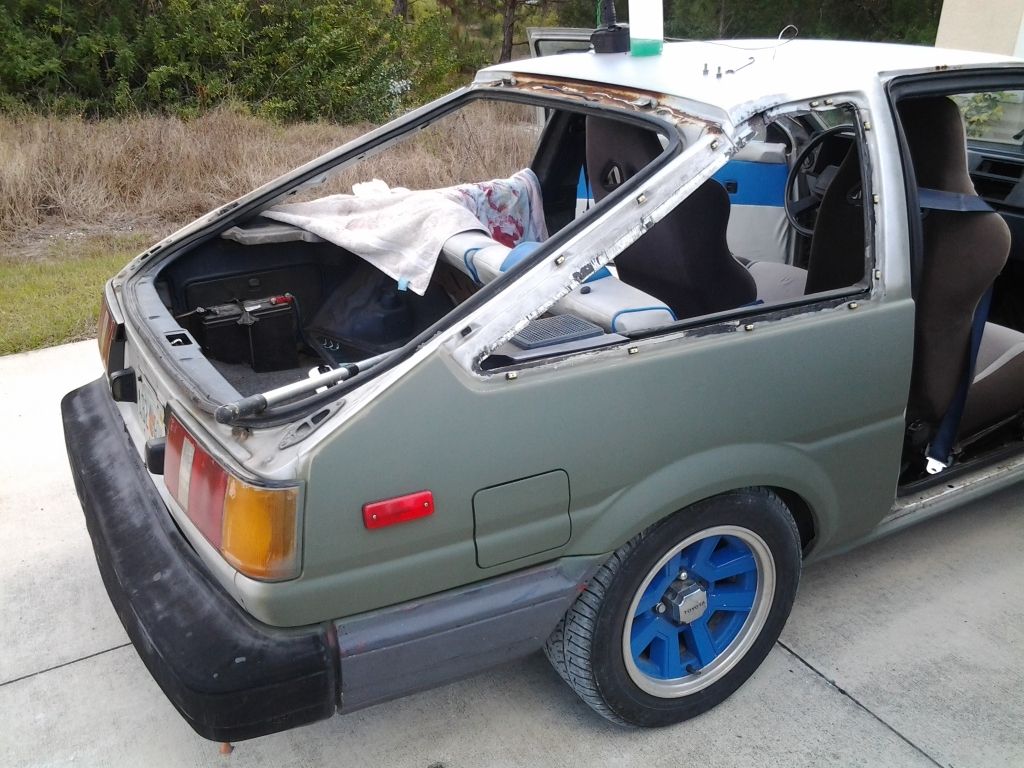 Rear hatch 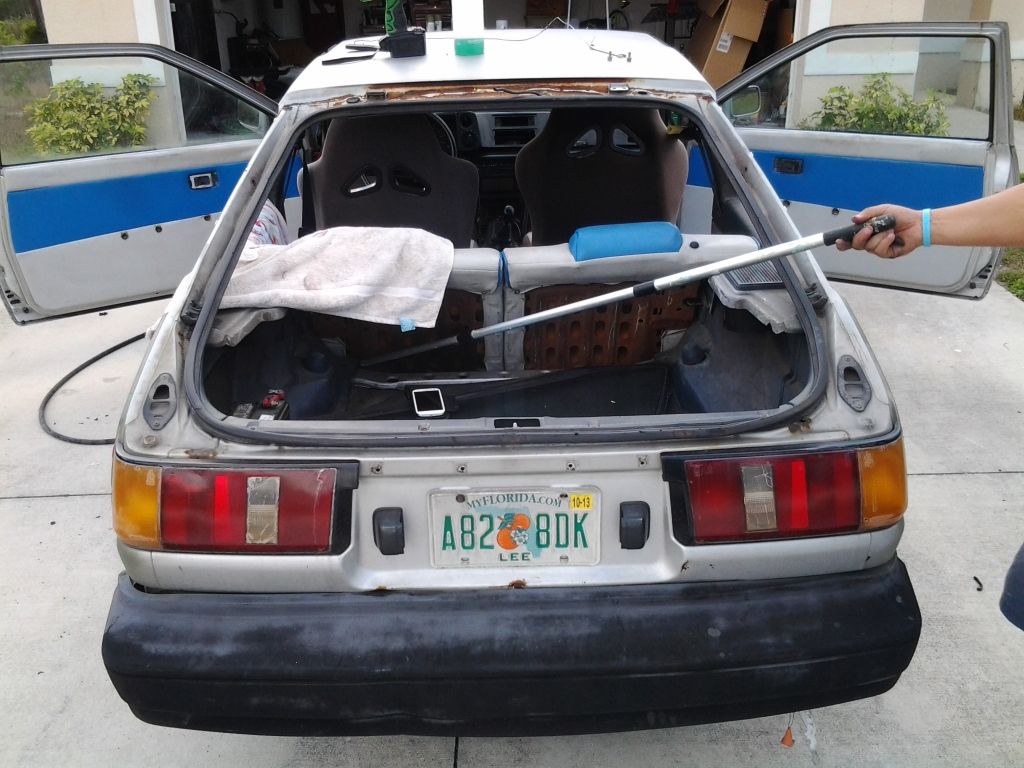 And rus t whole above quater glass repaired 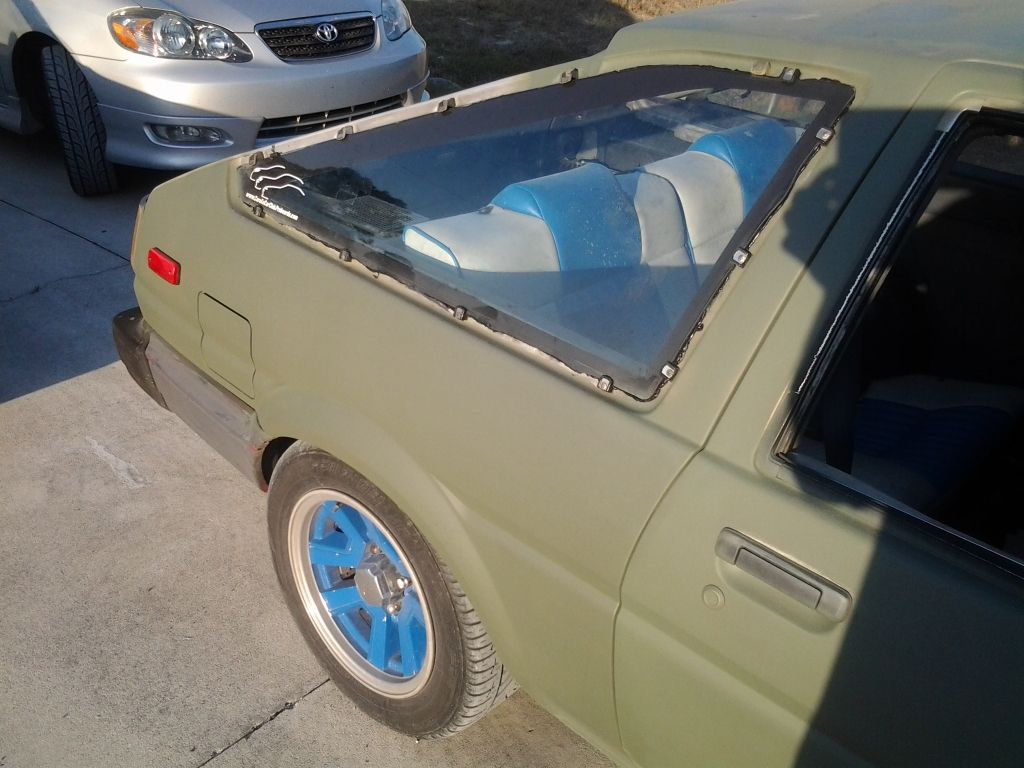 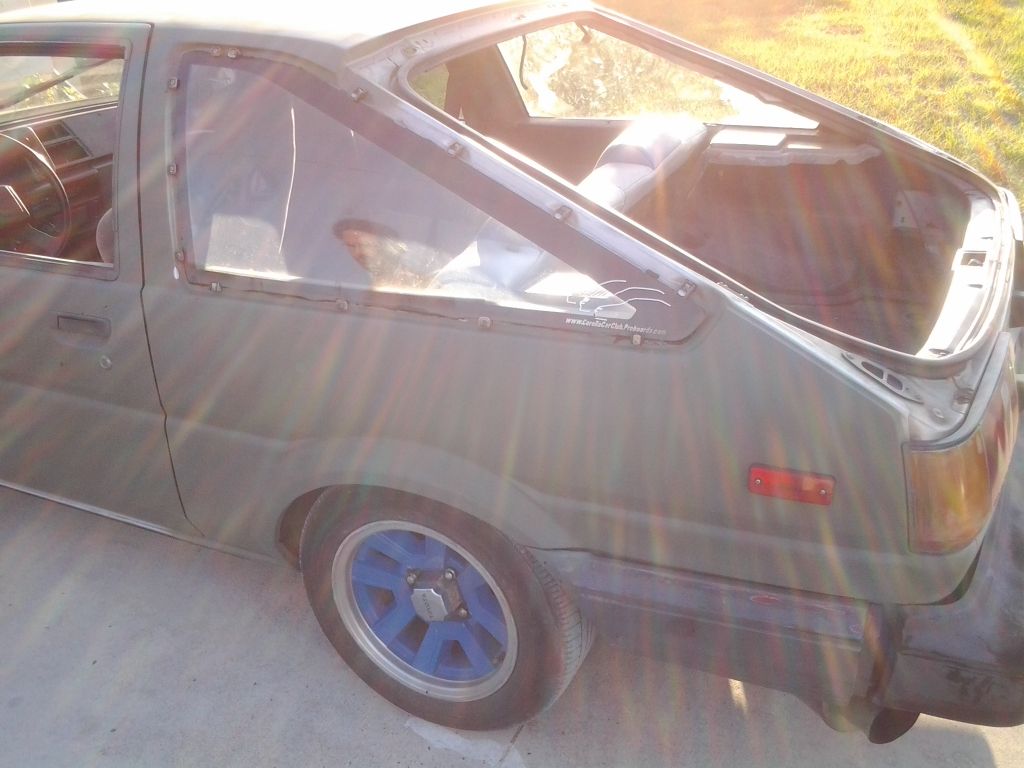 |
|
|
|
Post by gold94corolla on Mar 21, 2013 6:20:21 GMT -5
Looking great!
Just needs another windshield wiper lol.
|
|
|
|
Post by 4agpwr1 on Apr 17, 2013 0:39:29 GMT -5
getting there...Lol here the taping up for urathane primer coat 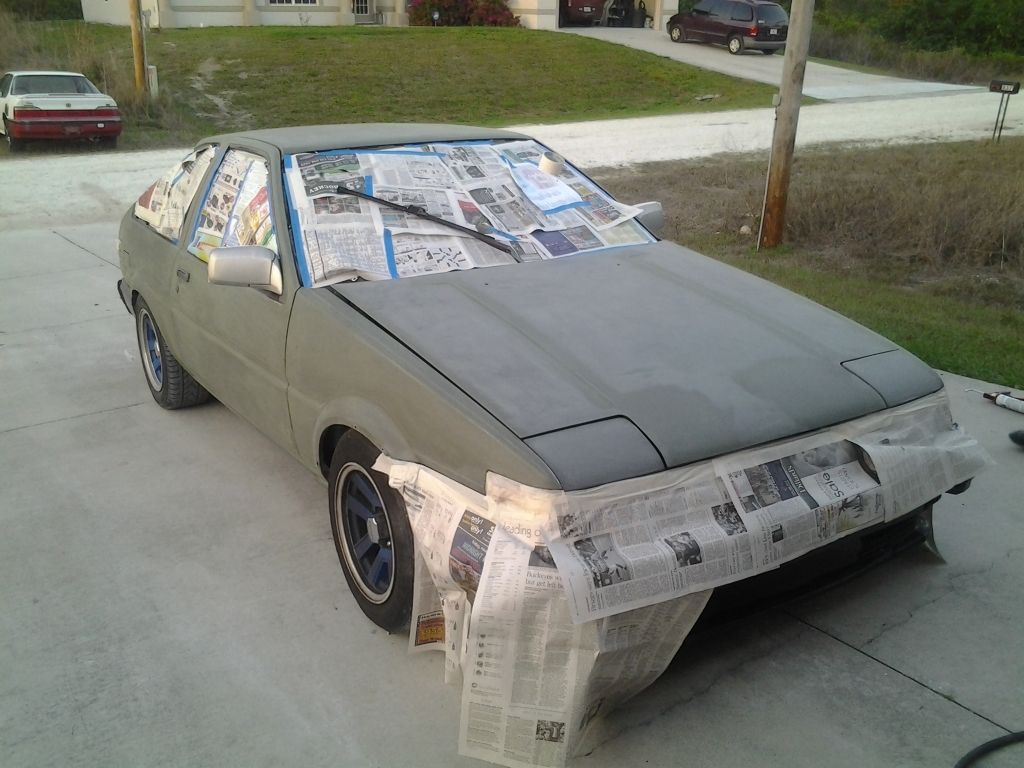 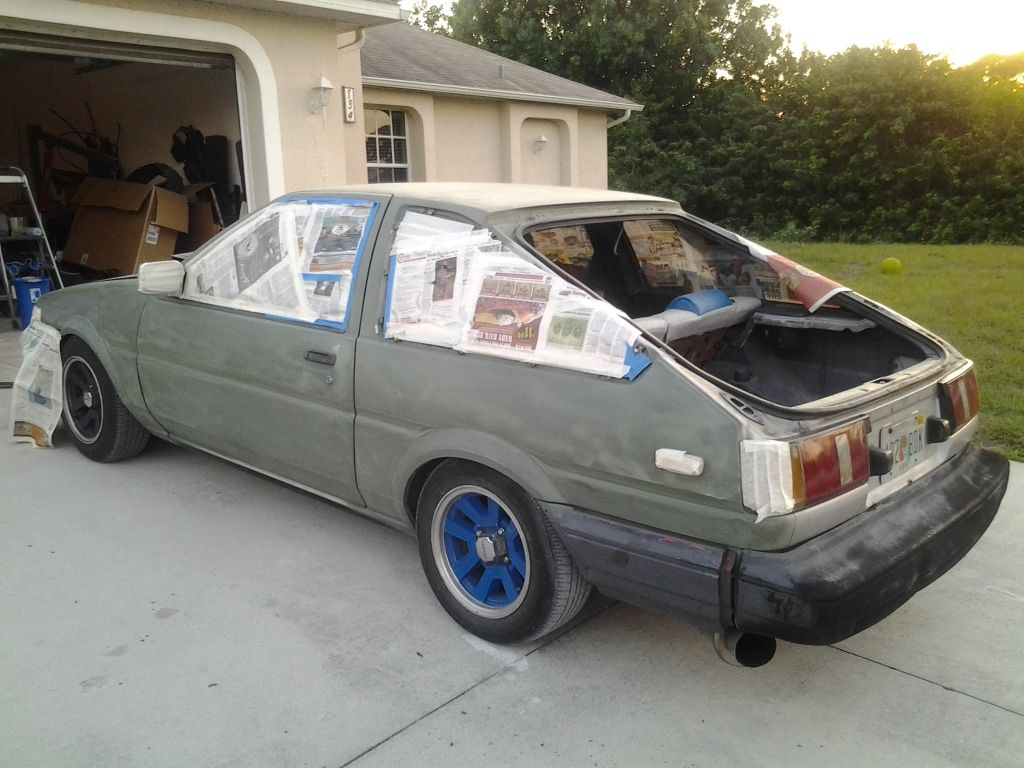 laying down first coat  getting dark but just the first coat 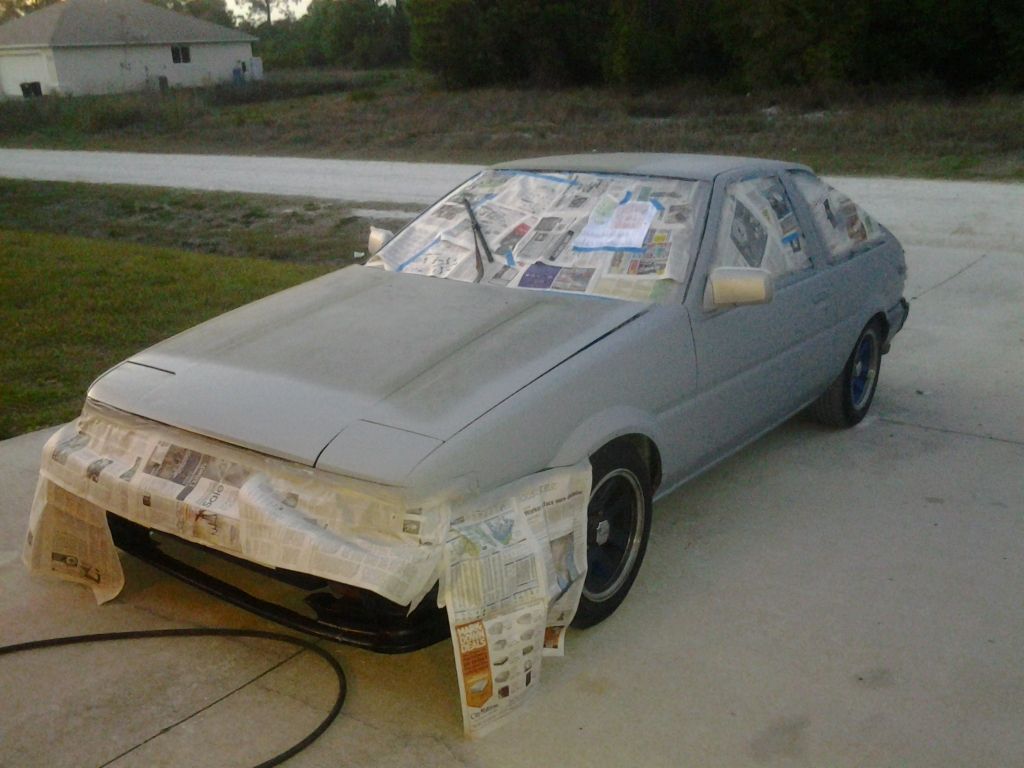 drivers side coated 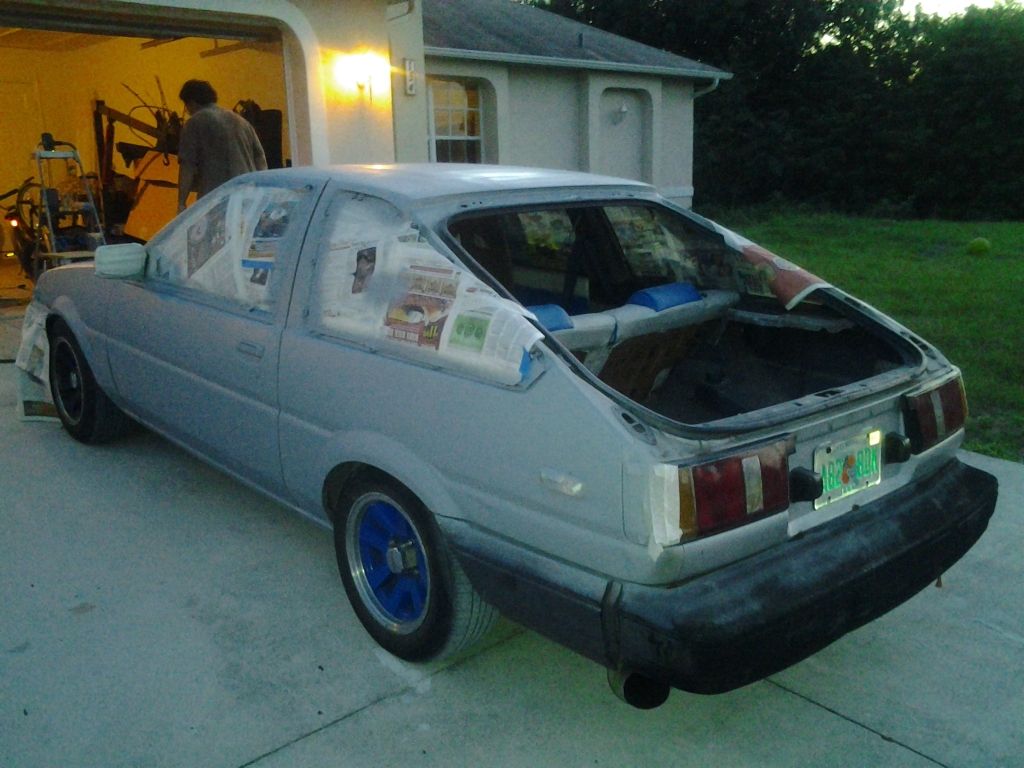 Hood next 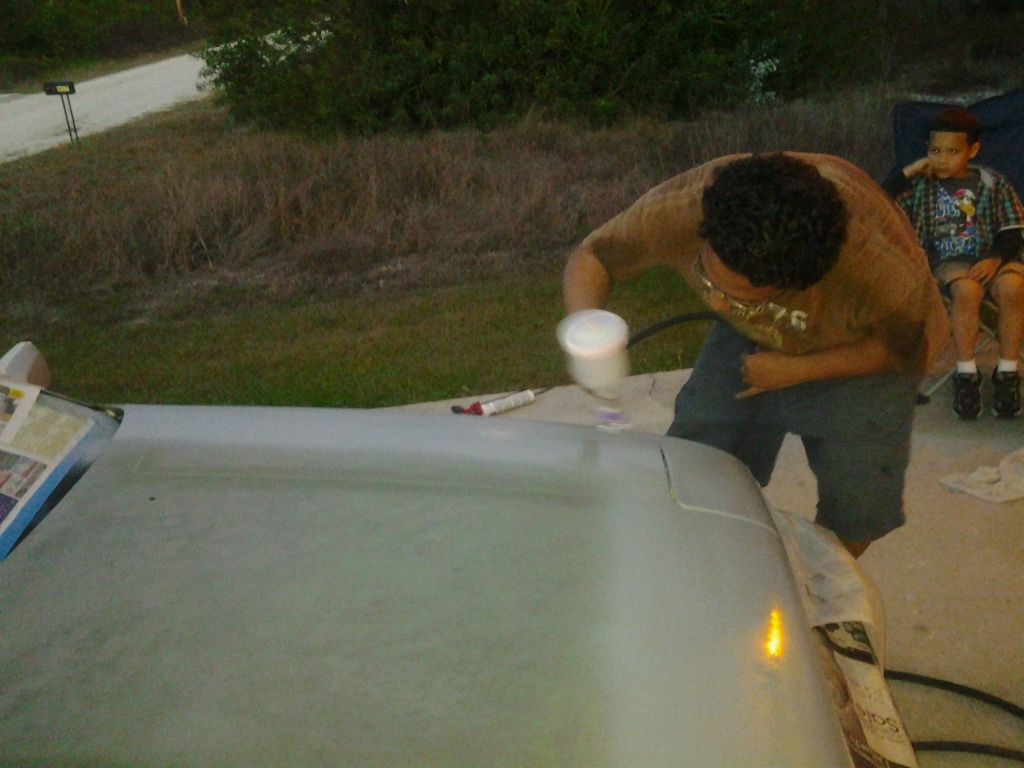 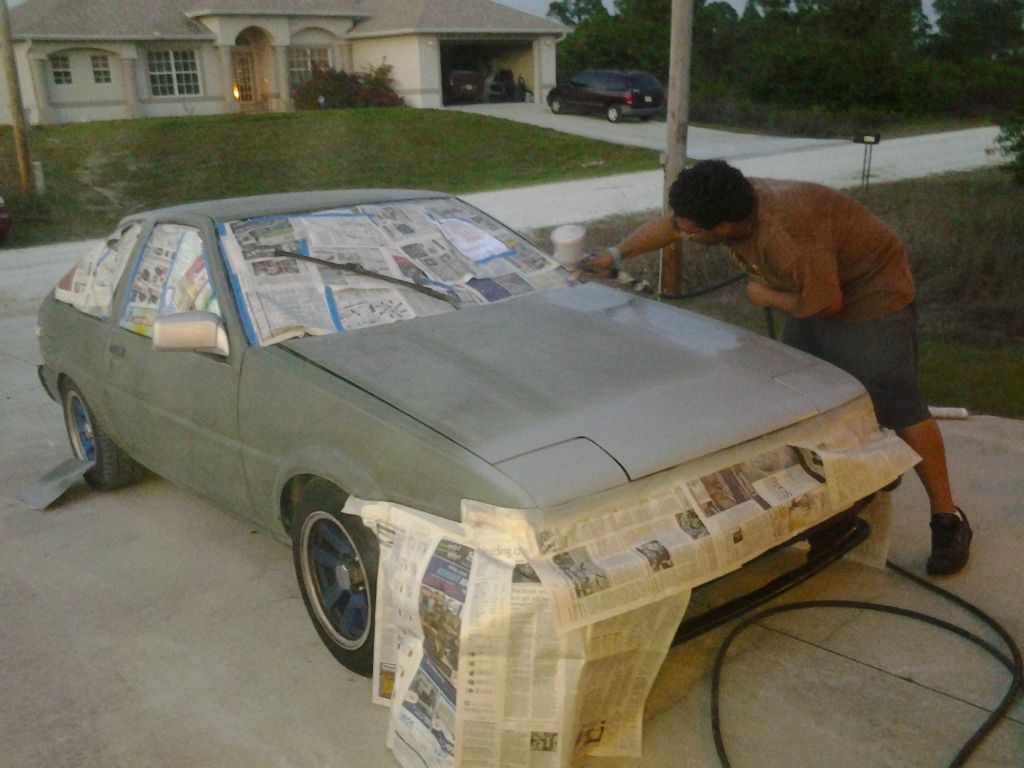 passenger side coat going on 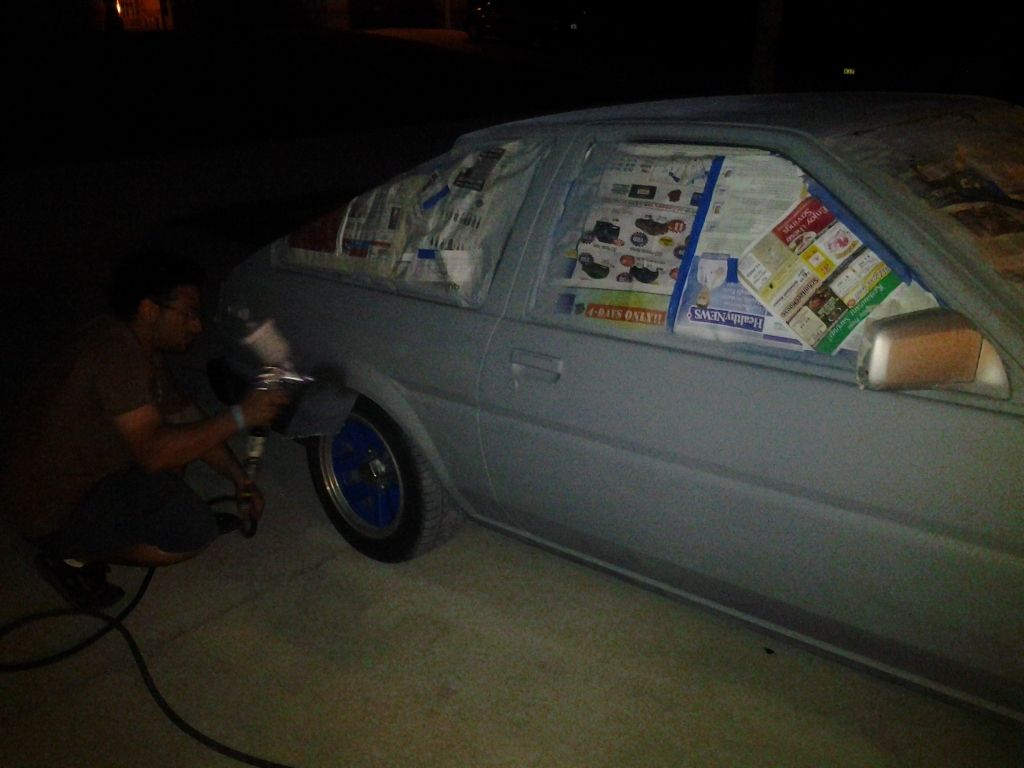 |
|
|
|
Post by 305rolla on Apr 19, 2013 17:36:43 GMT -5
Nice to see it getting done
|
|
|
|
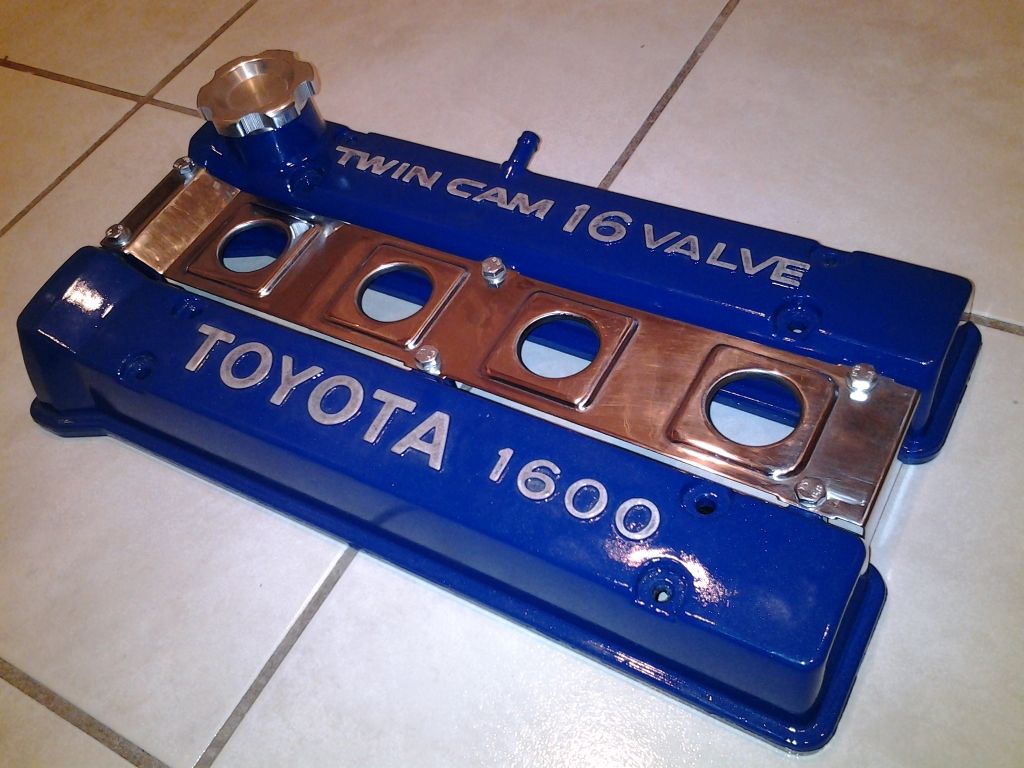
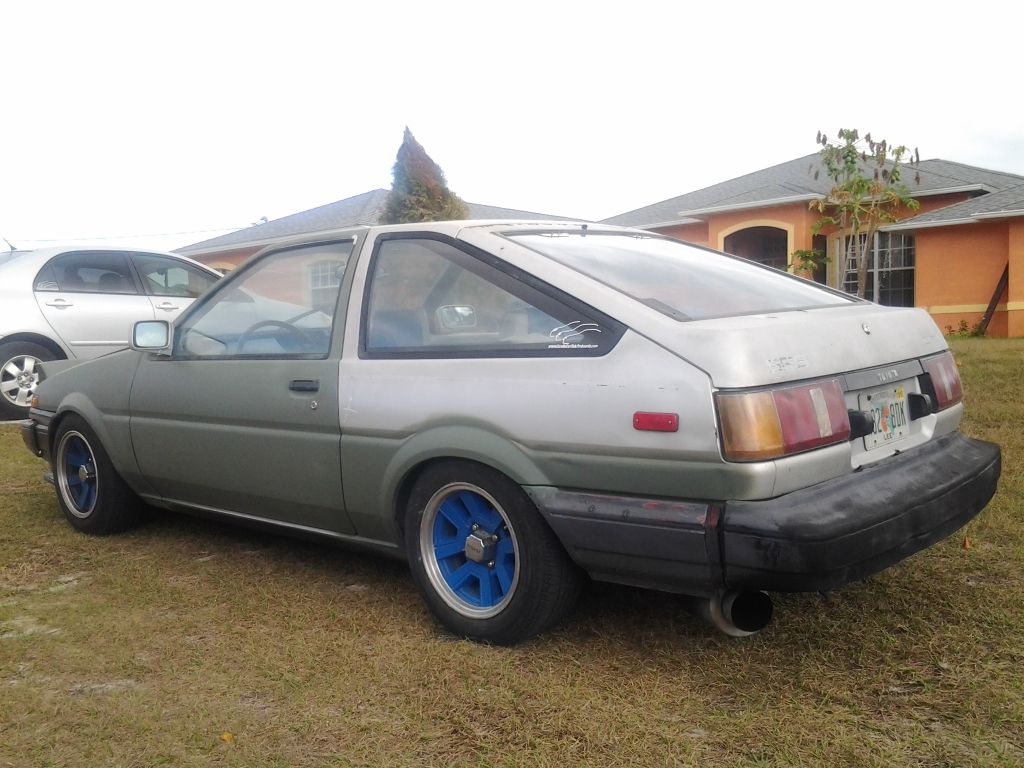
Post by 4agpwr1 on Aug 6, 2013 11:30:52 GMT -5
So havent posted in a while but the next few pics will bring you to speed on this project. This setup is a pre setup so be prepared for the change in specs, compression, ecu choice and so on
For now here are the specs of this set-up
Low milage ST Bottom 10:5:1
Large Port BlueTop 16v Fresh Head
Transferred the Oil Feed adapter from the 16v oil cooler set up
AFM from Ra65 Celica
Factory Electronics including the Ecu for Now
Ignition Timing retarded -4* from factory 10*BTDC
Compression up to 10:8/9:1 from where factory BlueTop is 9:4:1
Fuel pressure Regulator set at 36psi
AFR's @ at idle are 11:3-5
Cruzing 10:9
Will probably adjust the AFM spring to get it to run a little leaner.
I am currently driving it & getting bout 345 miles to the tank but still have adjustments to be made
|
|
|
|
Post by BTCreations on Aug 6, 2013 15:46:39 GMT -5
Pics Pics Pics, we want pics! Lol
|
|
|
|
Post by 7thgen7a on Aug 6, 2013 16:37:51 GMT -5
Yes sir need pics and stuff lol
|
|
|
|
Post by 4agpwr1 on Aug 13, 2013 21:59:32 GMT -5
So lets pick this up to date first the taillights out with old 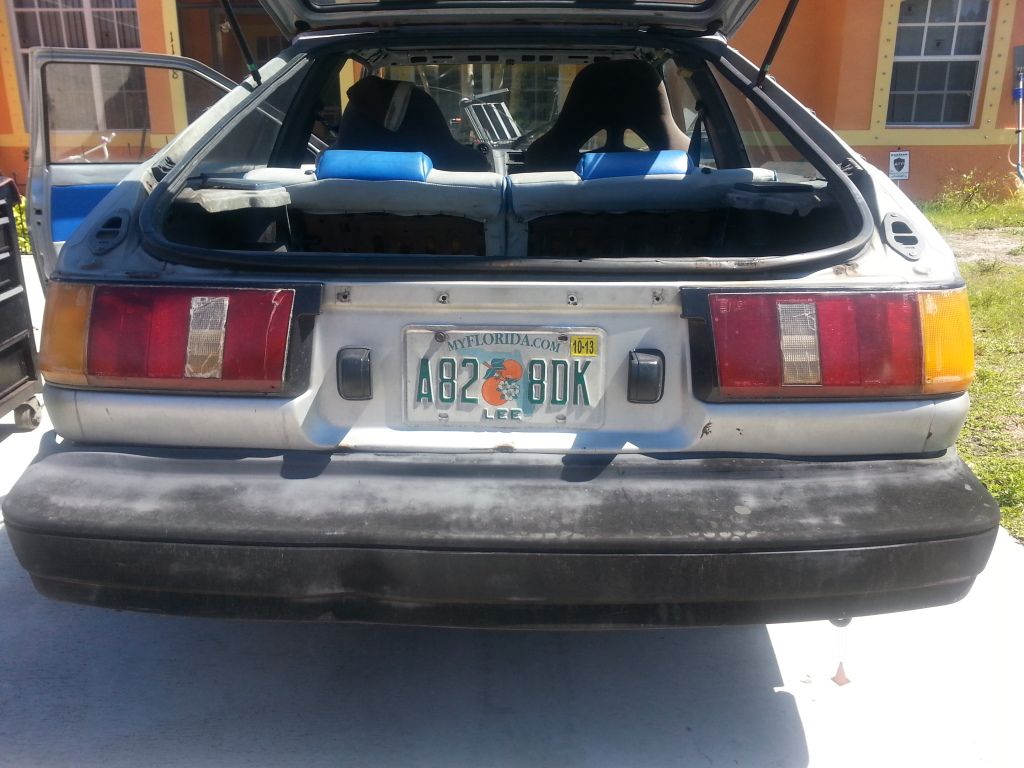 & in with the New 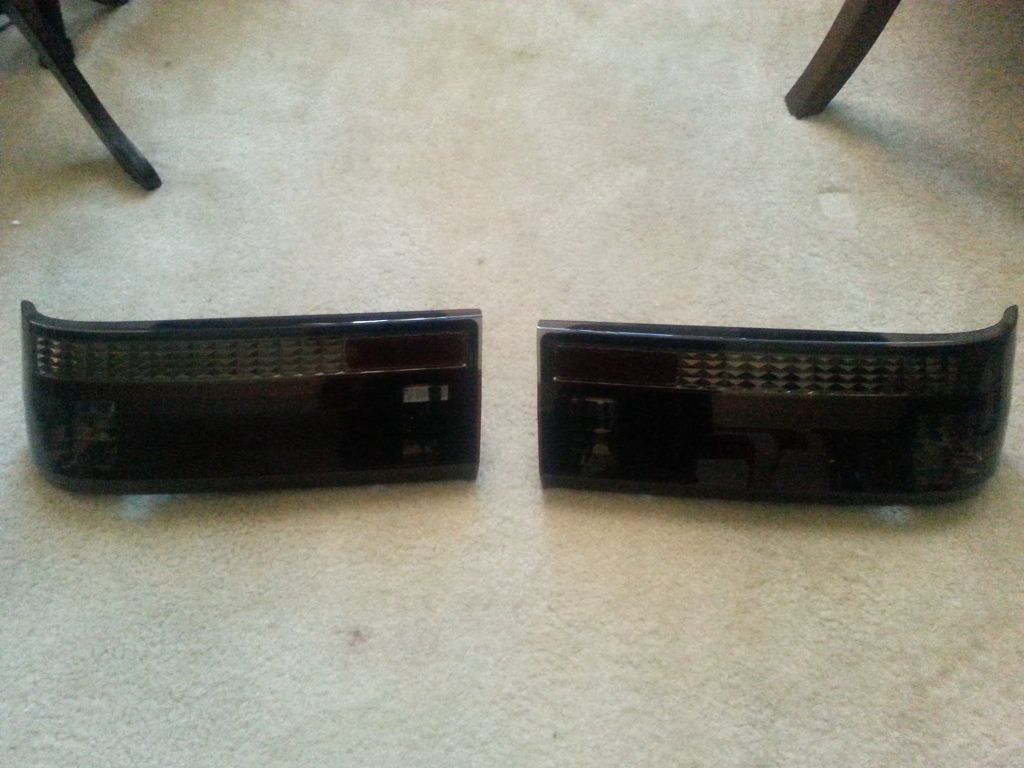 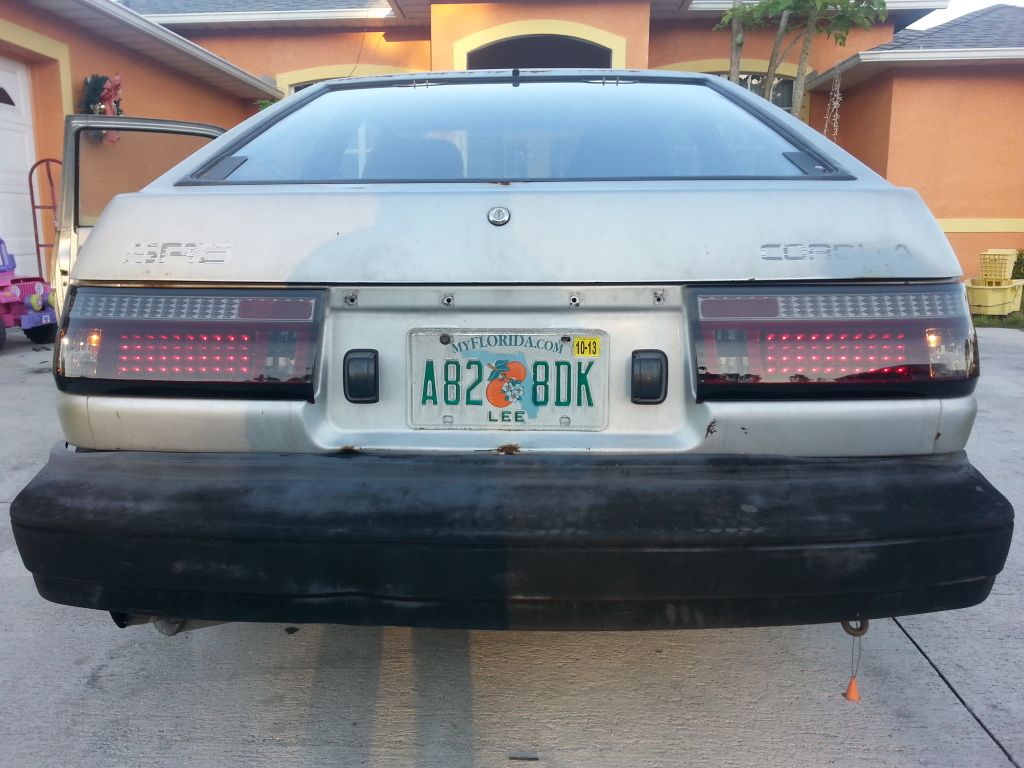 Upclose left 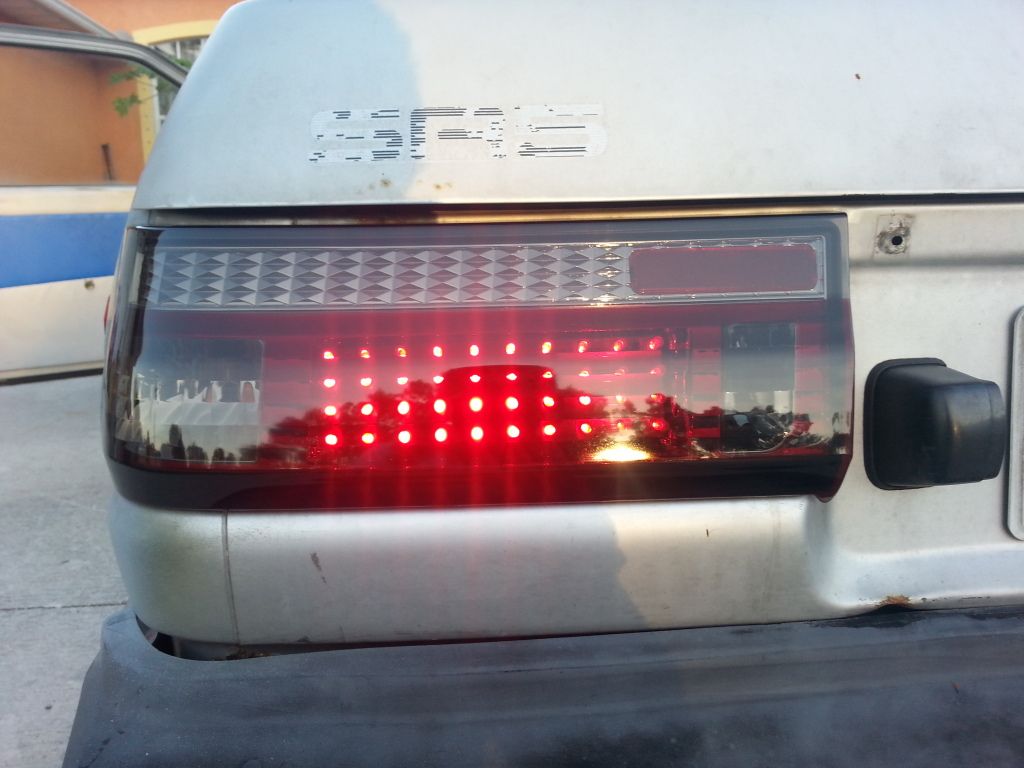 Upclose right 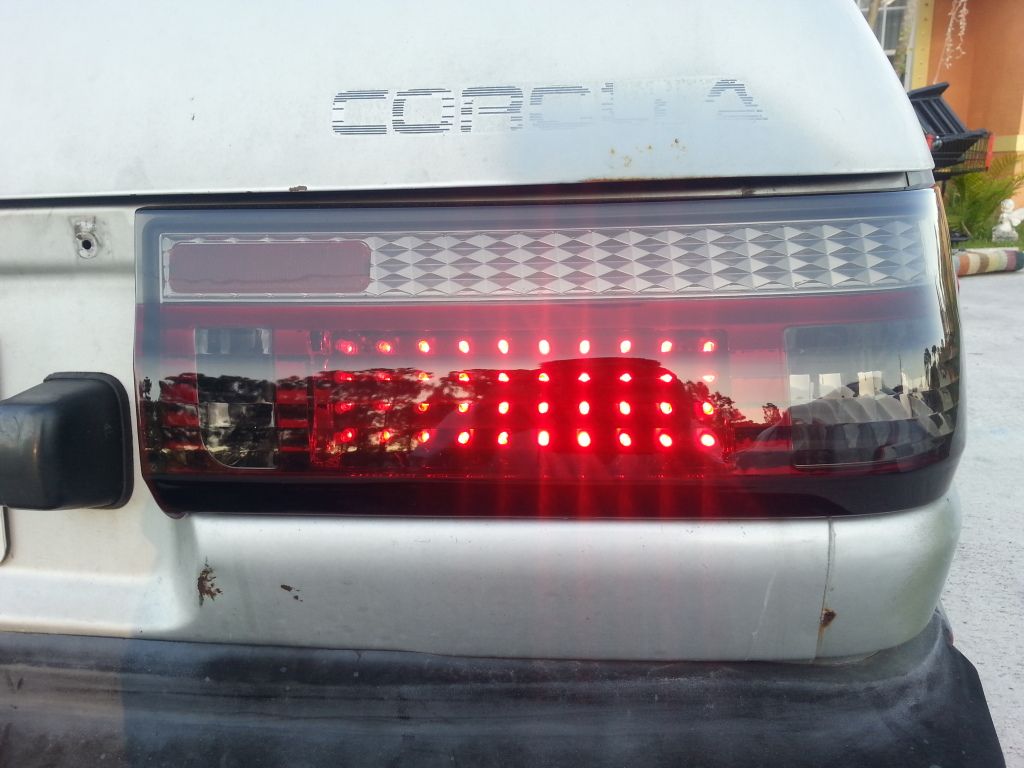 Nite shot of running lights 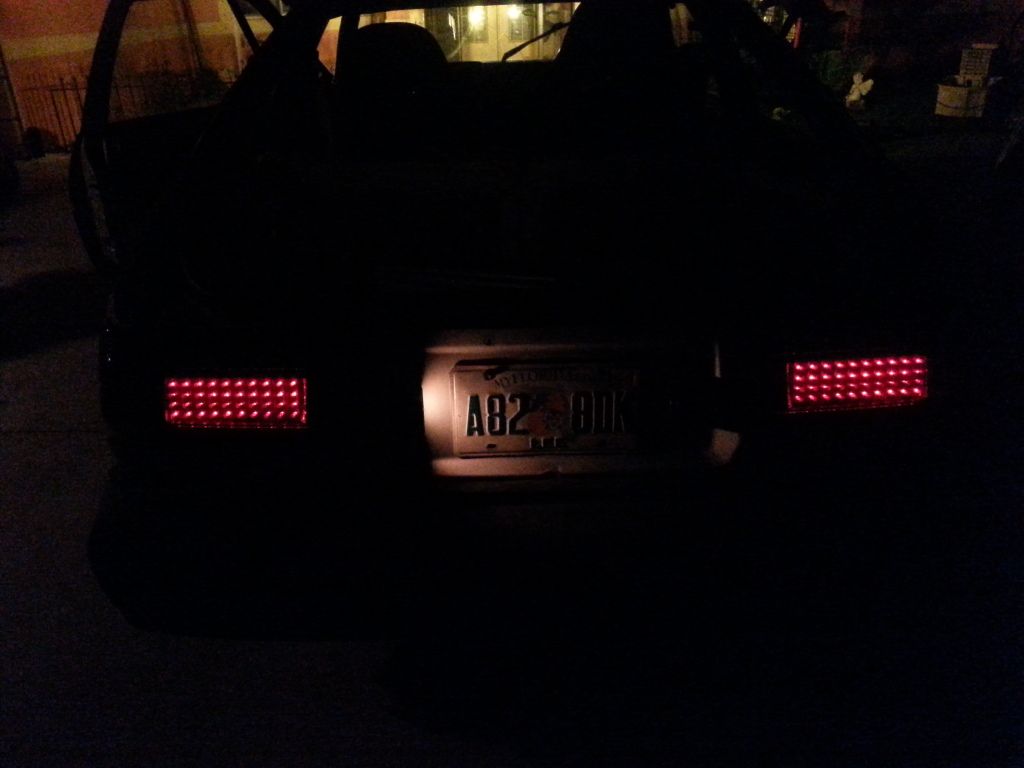 & with brake pedal depressed 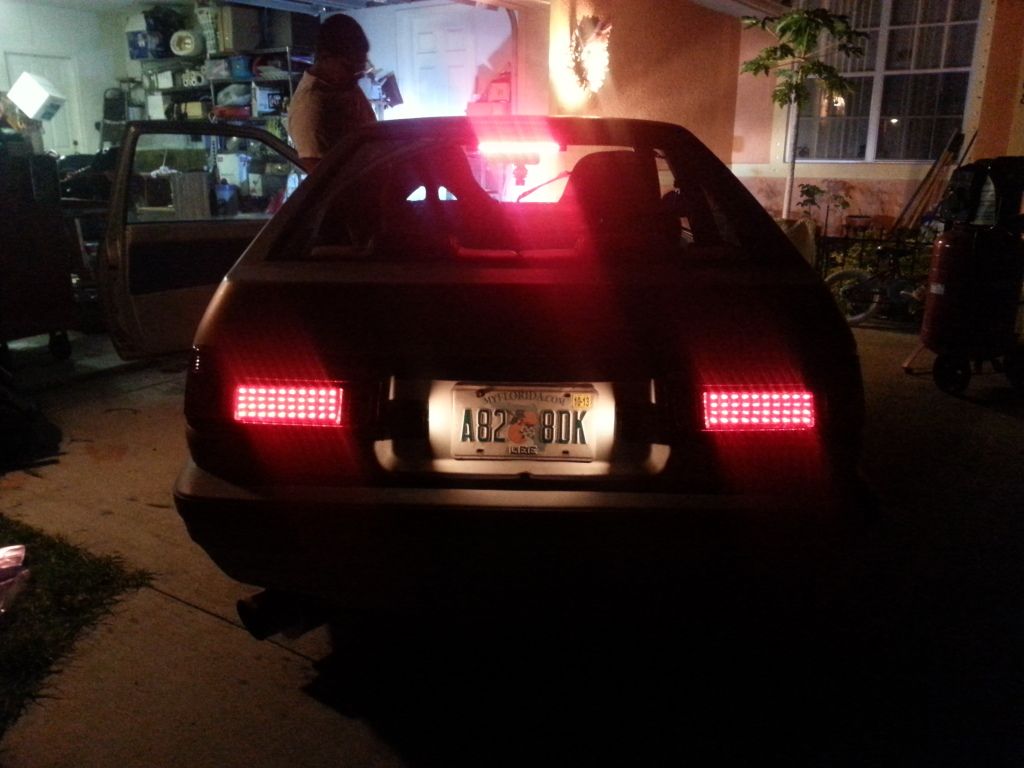 |
|
|
|
Post by gold94corolla on Aug 13, 2013 23:09:44 GMT -5
Nice, LEDS!
|
|
|
|
Post by mindbeats on Aug 13, 2013 23:15:55 GMT -5
nice im digging the lights. more pics!!!!!!!!!!!!!!!!!
|
|
|
|
Post by 4agpwr1 on Aug 14, 2013 14:09:10 GMT -5
More pics ok here are some more New Bucket seats 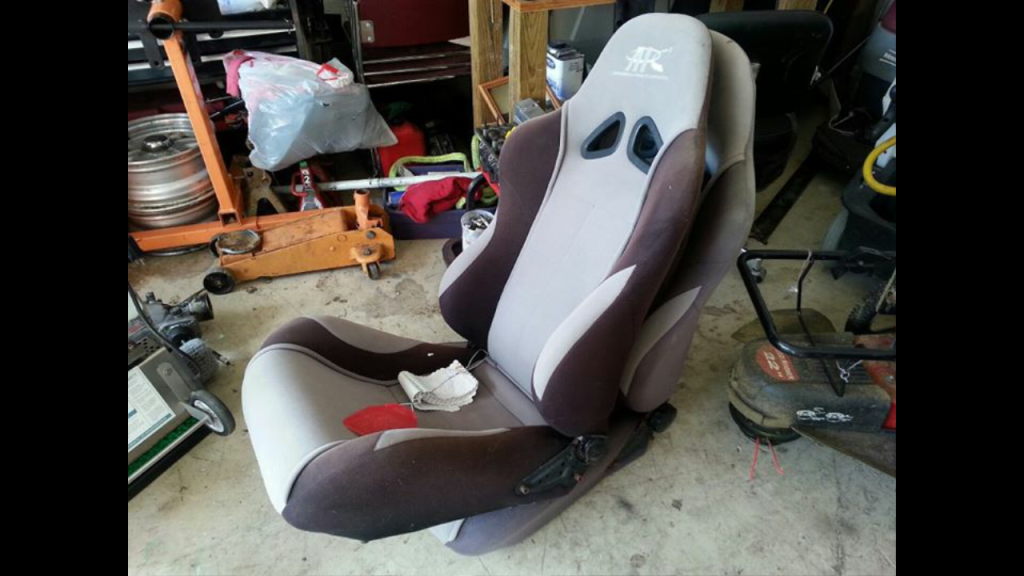 Alex doing work with the brackets 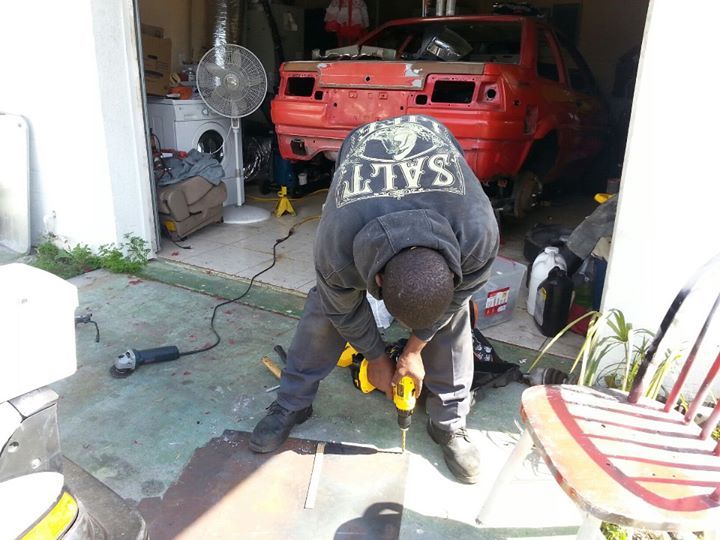 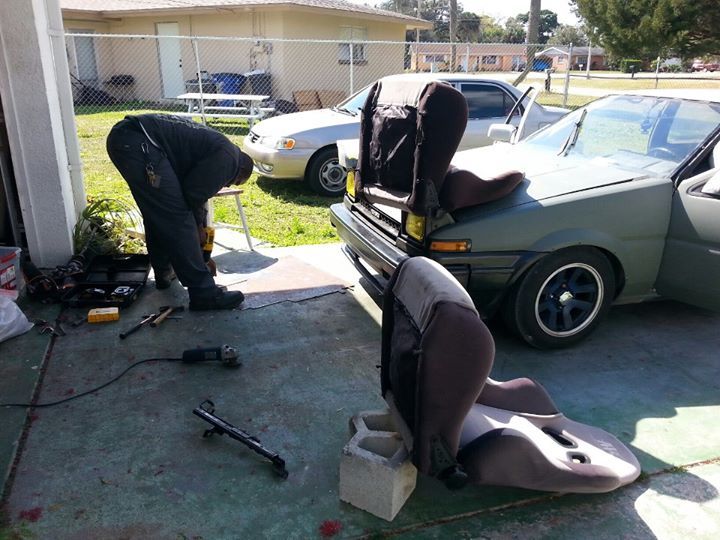 Some test fitting & welding 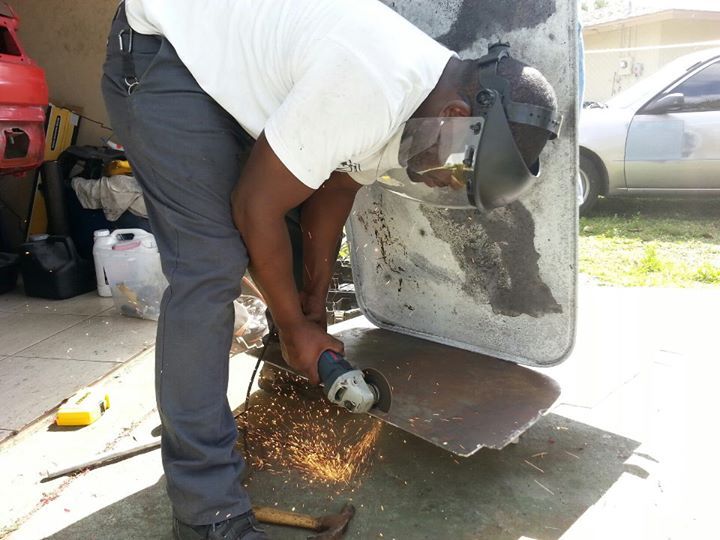 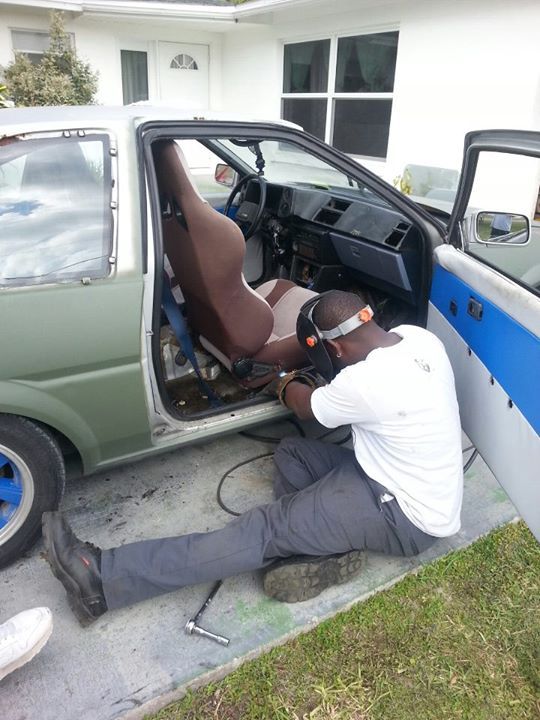 Gota have fun when owning someone is available 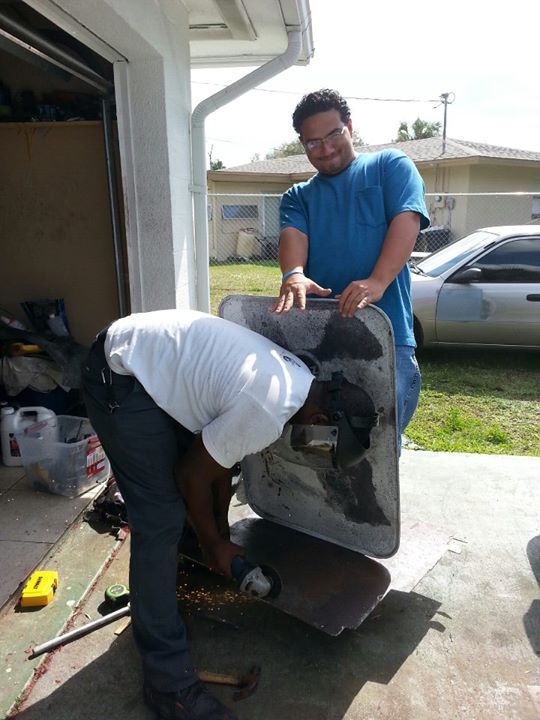 Next some more seat fitment 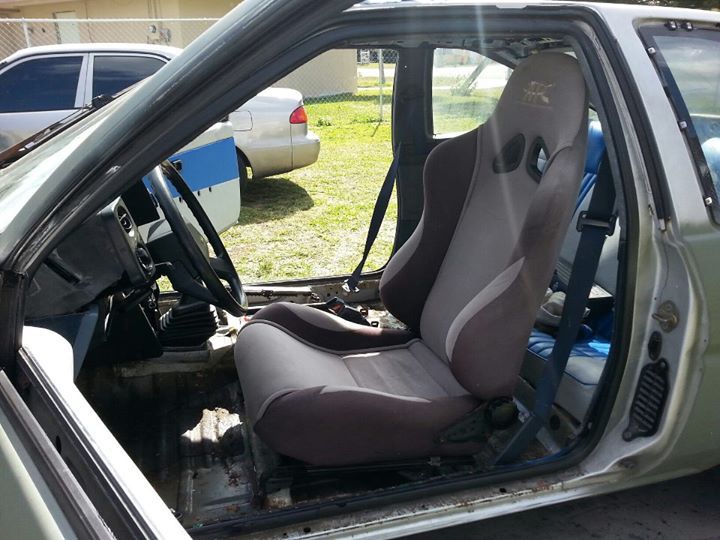 & Finally Secure Fittment 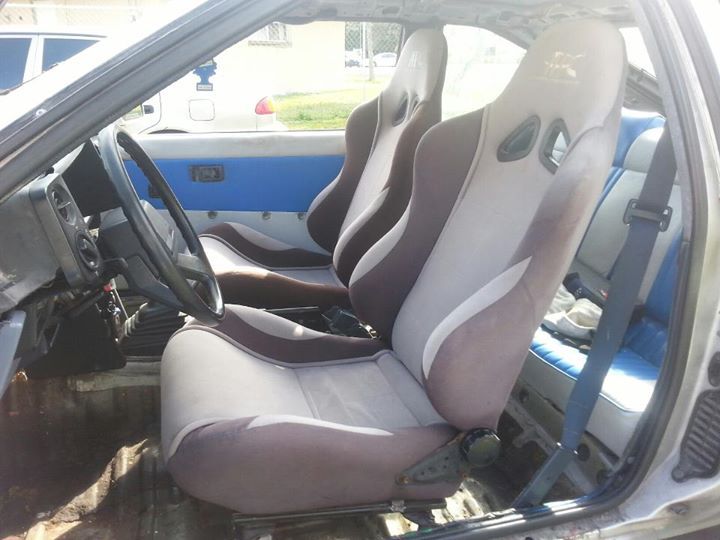 |
|
|
|
Post by 4agpwr1 on Aug 20, 2013 12:11:24 GMT -5
Moving on with another interior mod Goodbye stock wheel  & Hello New Steering Wheel 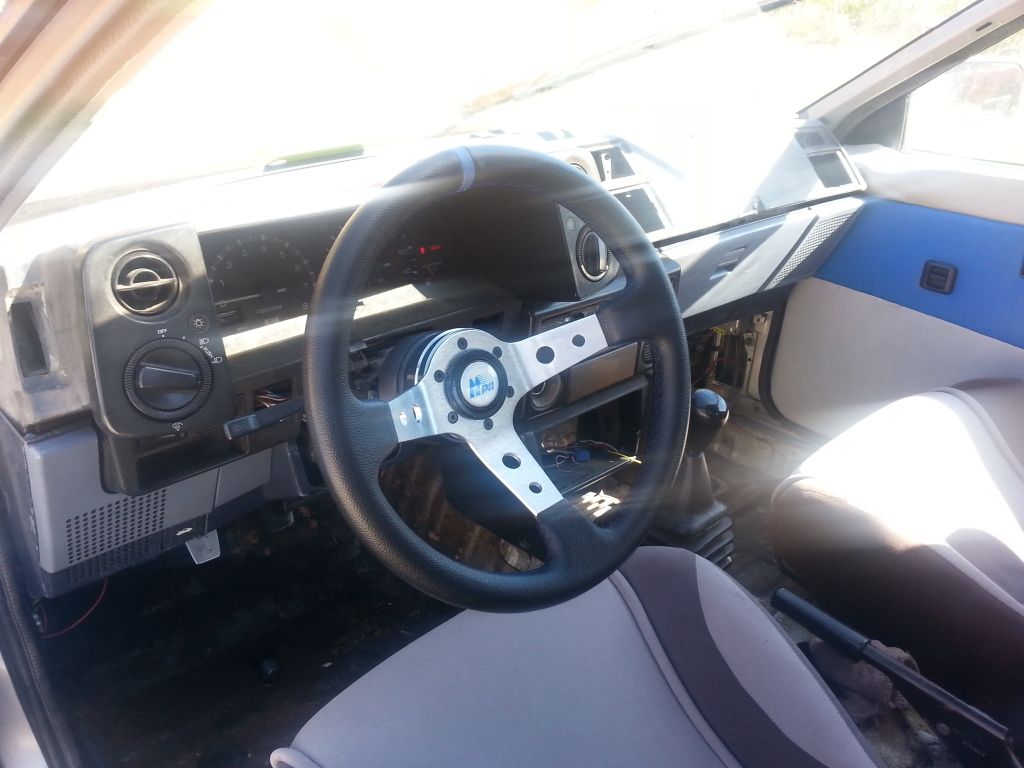 Did I mention its Detachable 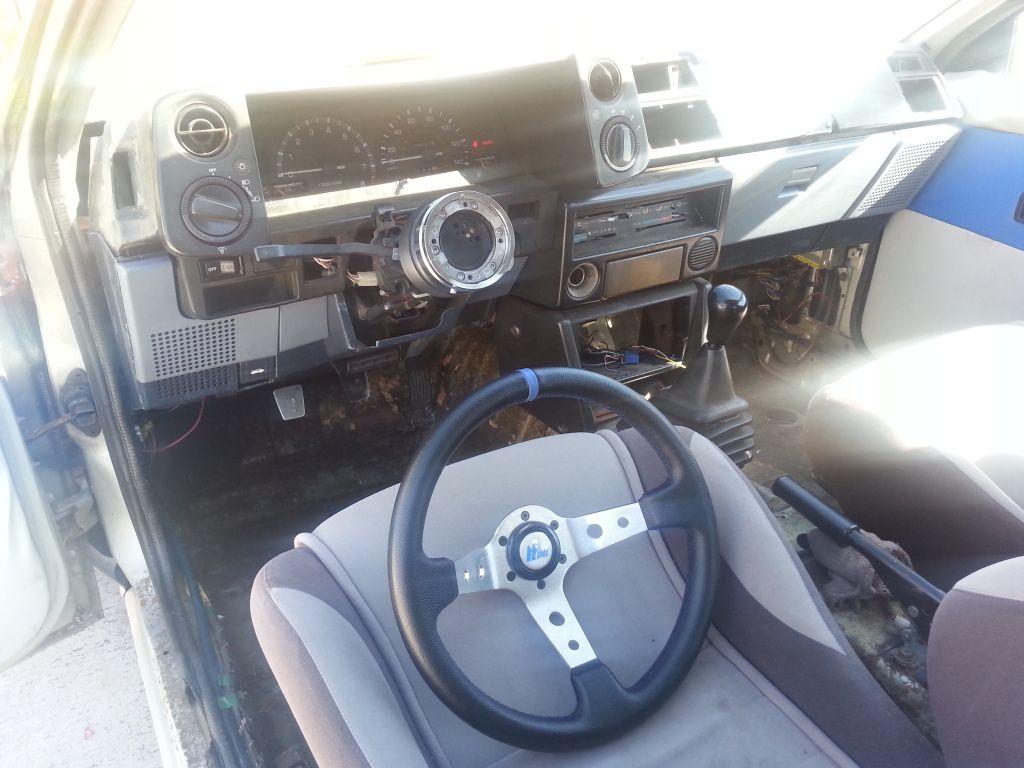 |
|


 Aww man, at least you tried. What are you planning to try next?
