Post by Rinconrolla on Jun 8, 2010 23:56:04 GMT -5
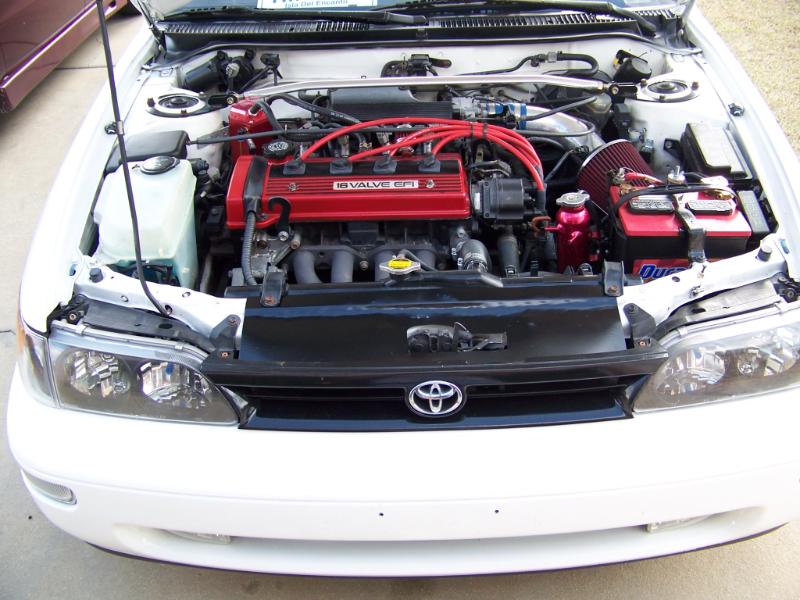
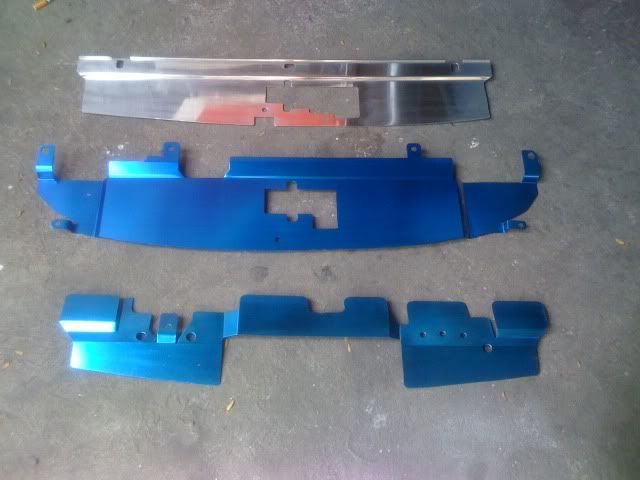
The making of a Radiator Cooling Shield .
I have more DIY on my page rinconrolla98.blogspot.com/

First you remove the screws on the top that hold the front grille .
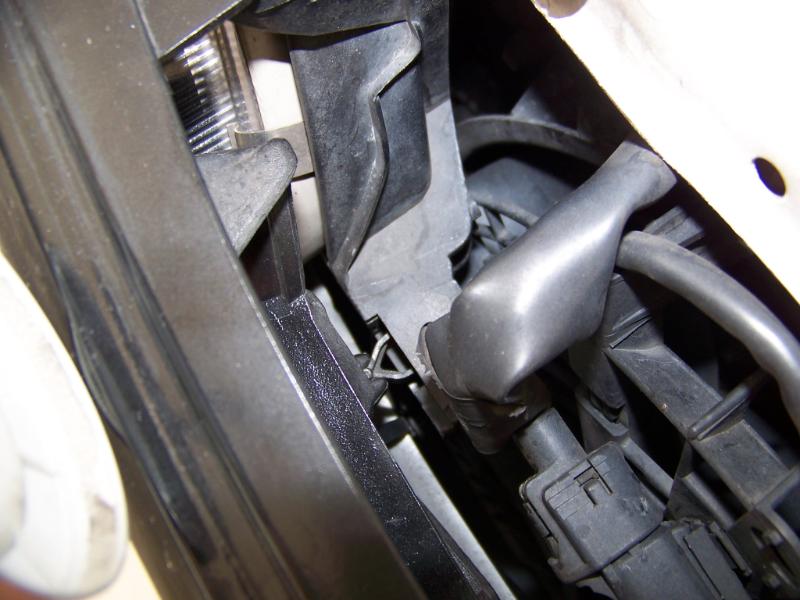
In the bottom of the back of the grille is a snap thing that you have to open apart then the bottom will push out .

Then you pull forward gently not breaking the snap thing in the back .


Then with a 12m socket you remove the radiator hold down brackets.

Then you lay the aluminum sheet metal flush to the edge where you see my finger then you mark the holes to drill and tap on the center so that the hinge will make a tiny indent . Then you drill in the center .

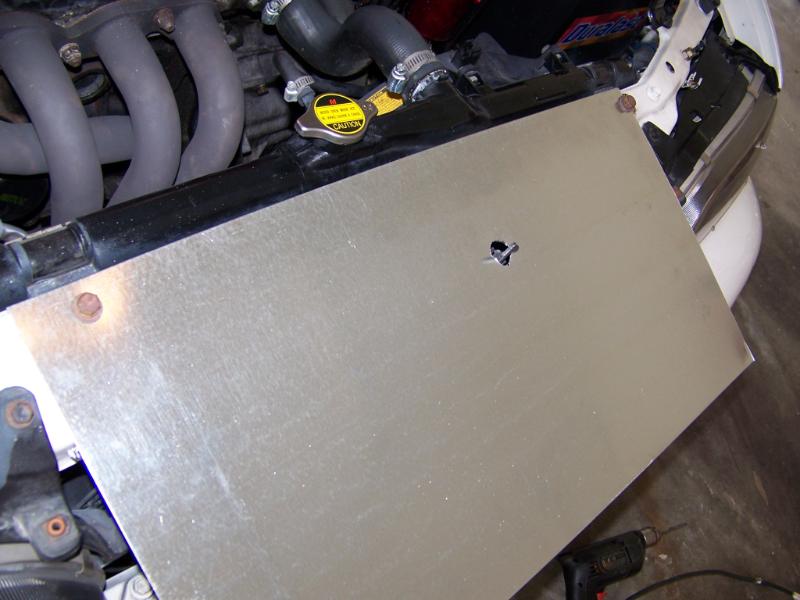
Once you make the hole in the center you then put just the bolts back to hold the shield in place so that you can cut the center out where the hood hinge and handle is at .

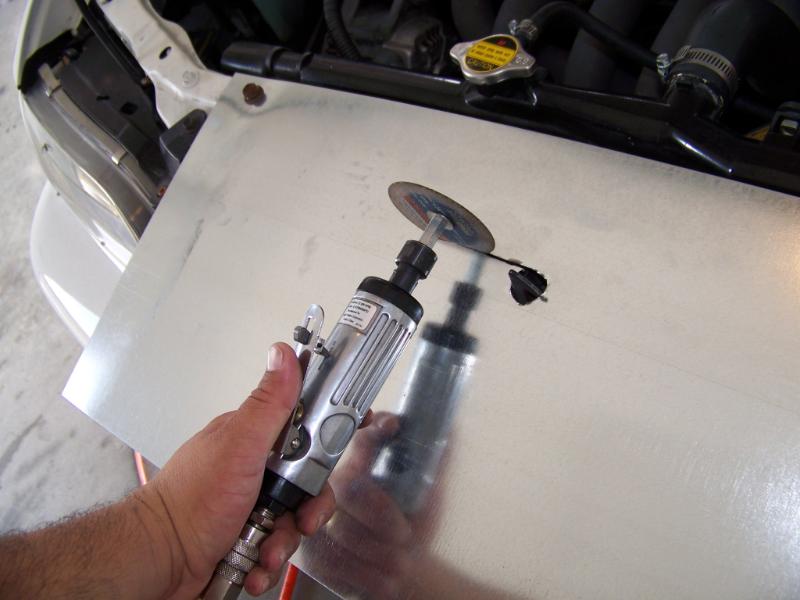
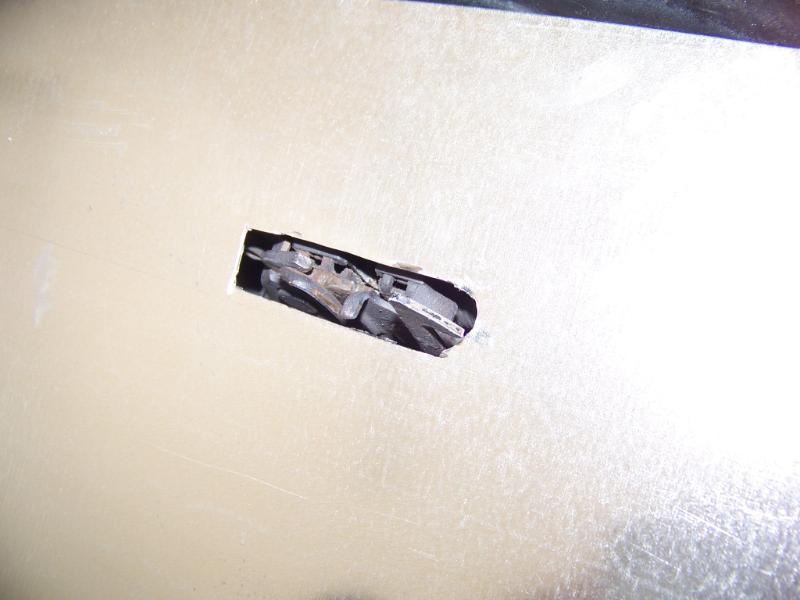

Once you have it lined up then you grab your dremel and you cut the are where you can expose the hinger area first , Then you cut open the area where the handle for the hood can be exposed .

Once you finished then it should look like this . You would still need to trim it some more but you don't do that until after you make the bends of the aluminum sheet metal .
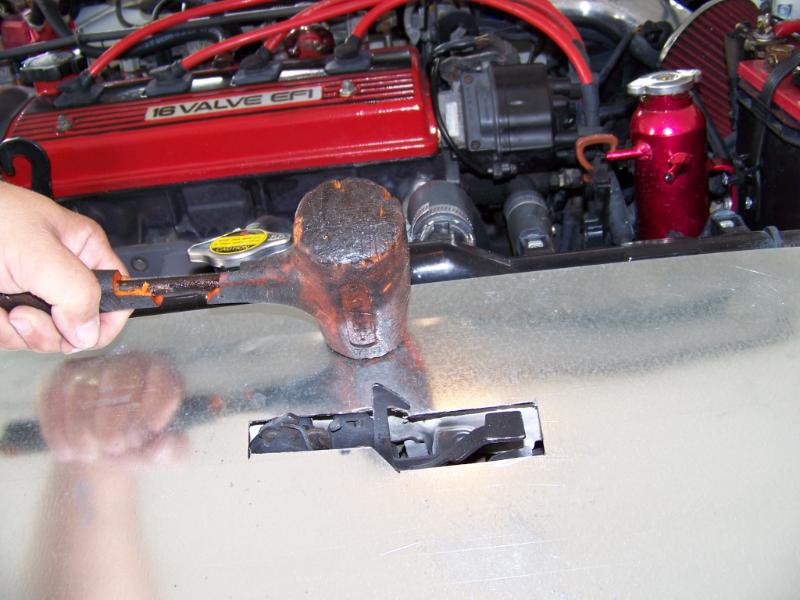

Then with a rubber mallot you bang the metal so that it forms the same shape as the radiator frame and the hood rod area so when you lay the hood rod down it will have enough room with out messing up your sheet metal when you close the hood . When you are finished it will look like this . ( Reminder - Then you can trim open up the hole a little wider because you need that metal to lay as flat as you can . )
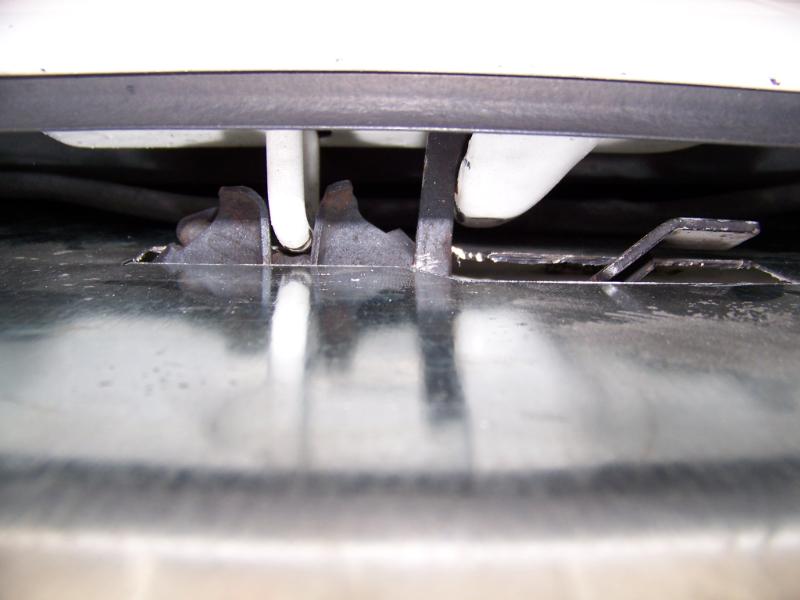
Then you gently lay the hood down making sure the hook and the handle are clear so that you can open your hood and that you can close the hood to . It should look like this .


Then you put the grille back on and then you close the hood so that the metal lays straight and the hood will give you a leading edge to mark off with a marker . Try to get under the hood a little but not to short . Because the metal will tuck under the grille .
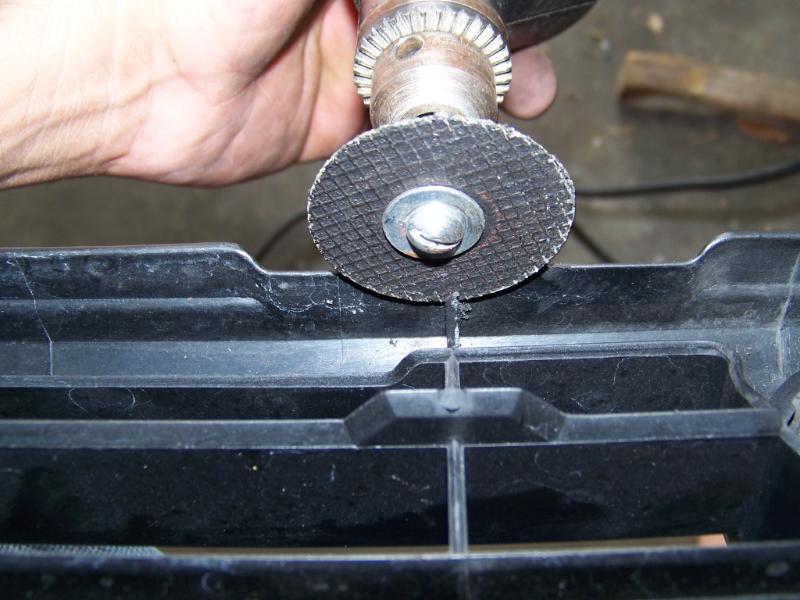

Behind the grille will be some plastic tabs that need to be cut . Do not worry this will not affect the integrity of the grille , But will make it easier for the metal to slide under the top lip of the grille . ( Advice - The more that is under the lip the better your shield will set and be lower in the front .)

Then you remove the grill cut across and put the piece of metal back then you put the grill back . This is what your shield should look like when it is all done ready to be painted . ( Reminder - You have to remove the shield by the bolts first cause you wont be able to reach the snap thing on the bottom anymore .)
I have more DIY on my page rinconrolla98.blogspot.com/

First you remove the screws on the top that hold the front grille .

In the bottom of the back of the grille is a snap thing that you have to open apart then the bottom will push out .

Then you pull forward gently not breaking the snap thing in the back .


Then with a 12m socket you remove the radiator hold down brackets.

Then you lay the aluminum sheet metal flush to the edge where you see my finger then you mark the holes to drill and tap on the center so that the hinge will make a tiny indent . Then you drill in the center .


Once you make the hole in the center you then put just the bolts back to hold the shield in place so that you can cut the center out where the hood hinge and handle is at .


Once you have it lined up then you grab your dremel and you cut the are where you can expose the hinger area first , Then you cut open the area where the handle for the hood can be exposed .

Once you finished then it should look like this . You would still need to trim it some more but you don't do that until after you make the bends of the aluminum sheet metal .


Then with a rubber mallot you bang the metal so that it forms the same shape as the radiator frame and the hood rod area so when you lay the hood rod down it will have enough room with out messing up your sheet metal when you close the hood . When you are finished it will look like this . ( Reminder - Then you can trim open up the hole a little wider because you need that metal to lay as flat as you can . )

Then you gently lay the hood down making sure the hook and the handle are clear so that you can open your hood and that you can close the hood to . It should look like this .


Then you put the grille back on and then you close the hood so that the metal lays straight and the hood will give you a leading edge to mark off with a marker . Try to get under the hood a little but not to short . Because the metal will tuck under the grille .


Behind the grille will be some plastic tabs that need to be cut . Do not worry this will not affect the integrity of the grille , But will make it easier for the metal to slide under the top lip of the grille . ( Advice - The more that is under the lip the better your shield will set and be lower in the front .)

Then you remove the grill cut across and put the piece of metal back then you put the grill back . This is what your shield should look like when it is all done ready to be painted . ( Reminder - You have to remove the shield by the bolts first cause you wont be able to reach the snap thing on the bottom anymore .)








 Aww man, at least you tried. What are you planning to try next?
