Post by Rinconrolla on Feb 10, 2015 18:12:53 GMT -5
This is a DIY on how to remove and replace a valve cover gasket for a 2000 Toyota Camry with a 2.2 motor .
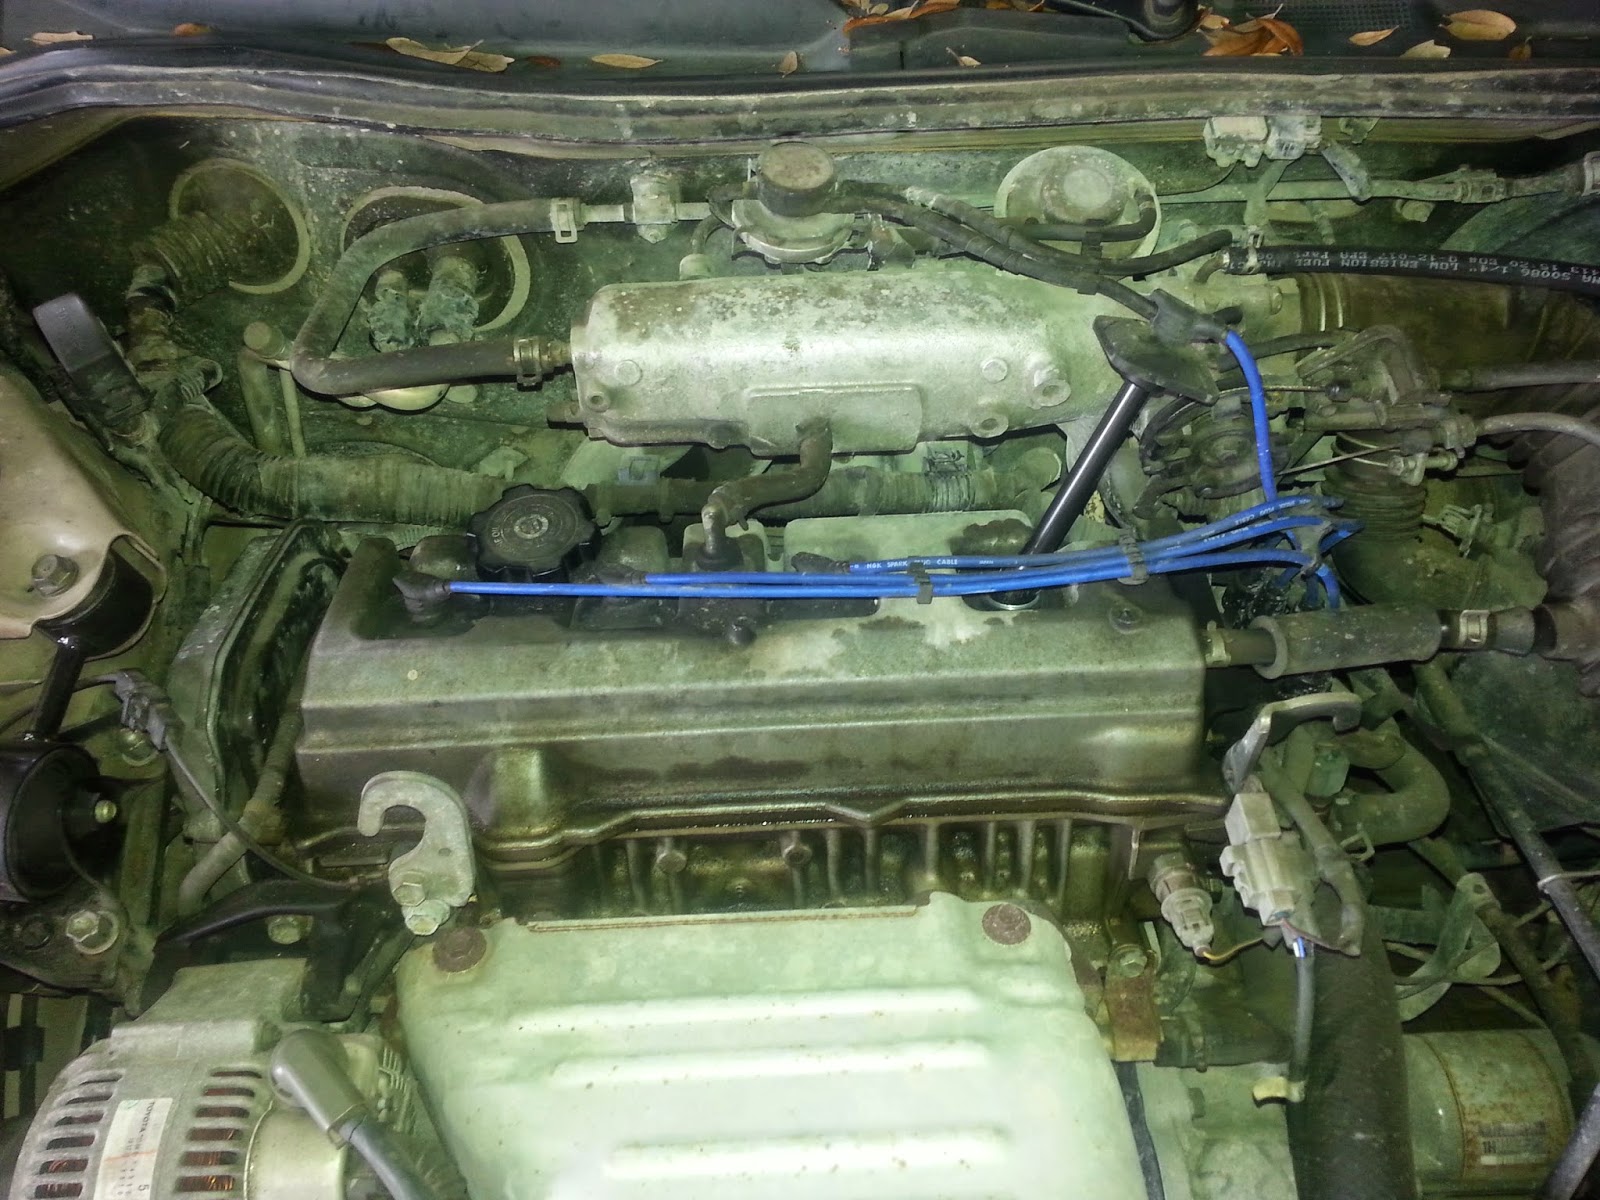
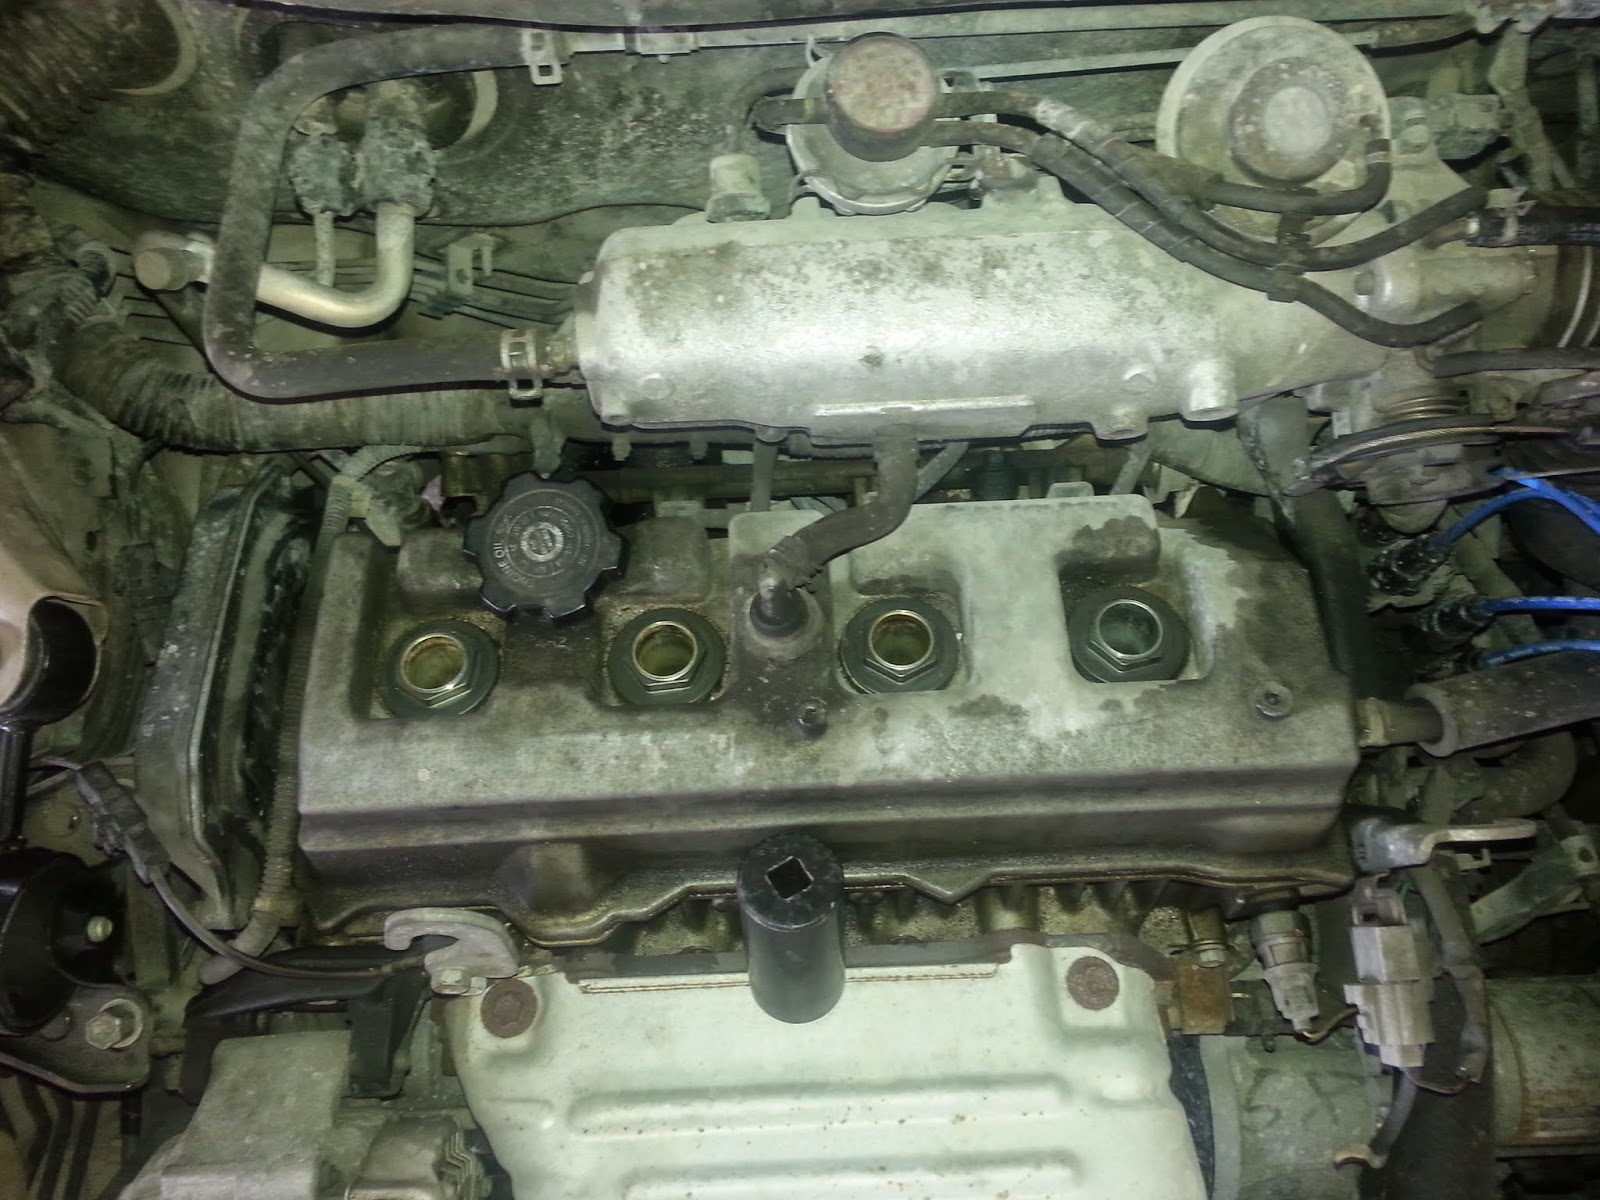
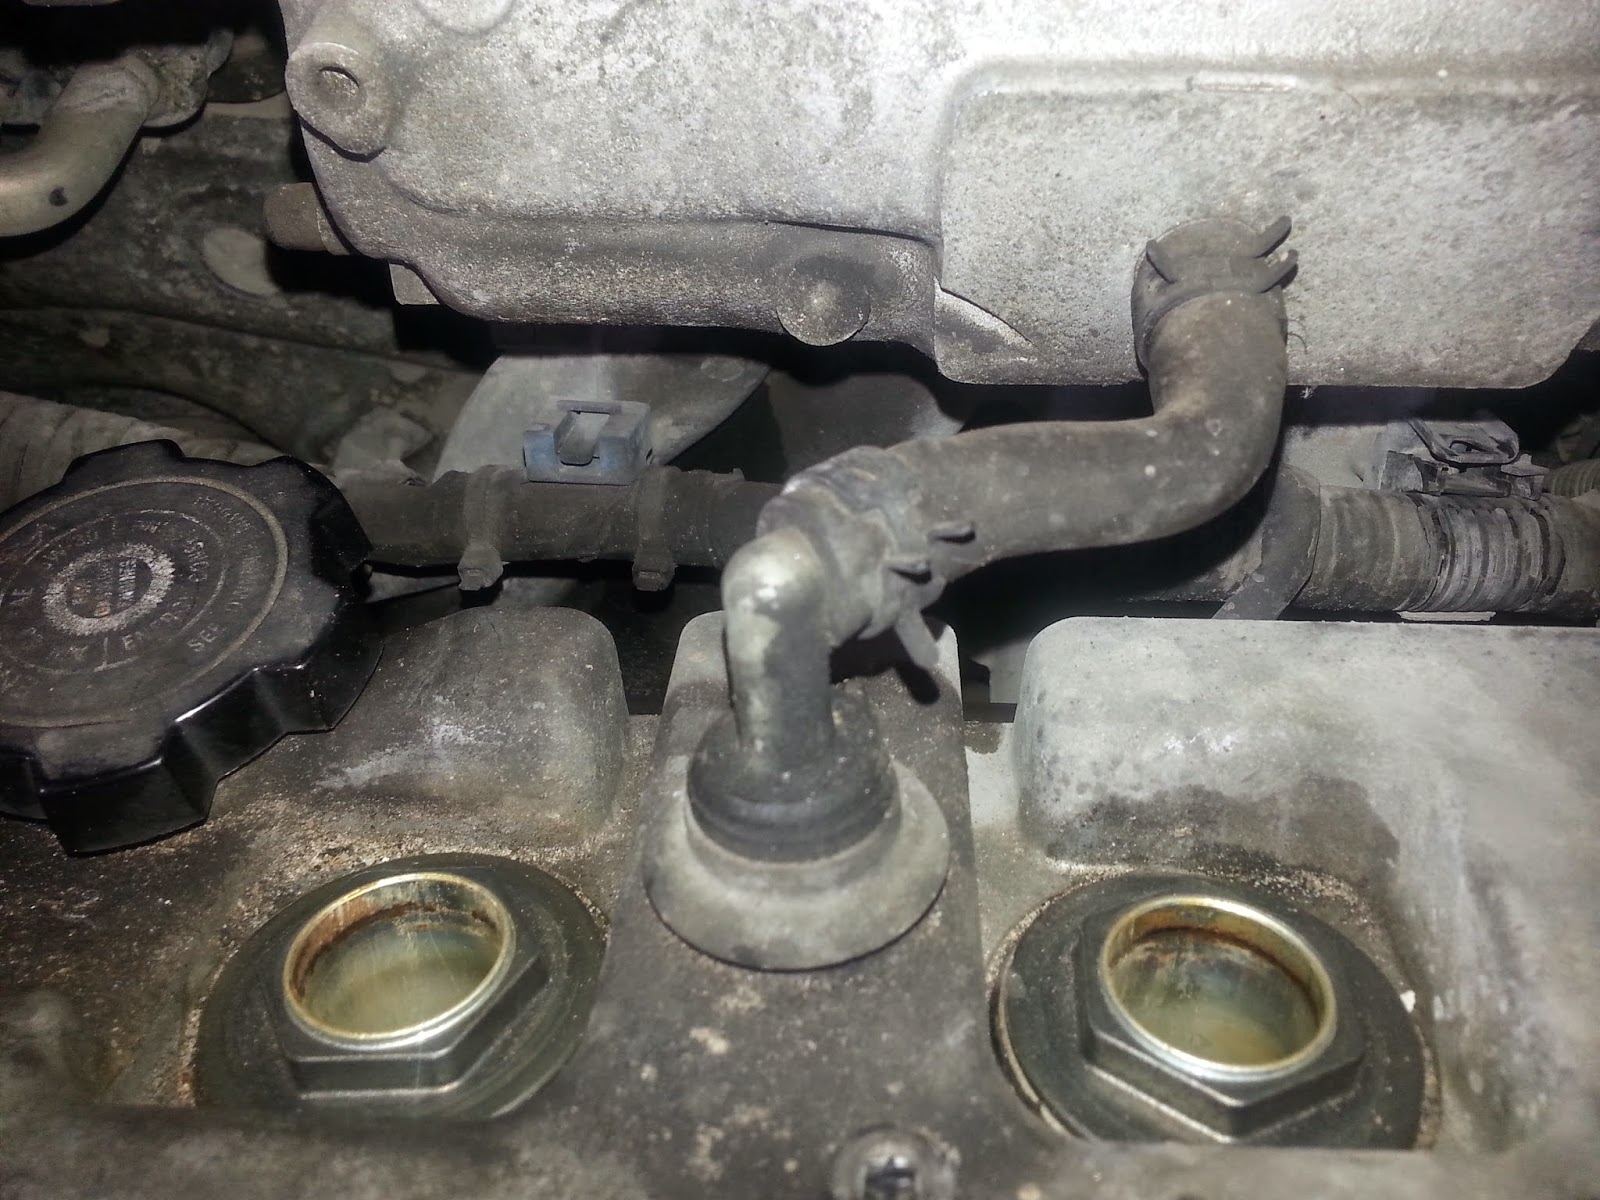
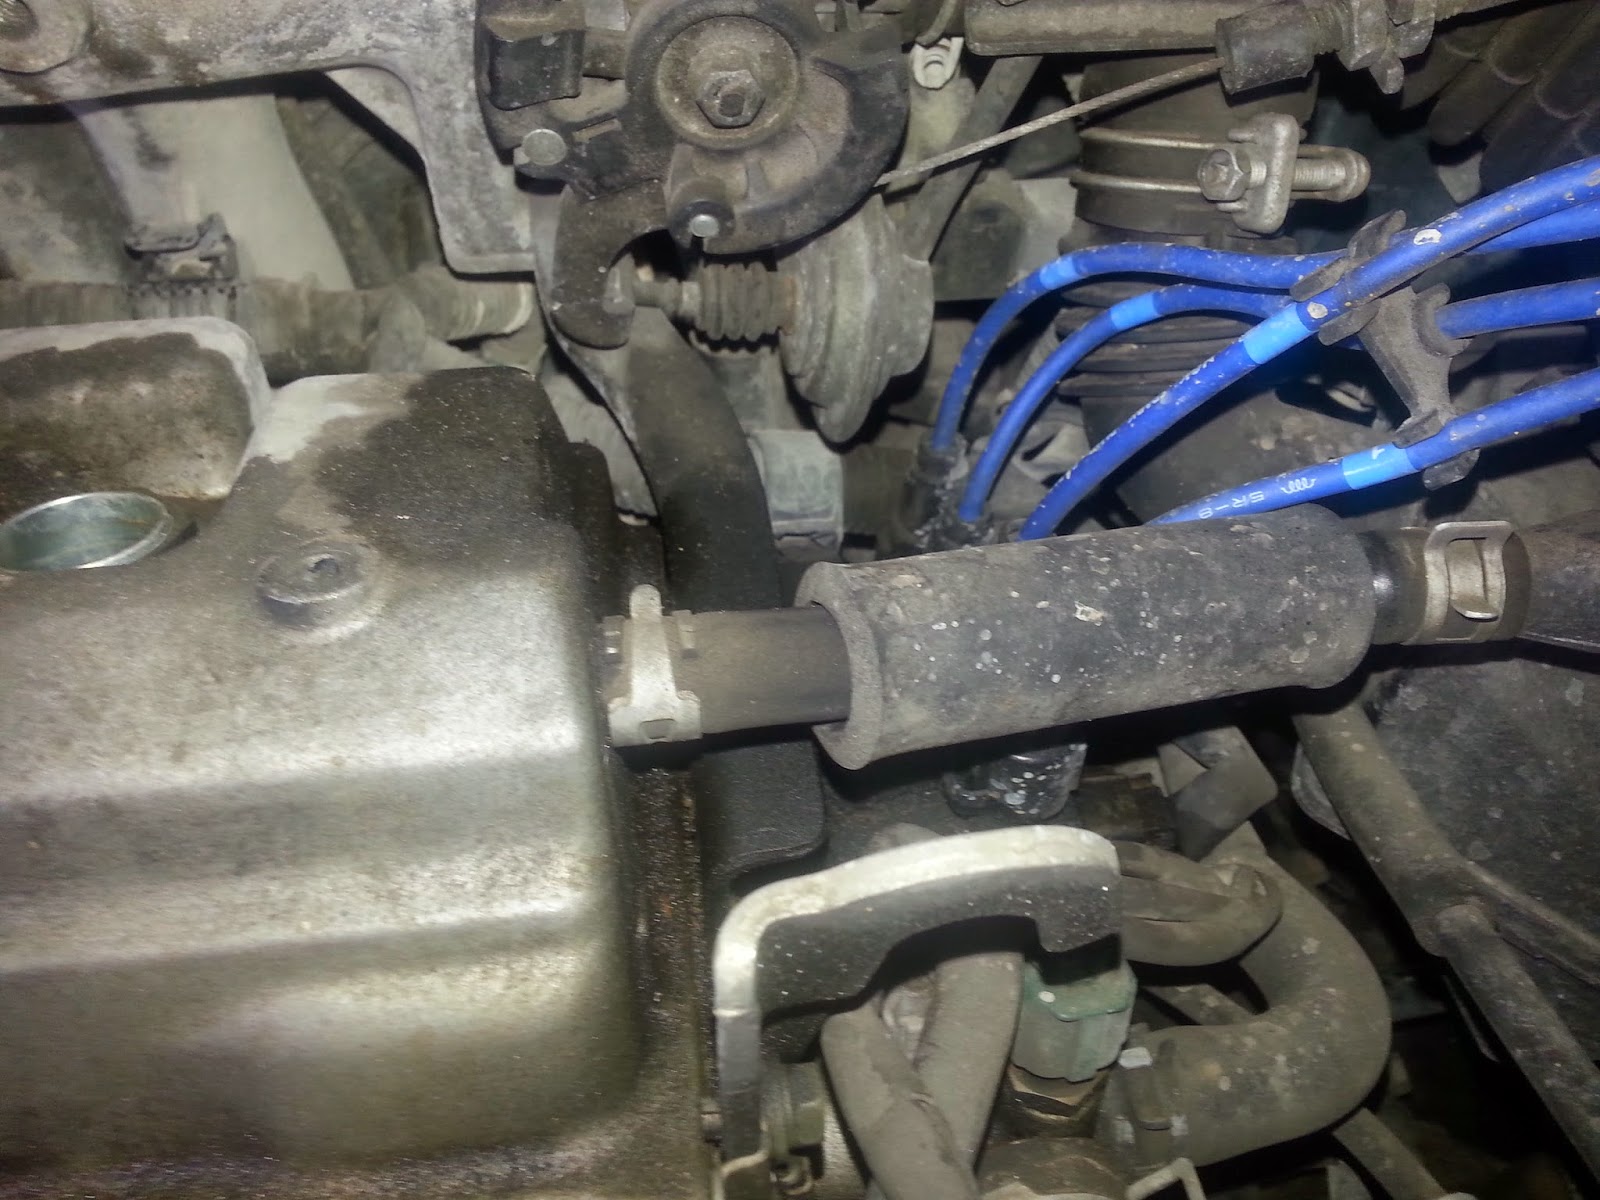
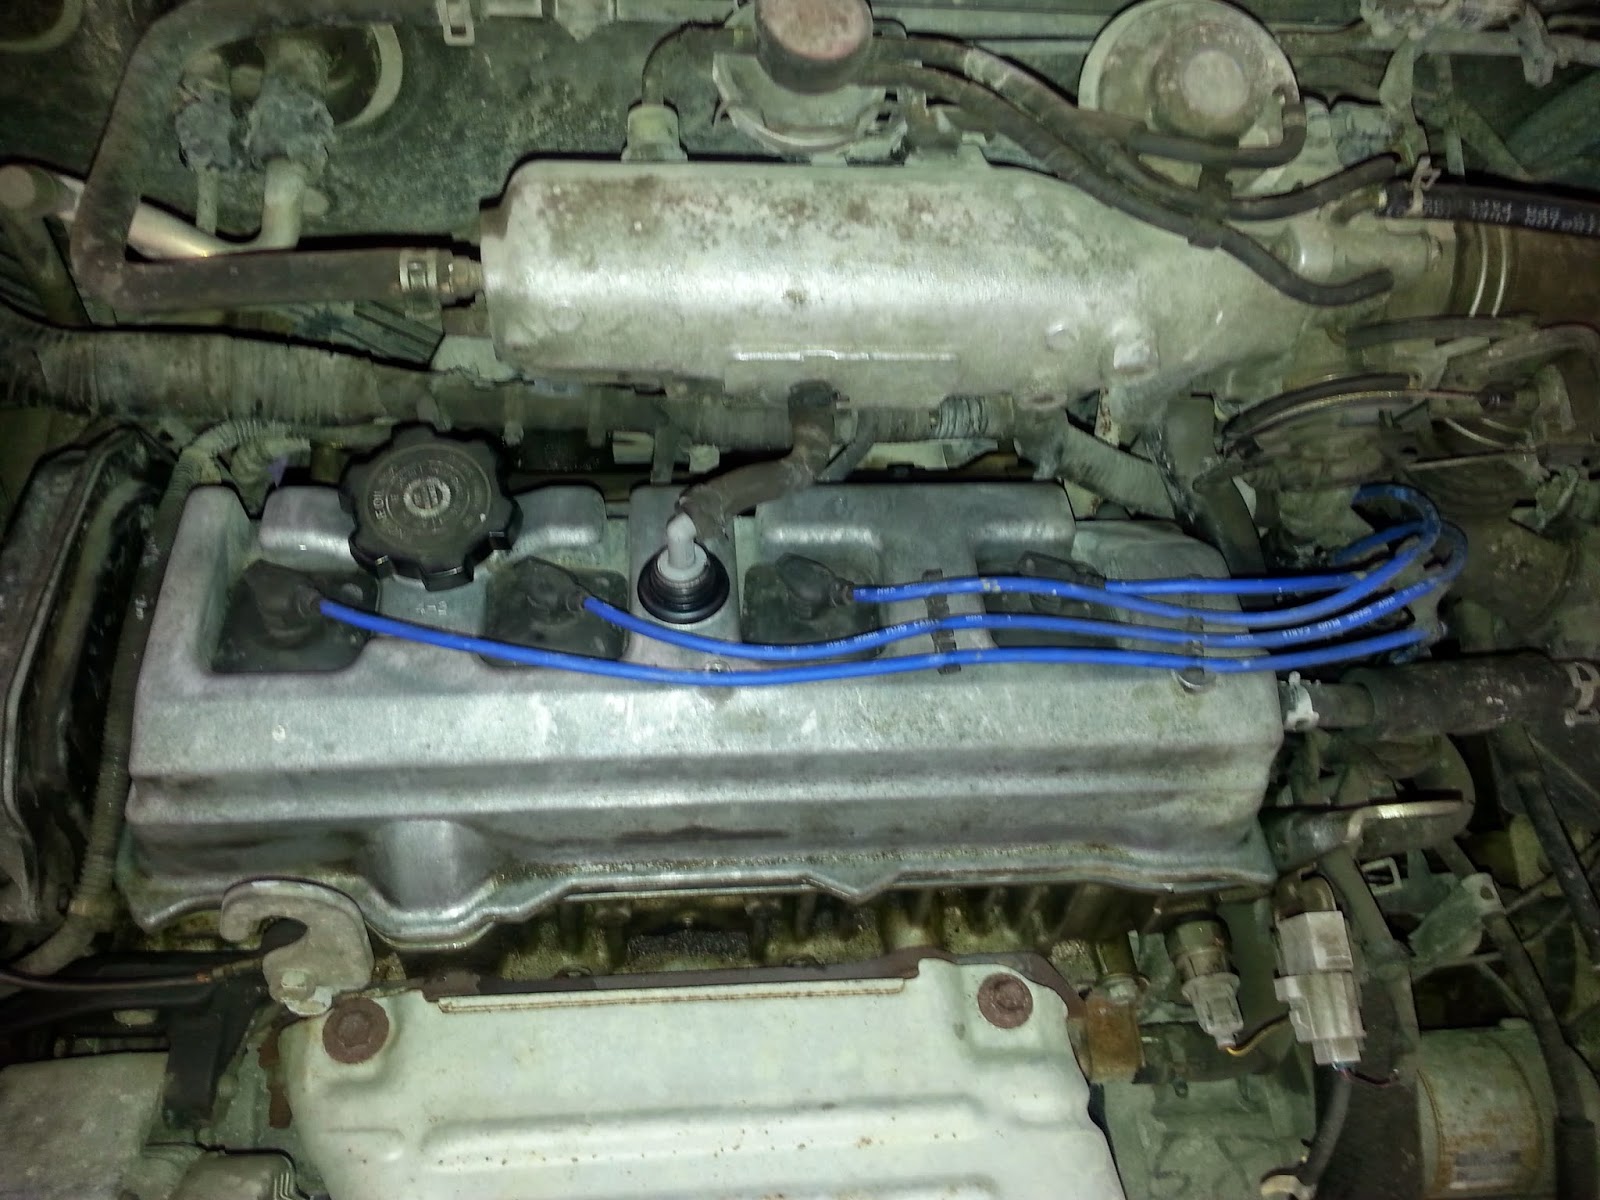
First you remove the plug wires , If you aren't sure where they go mark your plugs wires , Then you move on to removing the pcv valve and hose , be real careful in this area if you feel like you need to replace these items then this is your chance , Then you remove the hose that connects to the air box .
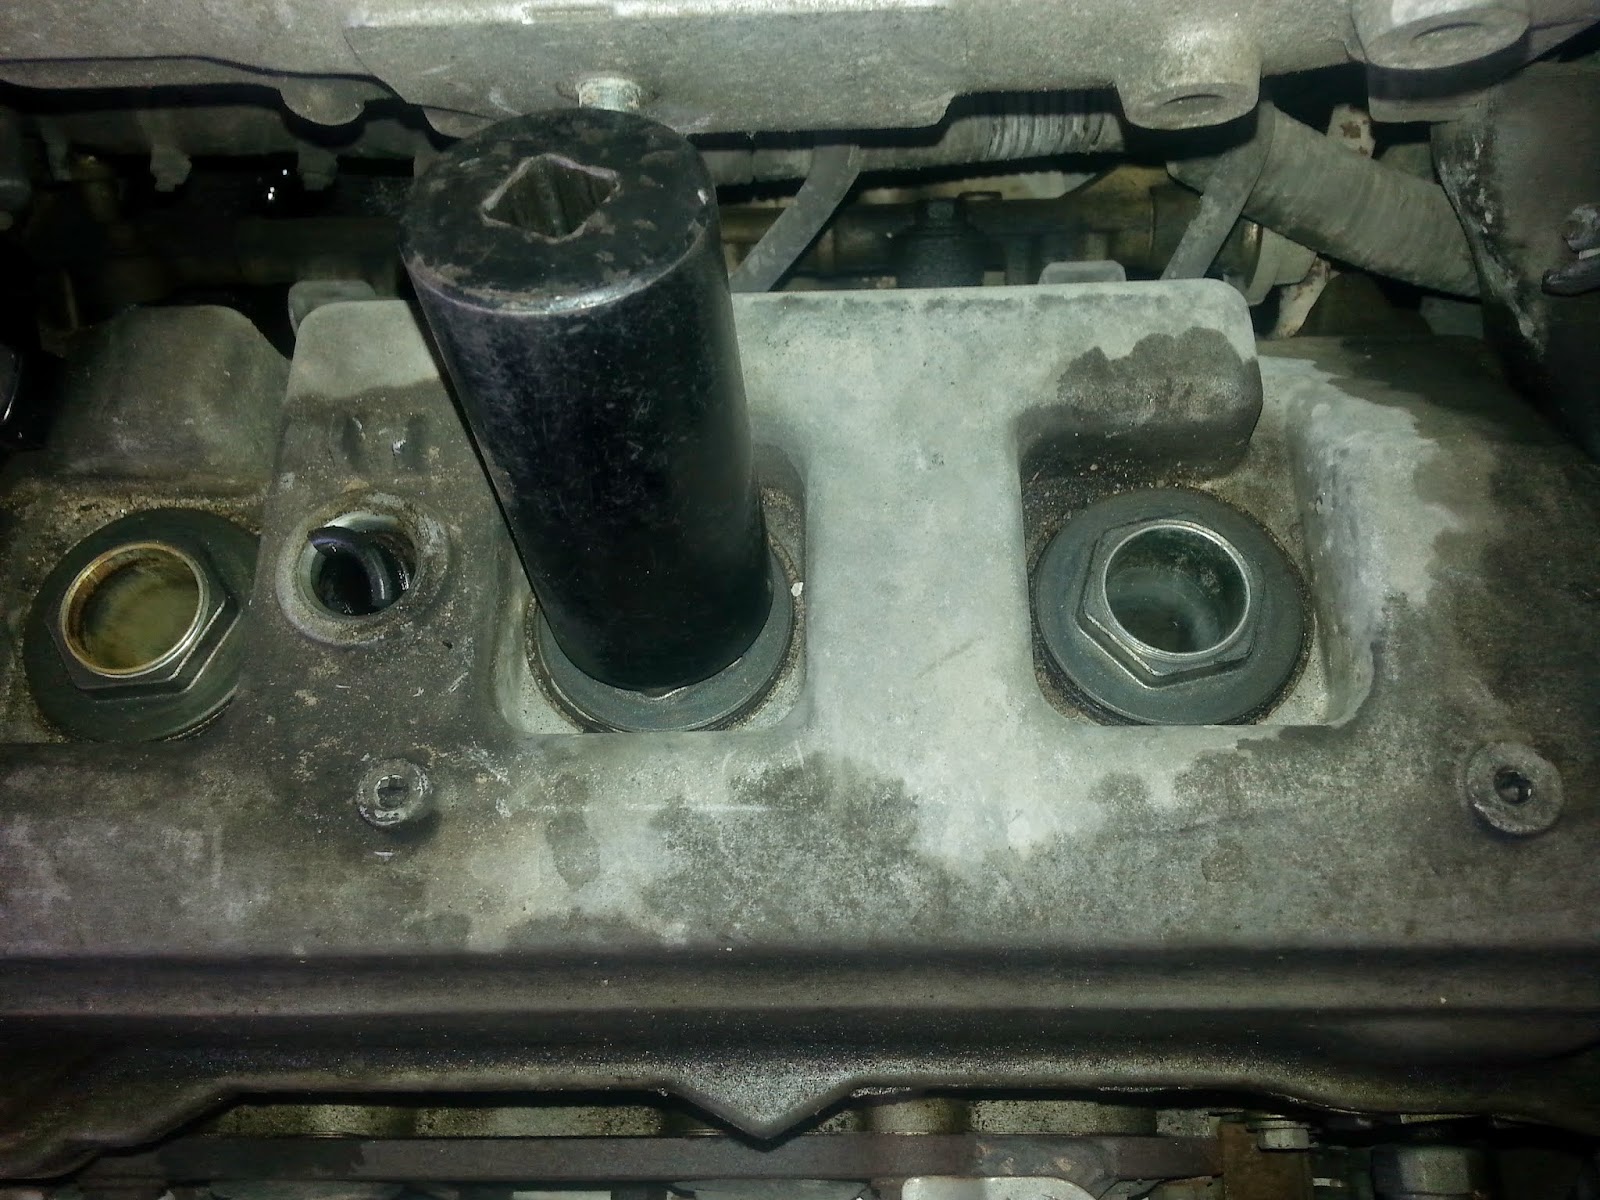
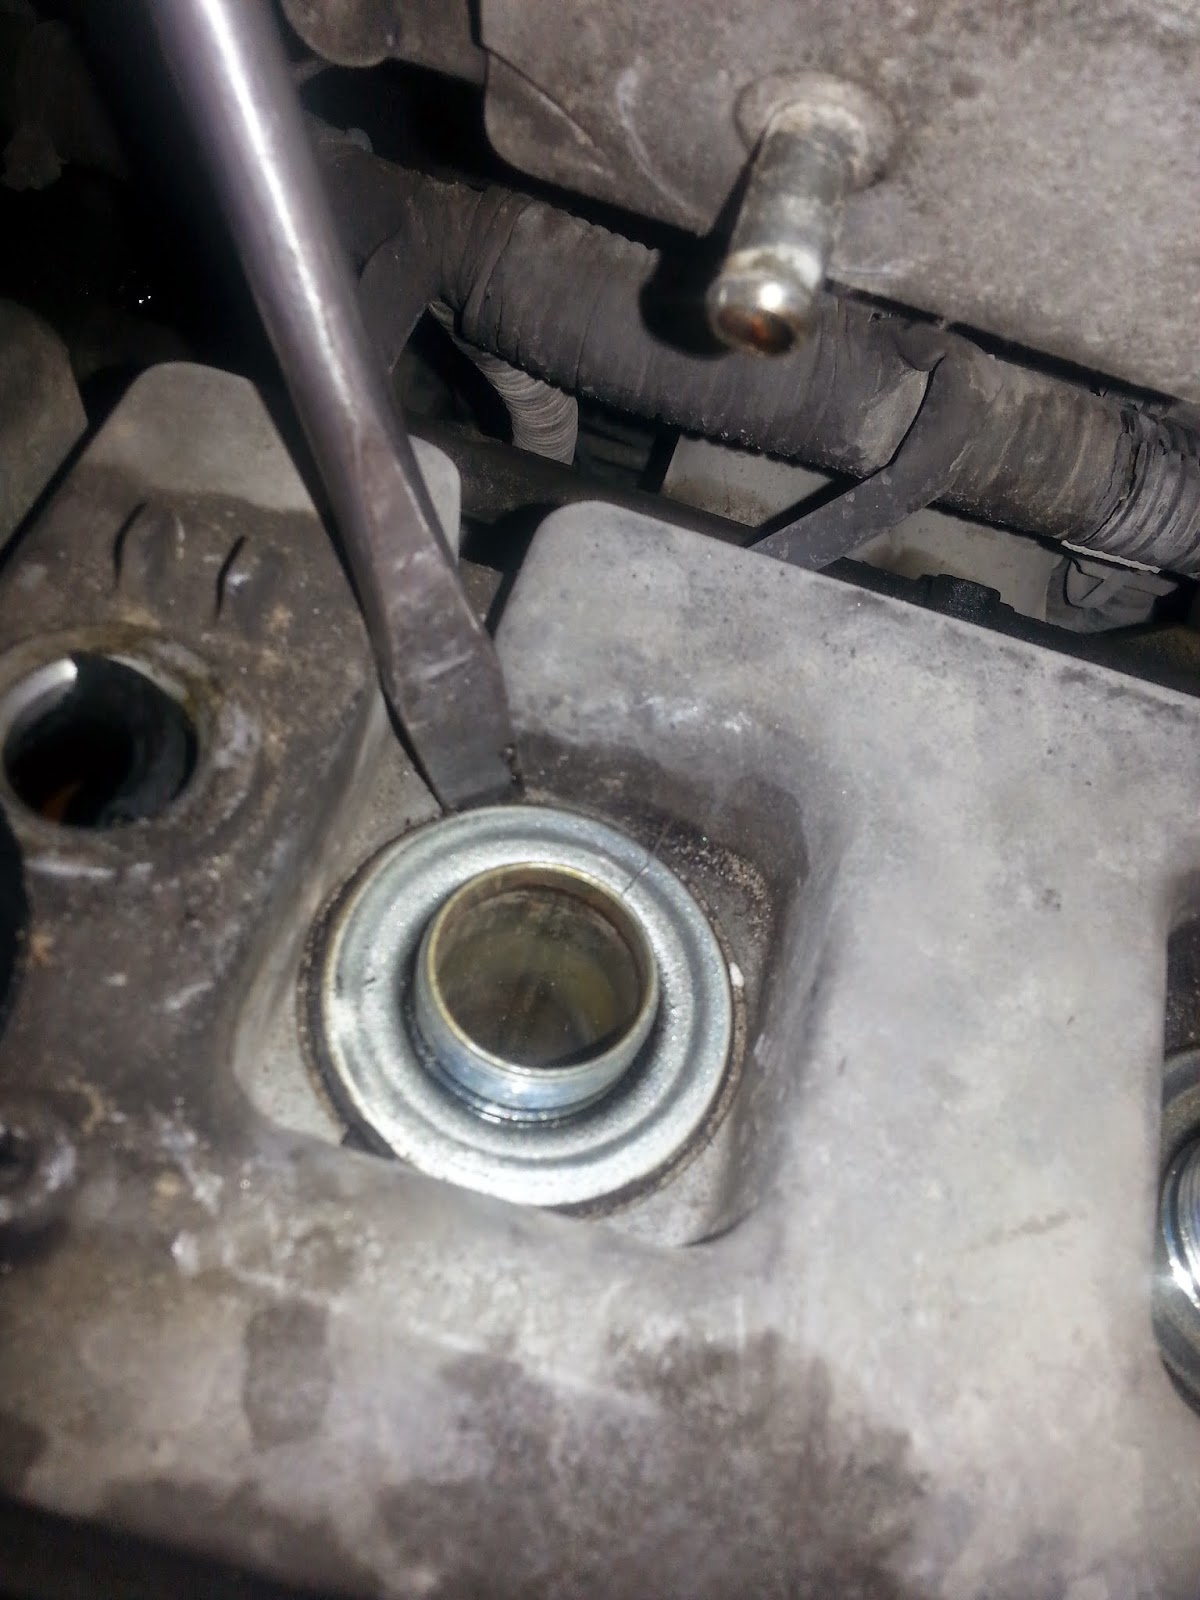
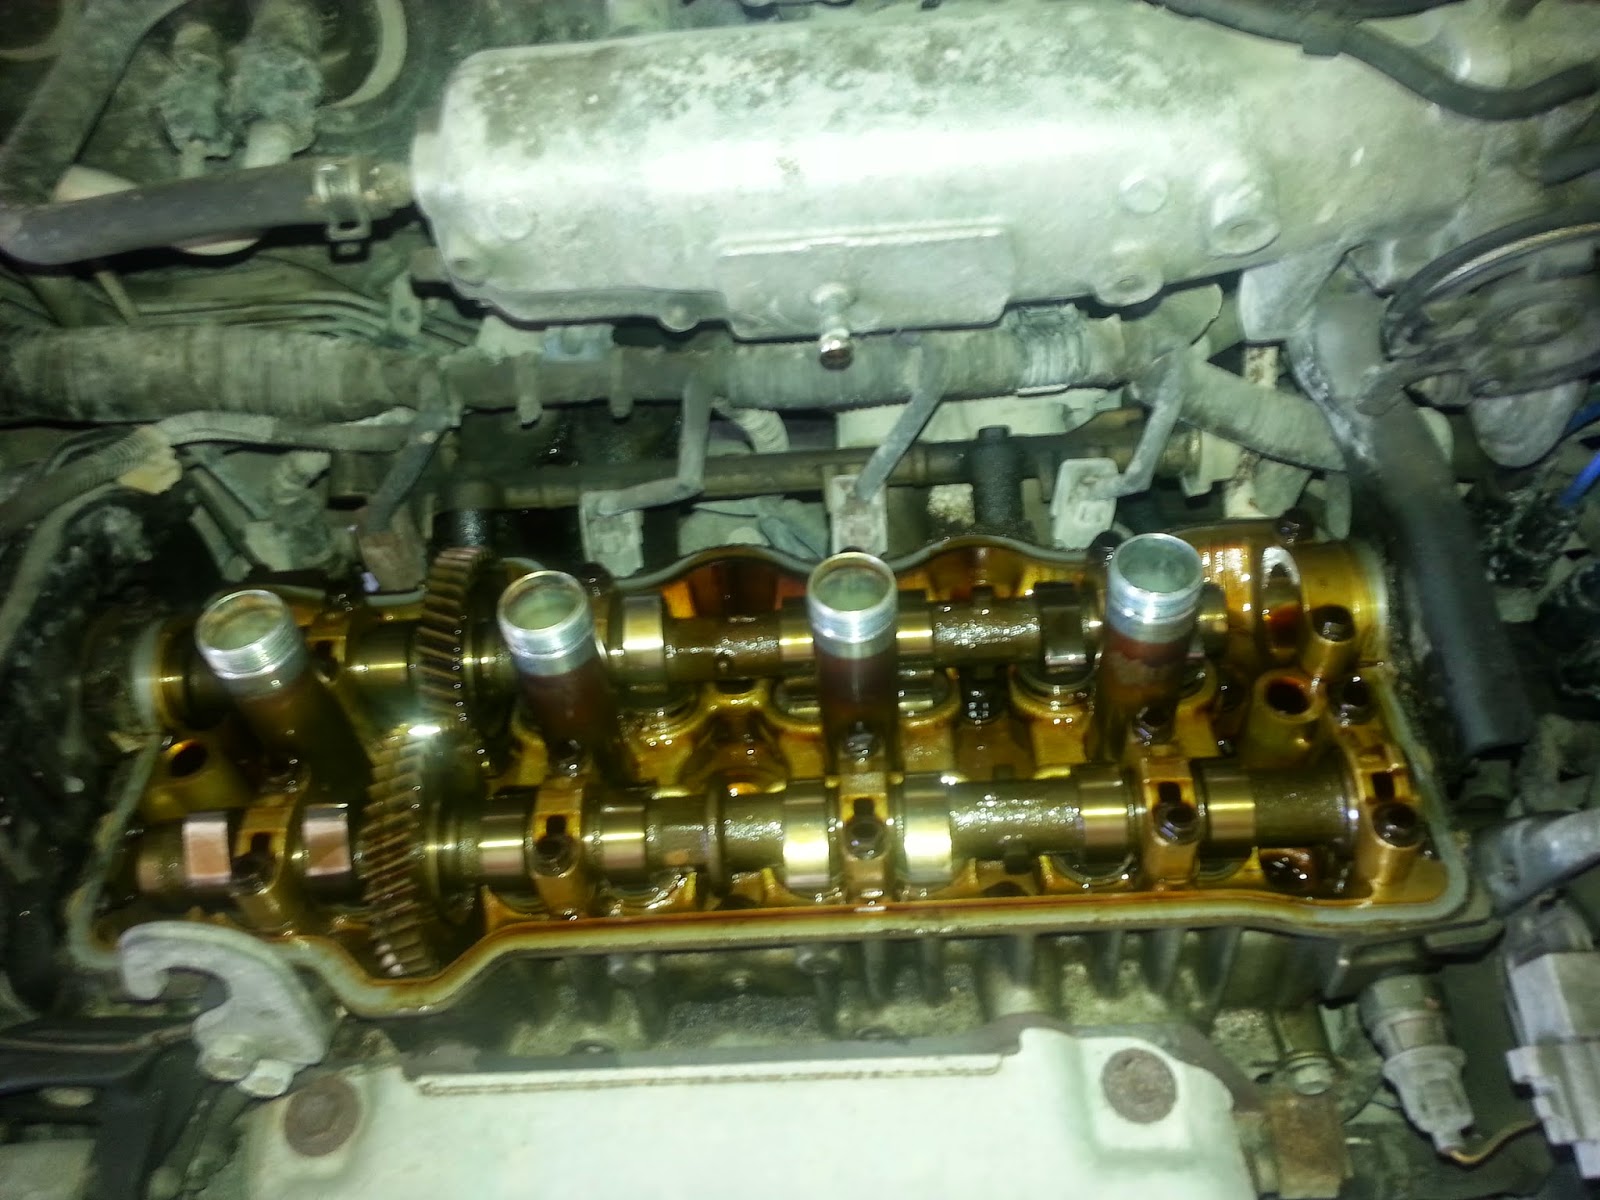
Once you remove everything then you unscrew the flat nuts on top of the valve cover , This is a unusual place but I think this works a lot better then on some other vehicles , Once you remove the flat nut then you remove the rubber grommet washers that hold the valve cover centered , without removing those washers you cannot remove the valve cover . Then you can remove the cover upwards and start stocking your cover or any oil that sits on the head .
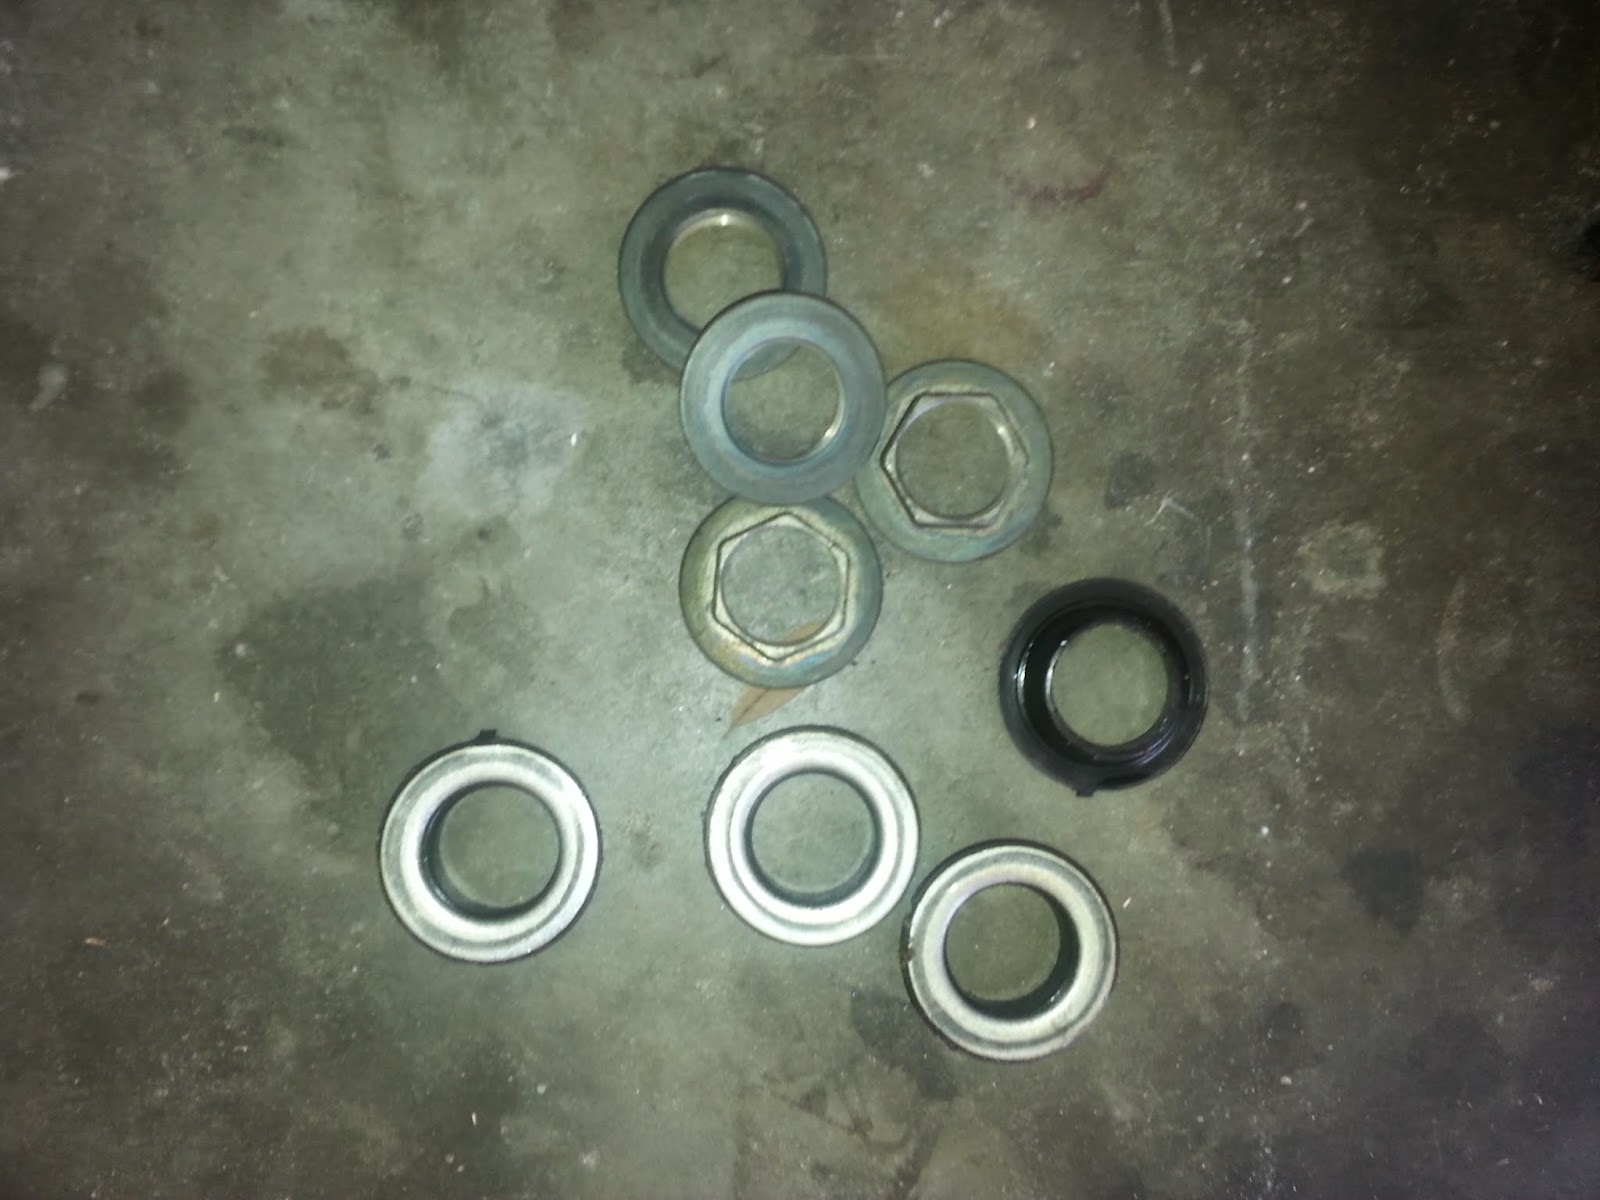
It is important when you purchase your new valve covers they it comes with the washer grommets . DO NOT USE THE OLD ONES .
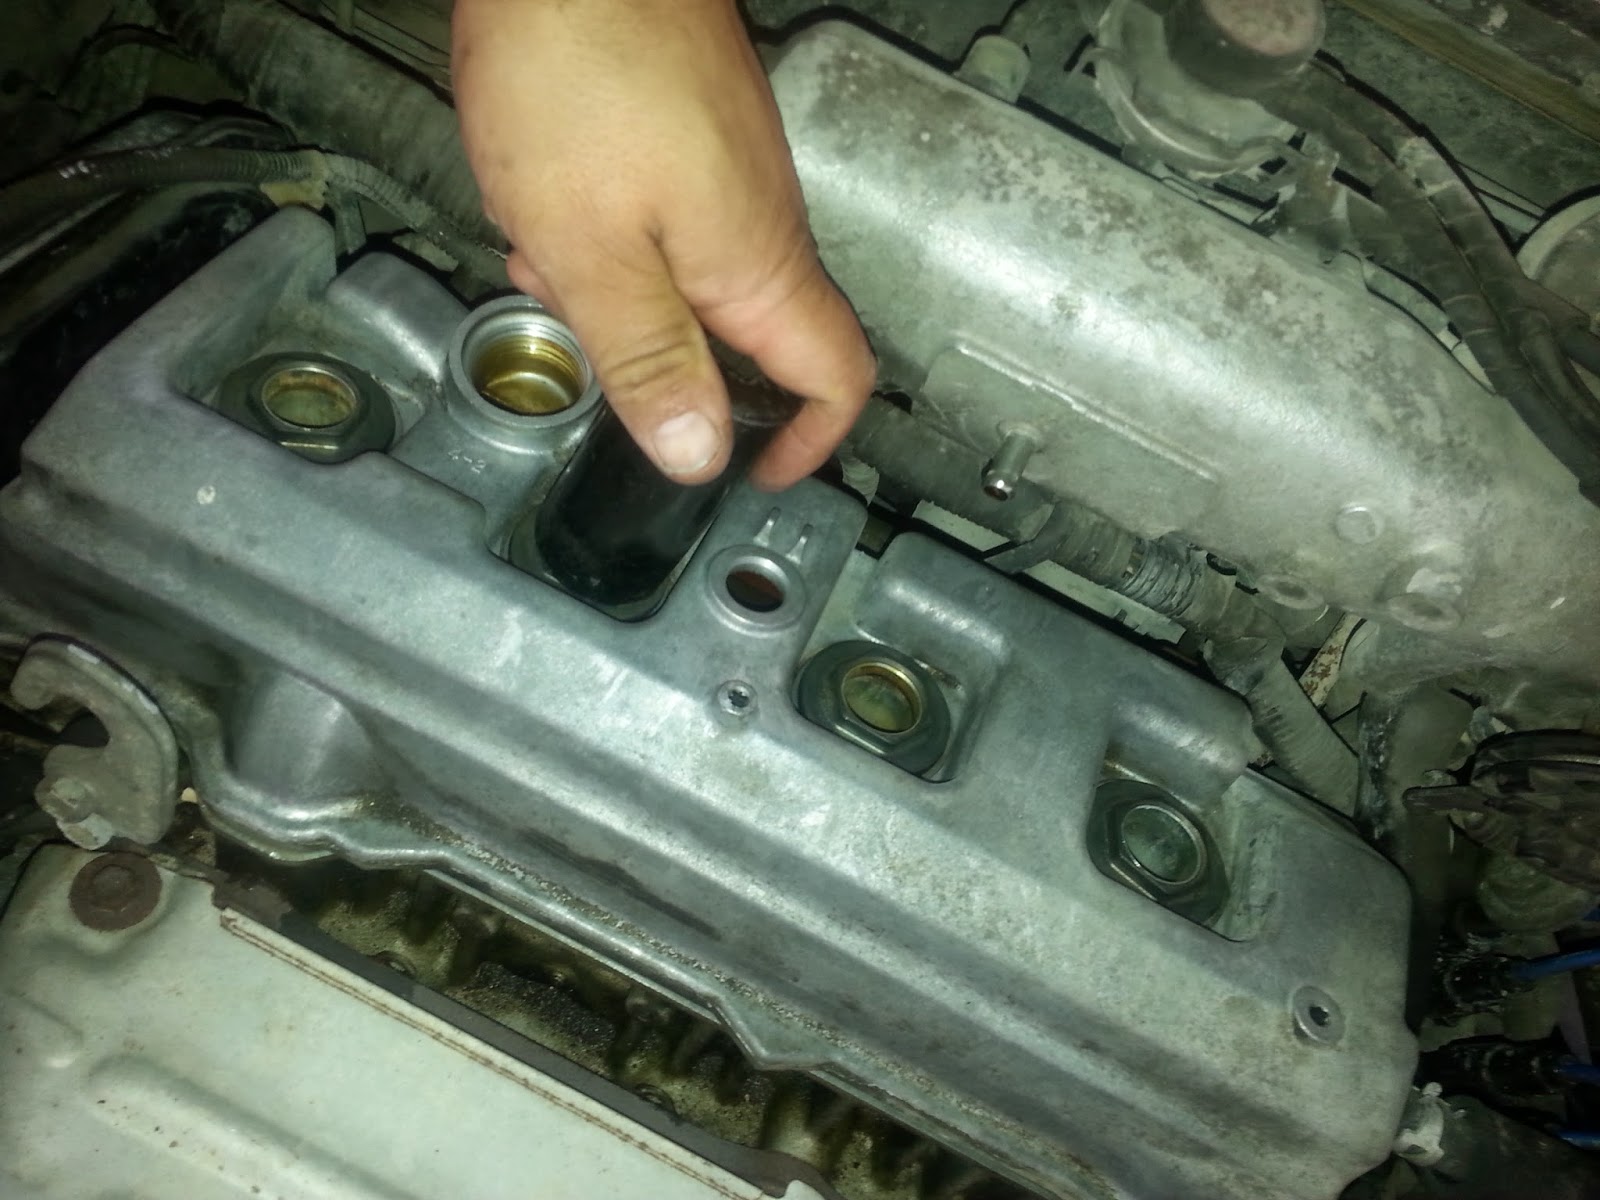
Once you have done everything you needed to do then you can put your cover back on , Not forgetting to put the washer grommets on and make sure you hand tight starting from the two center then the outer ones . If needed to make sure the washer grommets seat correctly use your other hand to help guide them as you hand tighten .
Once you hand tighten then you tighten lightly with a ratchet , DO NOT OVER TIGHTEN .
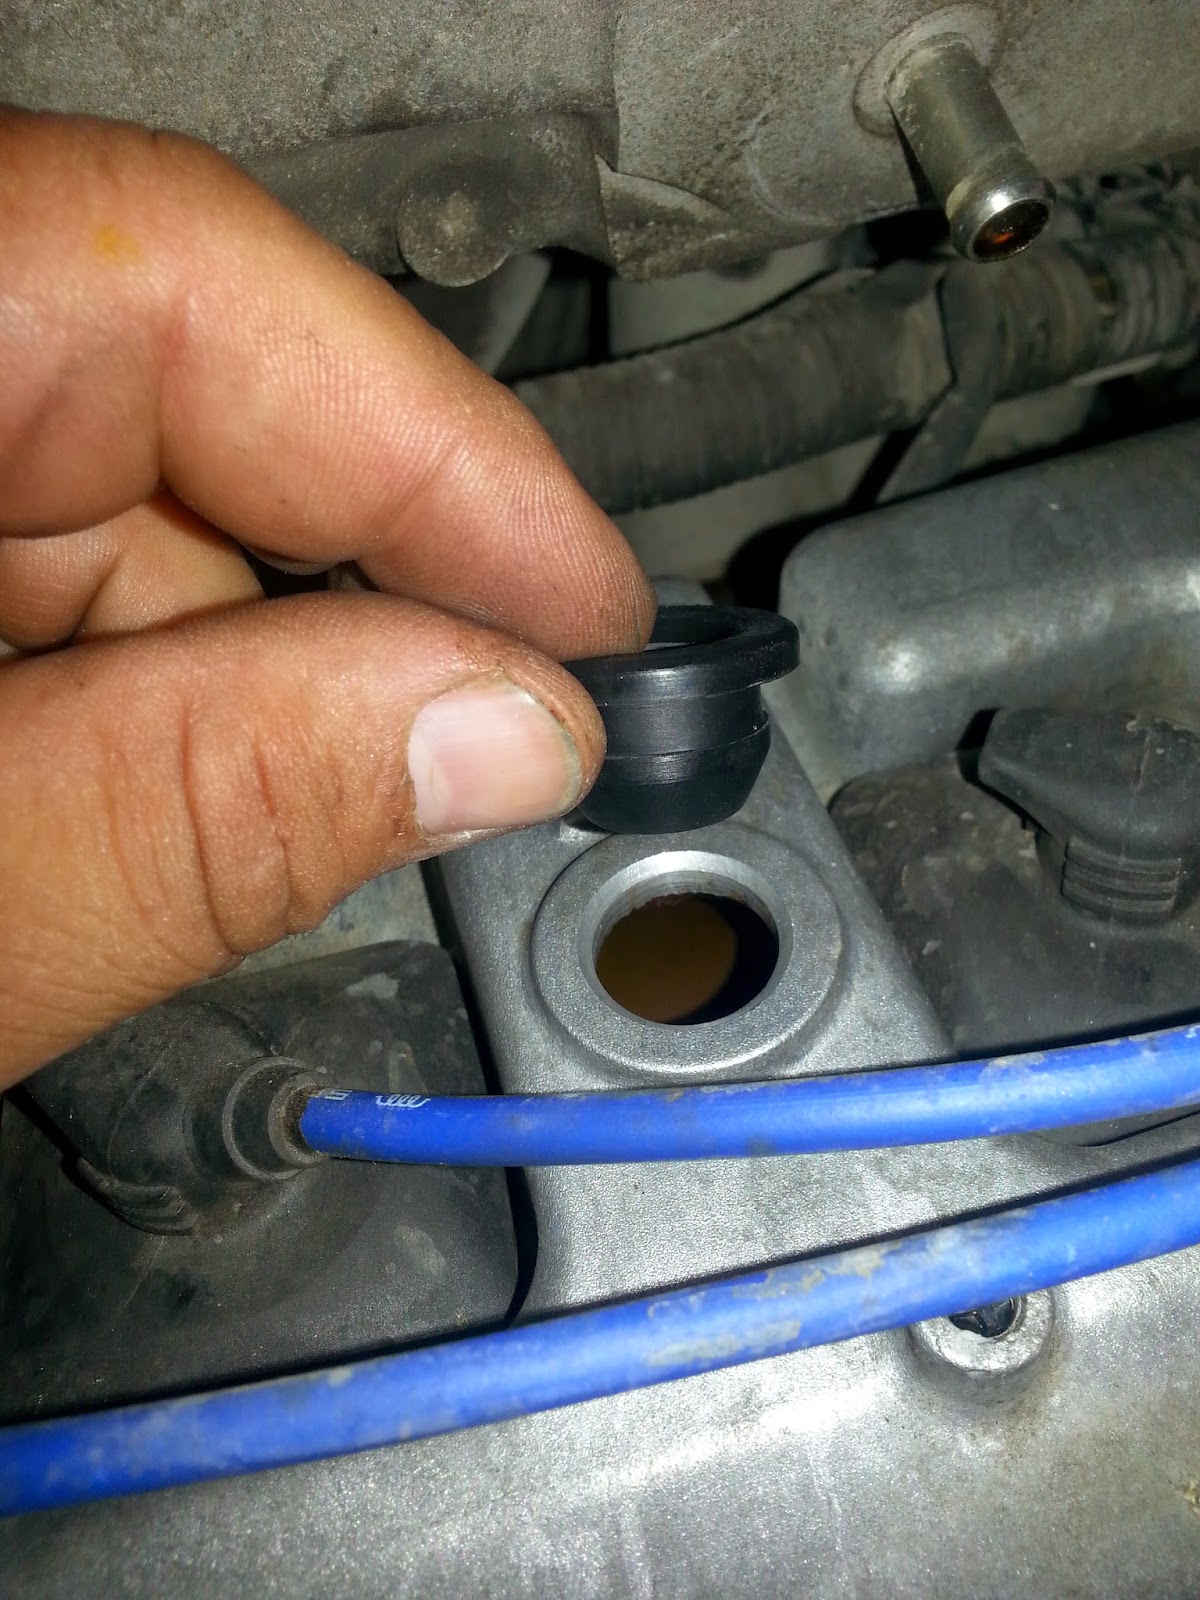
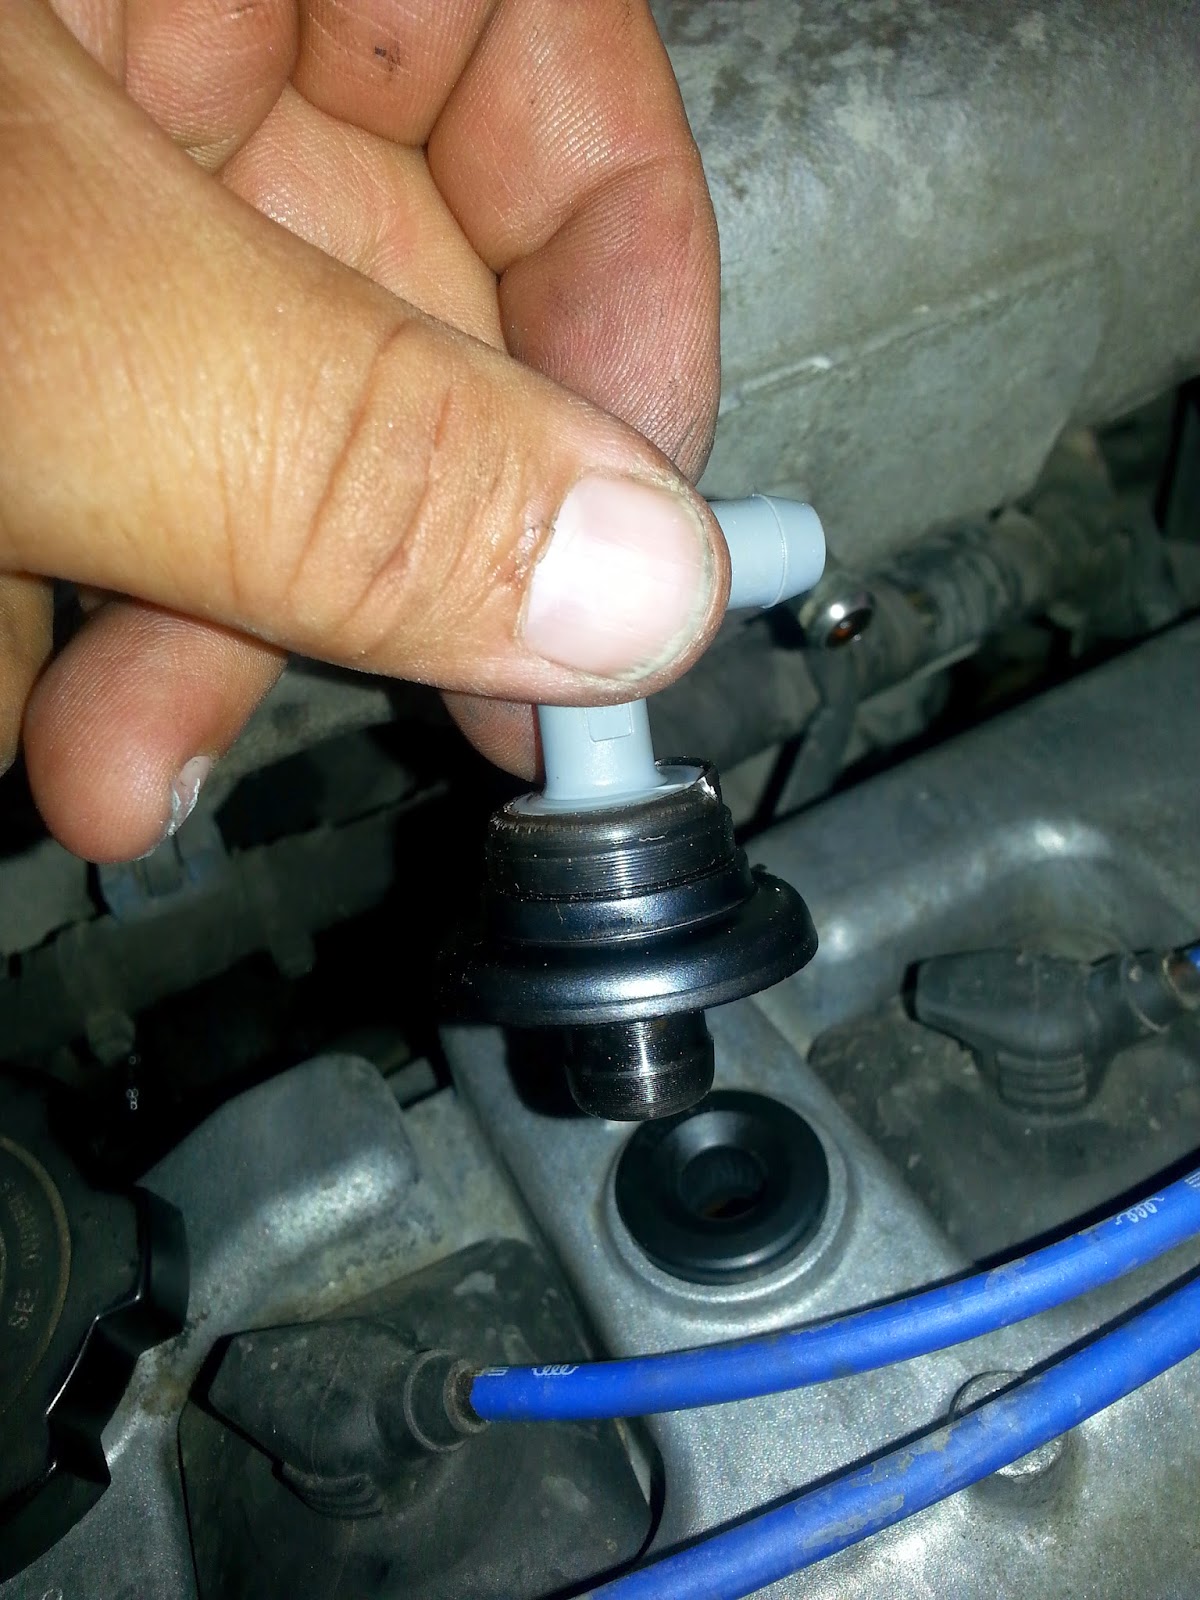
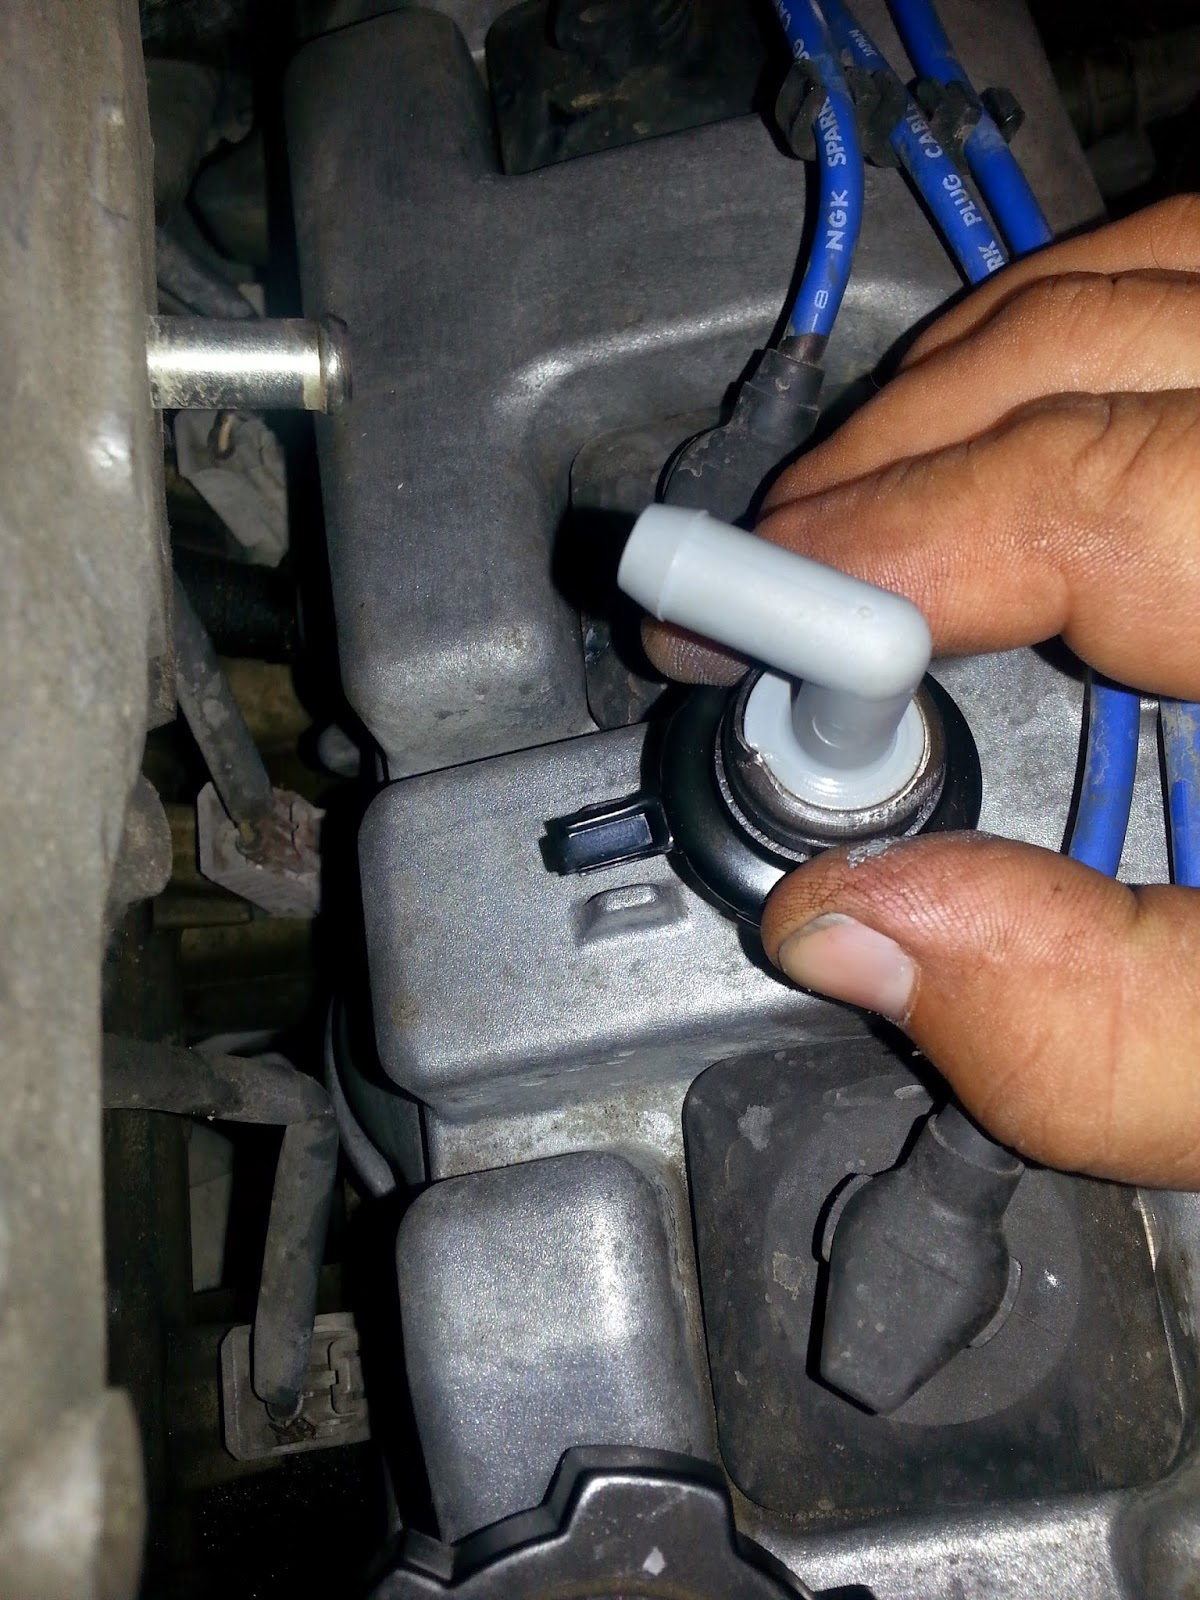
In this case I put a new pcv valve and grommet . Then you put everything back in order in reverse .
In about a week or two come back and check the flat nuts just in case the rubber gasket shrunk and hand tighten only .
More DIY on rinconrolla98.blogspot.com/2015/02/diy-valve-cover-gasket-replacement.html
.


First you remove the plug wires , If you aren't sure where they go mark your plugs wires , Then you move on to removing the pcv valve and hose , be real careful in this area if you feel like you need to replace these items then this is your chance , Then you remove the hose that connects to the air box .


Once you remove everything then you unscrew the flat nuts on top of the valve cover , This is a unusual place but I think this works a lot better then on some other vehicles , Once you remove the flat nut then you remove the rubber grommet washers that hold the valve cover centered , without removing those washers you cannot remove the valve cover . Then you can remove the cover upwards and start stocking your cover or any oil that sits on the head .

It is important when you purchase your new valve covers they it comes with the washer grommets . DO NOT USE THE OLD ONES .

Once you have done everything you needed to do then you can put your cover back on , Not forgetting to put the washer grommets on and make sure you hand tight starting from the two center then the outer ones . If needed to make sure the washer grommets seat correctly use your other hand to help guide them as you hand tighten .
Once you hand tighten then you tighten lightly with a ratchet , DO NOT OVER TIGHTEN .


In this case I put a new pcv valve and grommet . Then you put everything back in order in reverse .

In about a week or two come back and check the flat nuts just in case the rubber gasket shrunk and hand tighten only .
More DIY on rinconrolla98.blogspot.com/2015/02/diy-valve-cover-gasket-replacement.html
.


 Aww man, at least you tried. What are you planning to try next?
