Post by Rinconrolla on Jun 9, 2010 0:06:29 GMT -5
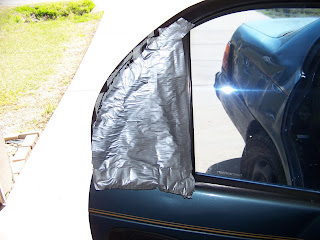
This is a DIY of the rear vent glass window . That's what it is called if you ever purchase one from the junk yard .
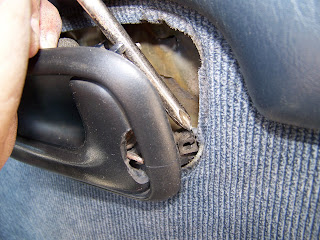
First you unscrew and remove the inside door handle and don't forget to pop the plastic clip with out breaking it . ( Reminder : When you put the handle back on don't forget to put this plastic clip back on . )
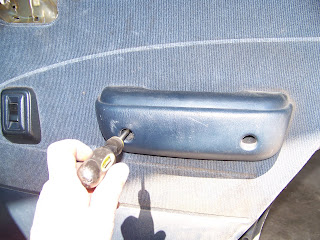
Then you unscrew the door arm rest .
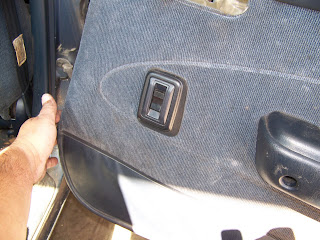
From there you pull up on the door panel being careful you don't break the panel and make sure all the panel fasteners are in the back of the panel so when you put this back on it will hold properly .
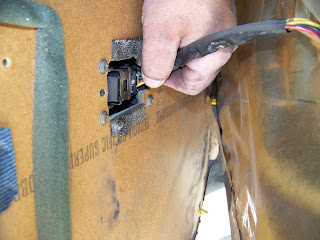
Then you unplug the power window motor . If you have manual window handles there is a clip behind the handle you can pop out with a flat head screw driver .
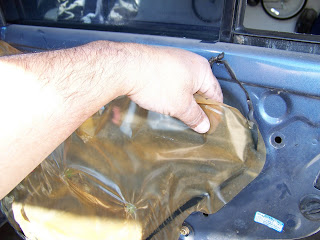
Then you remove the plastic on the door , Make sure you put this back on when you are finished with your project it's there for a reason .
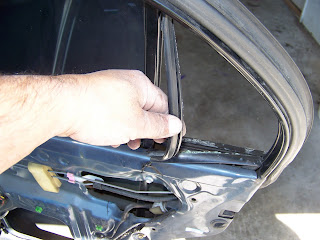
Since the window is broken you can remove the rubber molding that holds the window in place . You can reuse it if you only purchased the window but in this DIY the window came with it . So it's best you just keep this for future use .
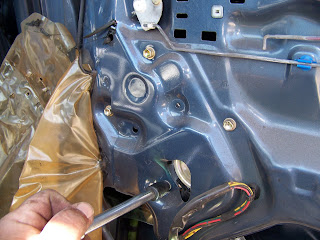
With the back window halfway down you remove the bolts that hold the window motor , Before removing the last bolt hold the glass to keep from dropping and shattering .
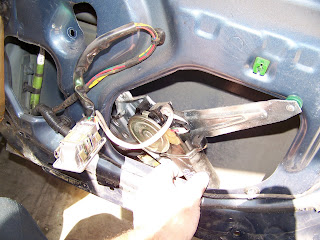
Once you remove the last bolt raise the window up by hand and release the wheel from the bottom of the window . Then you remove the window motor out and then you slowly bring the window all the way down till it stops and leave it there .
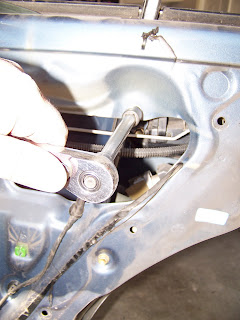
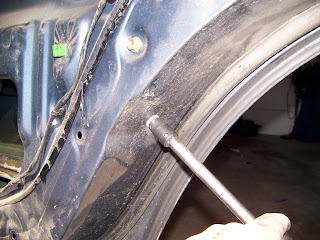
Then you remove the two bolts that hold the frame of the vent glass .
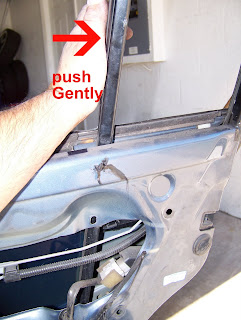
Then when that is loose you gently push the frame till you see it pulling away from the window in the door .
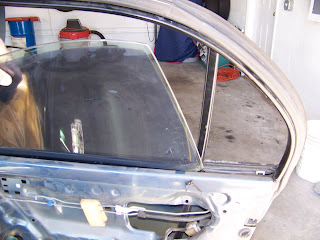
Then you can remove the window gently . If you have tinted windows you have to be very patient you do not scratch your tint . Place it some where so it doesn't break or fall .
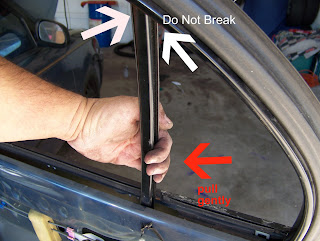
Then you gently with out breaking the weld spot on the top of the frame you pull the vent frame towards the front .
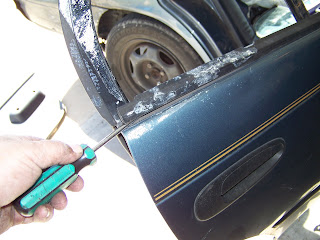
Then you remove the molding with a flat head screw driver being careful you do not break the plastic snaps .
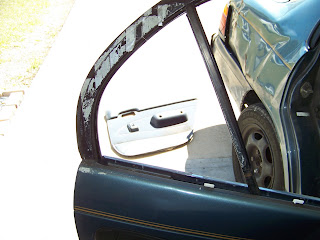
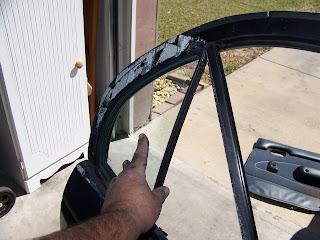
Then with your new window with the mold around it you put in your glass . Push the vent frame back but do not bolt it yet .
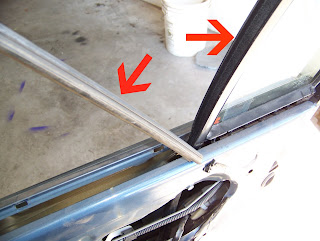
Then you remove the side molding on the inside of the back window on both sides but do not remove the top part of the door only the sides . Once you have them removed you can now put the back window in the track and there it will sit very loosely .
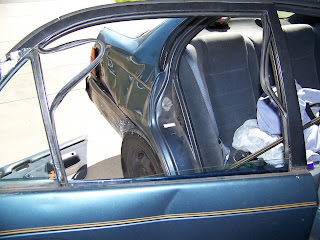
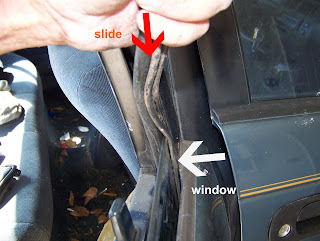
Then you can slide the rubber molding down on each side of the window till it is back to normal then you can start putting the window motor back on and then tighten the frame and put it all back together . I did not need any soap or anything to put the molding back it slid down perfectly.
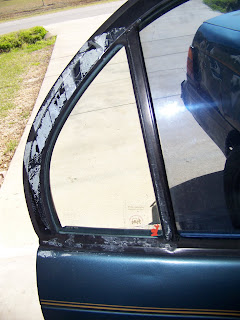
Then when you are done it should look like this .
More DIY : rinconrolla98.blogspot.com


 Aww man, at least you tried. What are you planning to try next?
