|
|
Post by Rinconrolla on Apr 29, 2015 19:57:04 GMT -5
This is a DIY for a 2008 Toyota Rav 4 WITH OUT 3rd row seating . There is a difference in pads and rotors if you have 3rd row seating vs non 3rd row seating  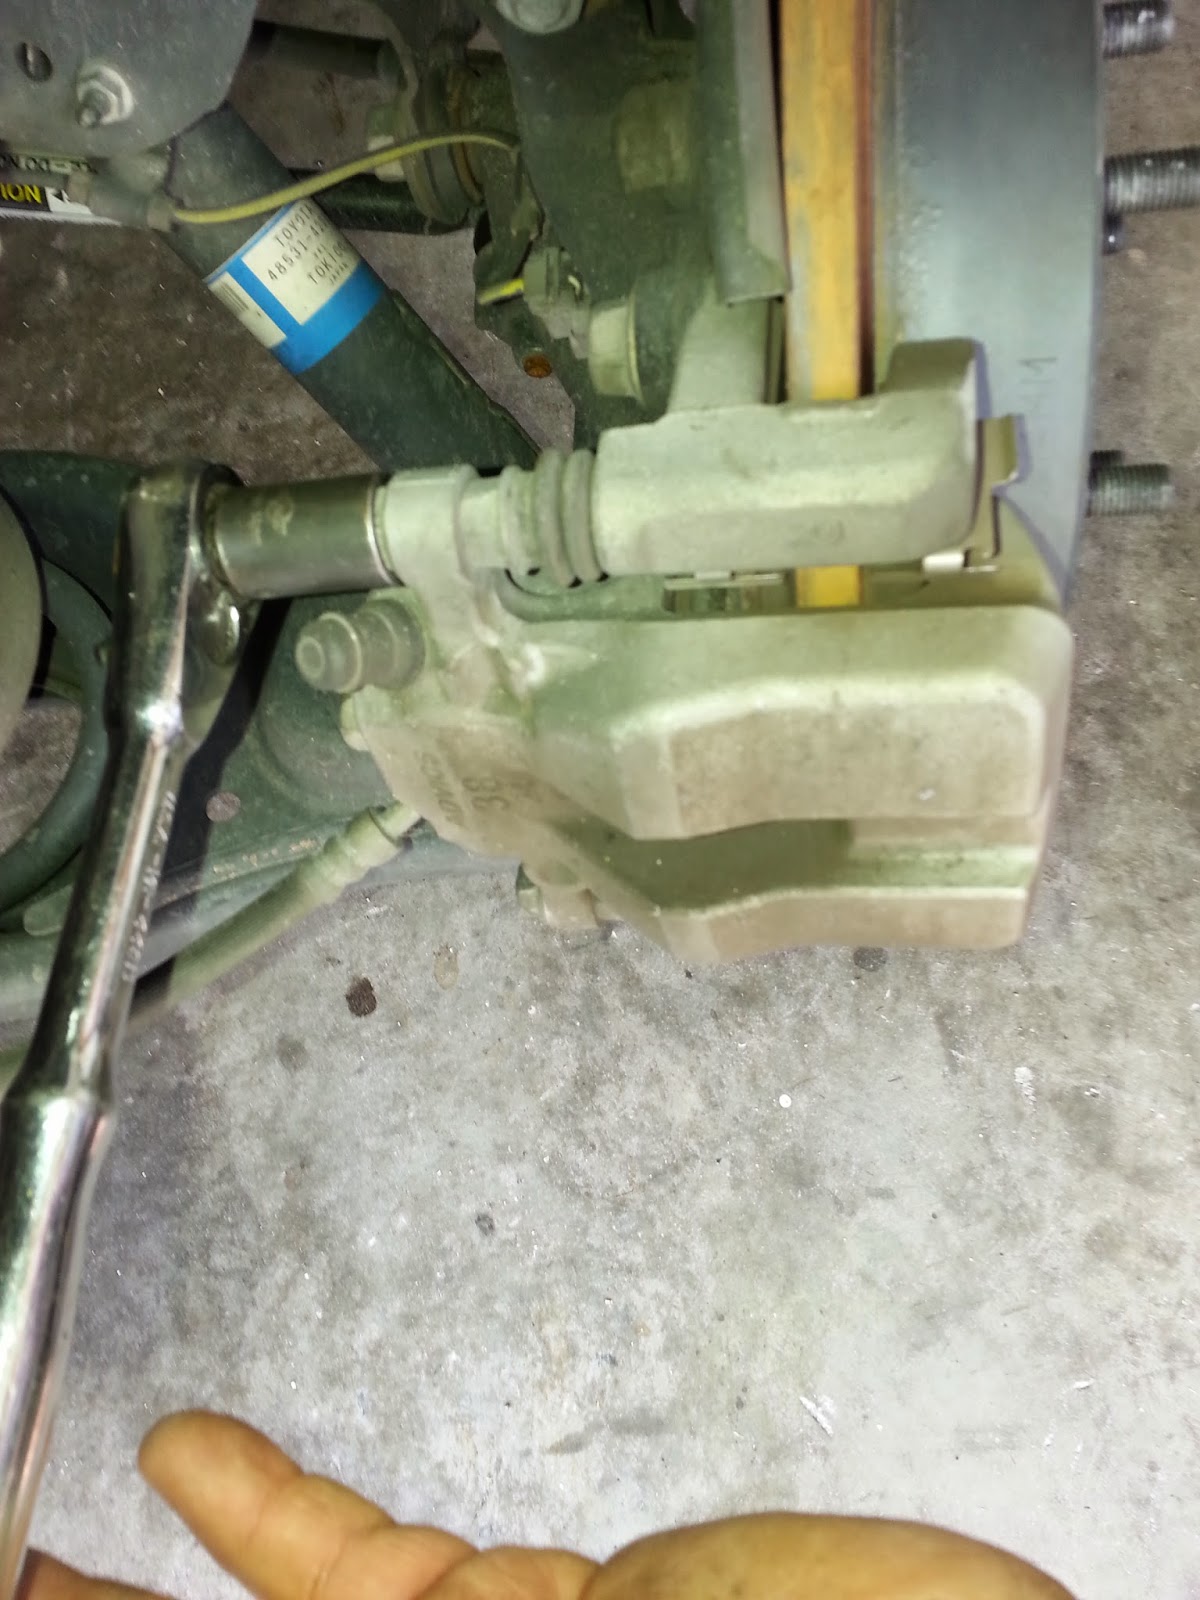 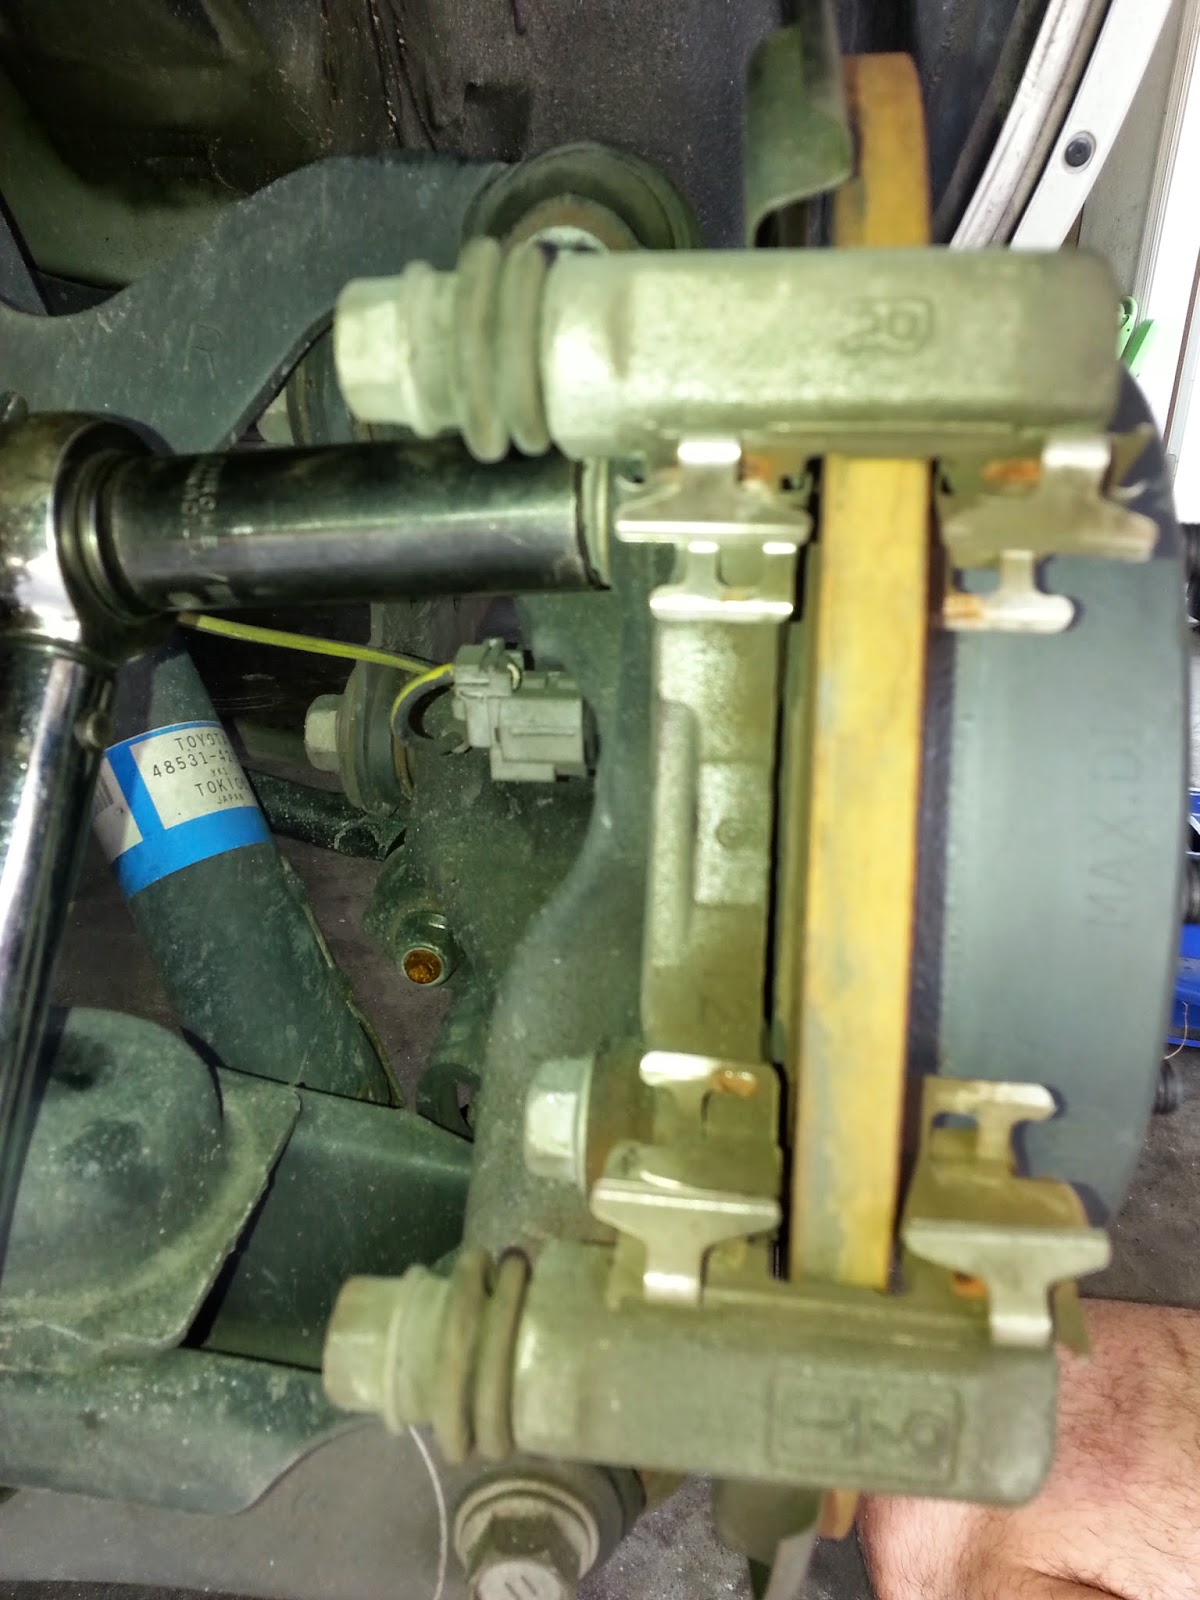 First thing you do is remove the caliper and the caliper bracket 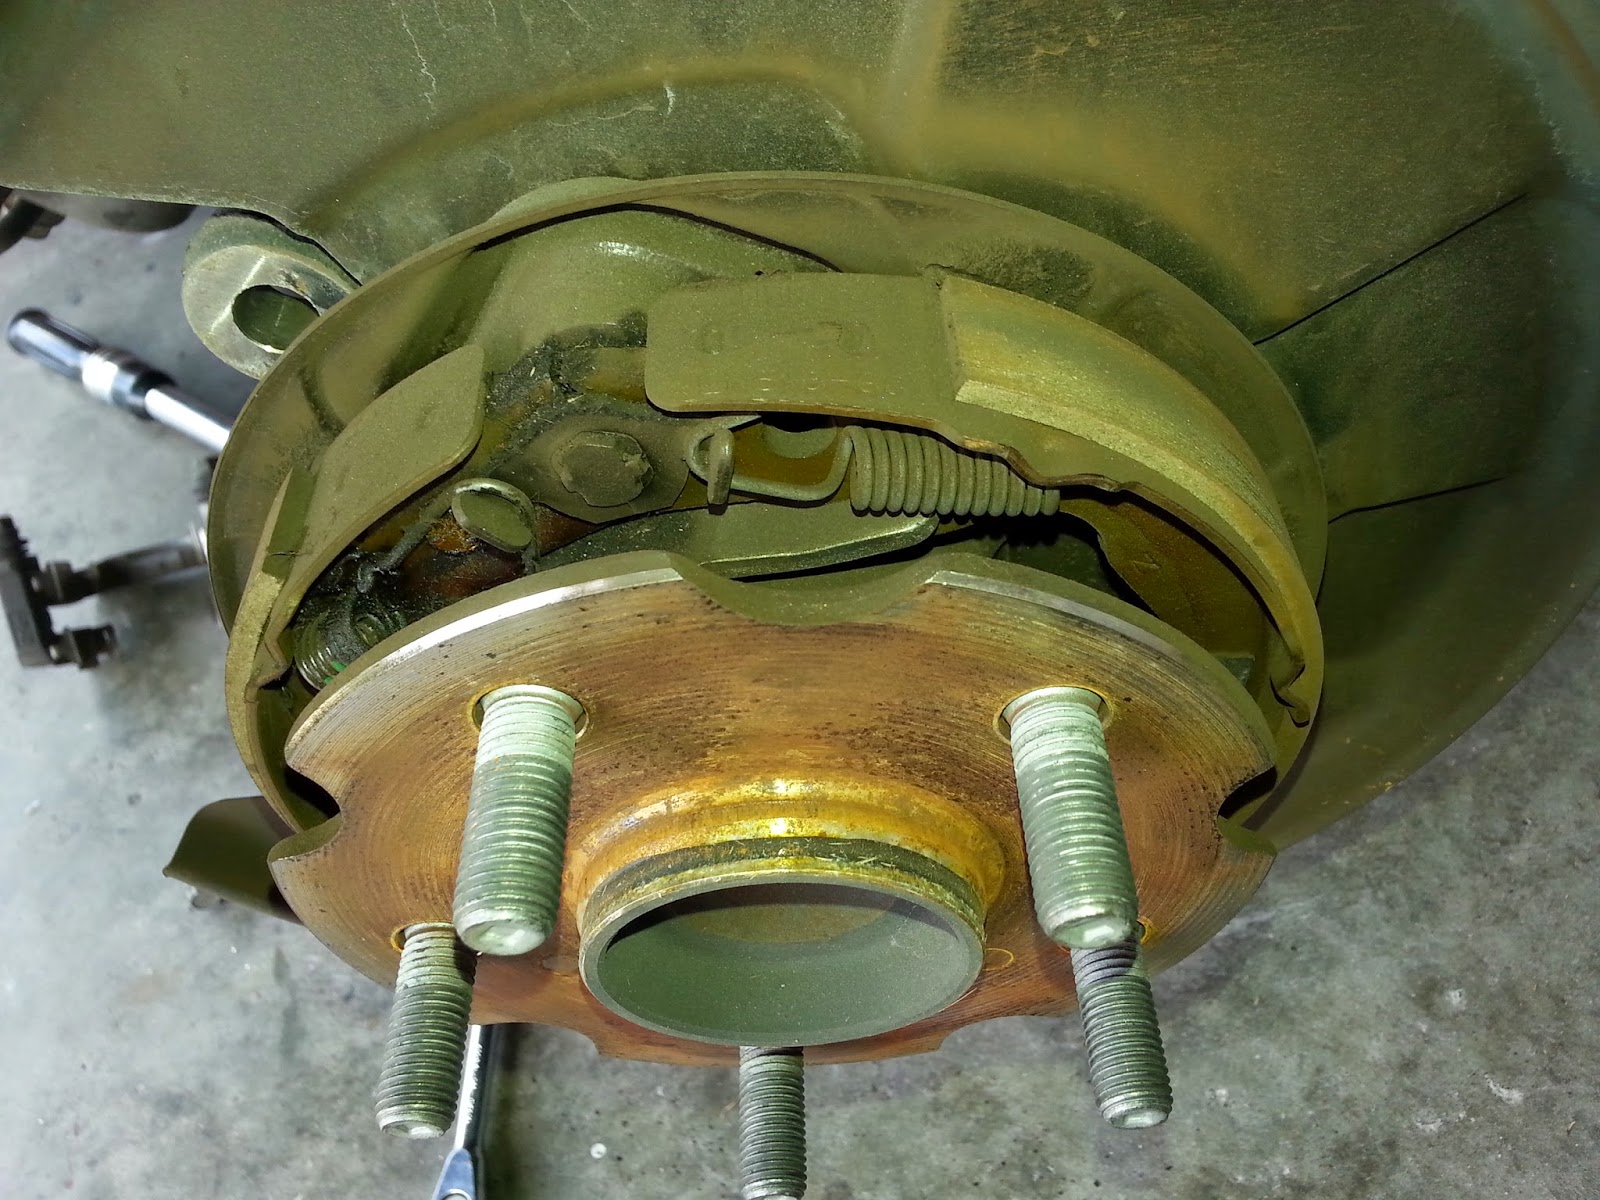 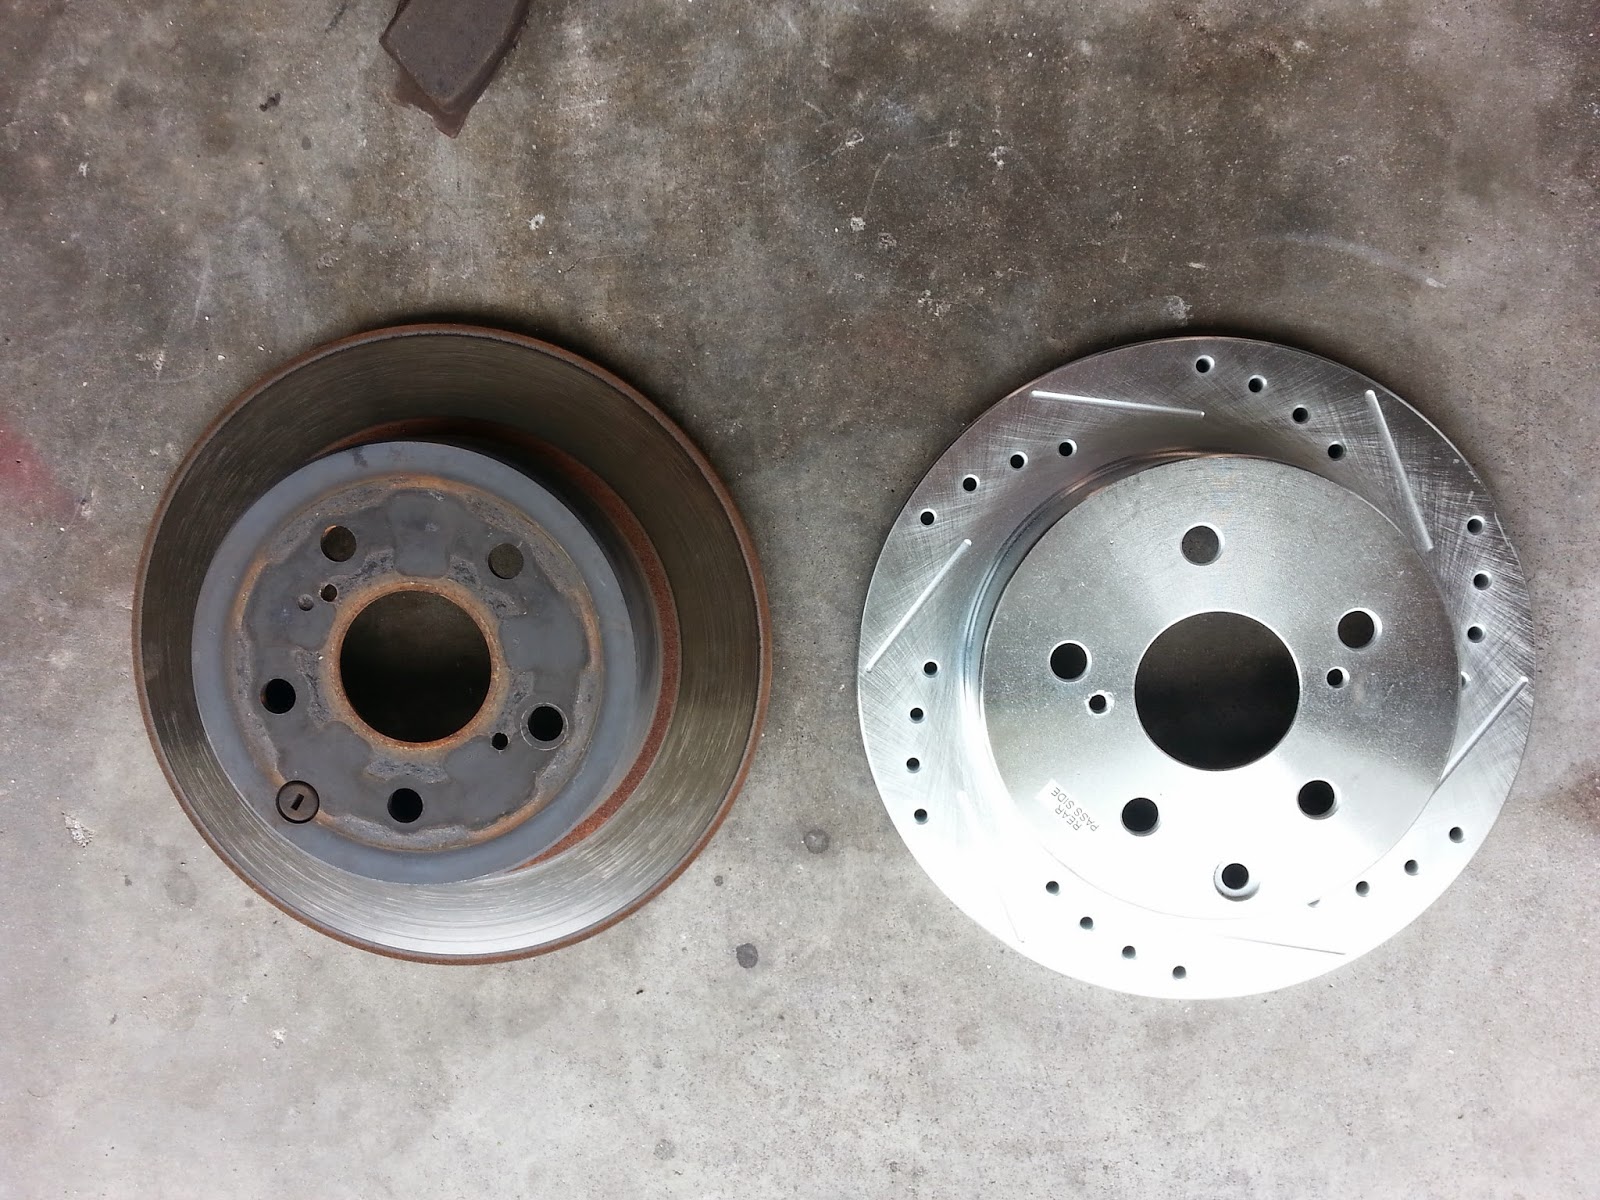 Once you have the rotor off inspect your emergency brake shoes because they are inside the rotor and some people when replacing brakes whether they remove the rotor or not do not inspect or even think about replacing the emergency shoes In this DIY I'm using a slotted rotor make sure there facing forward 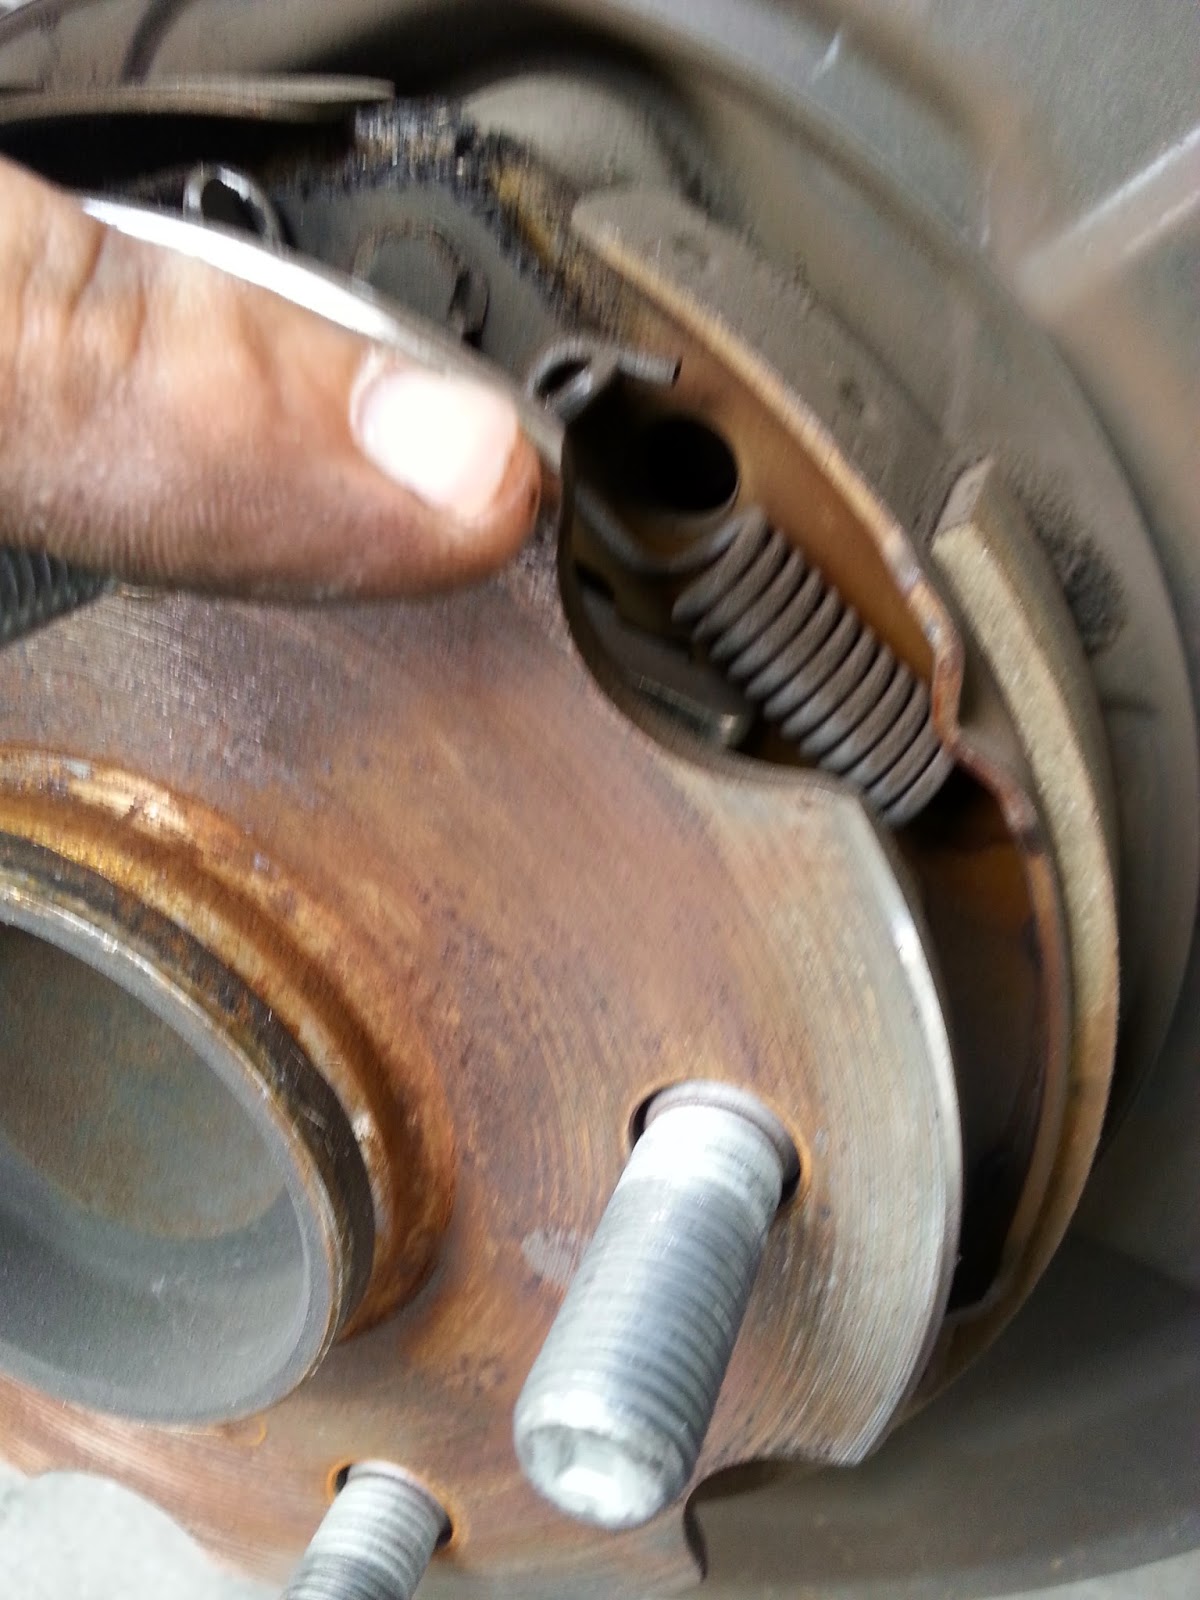 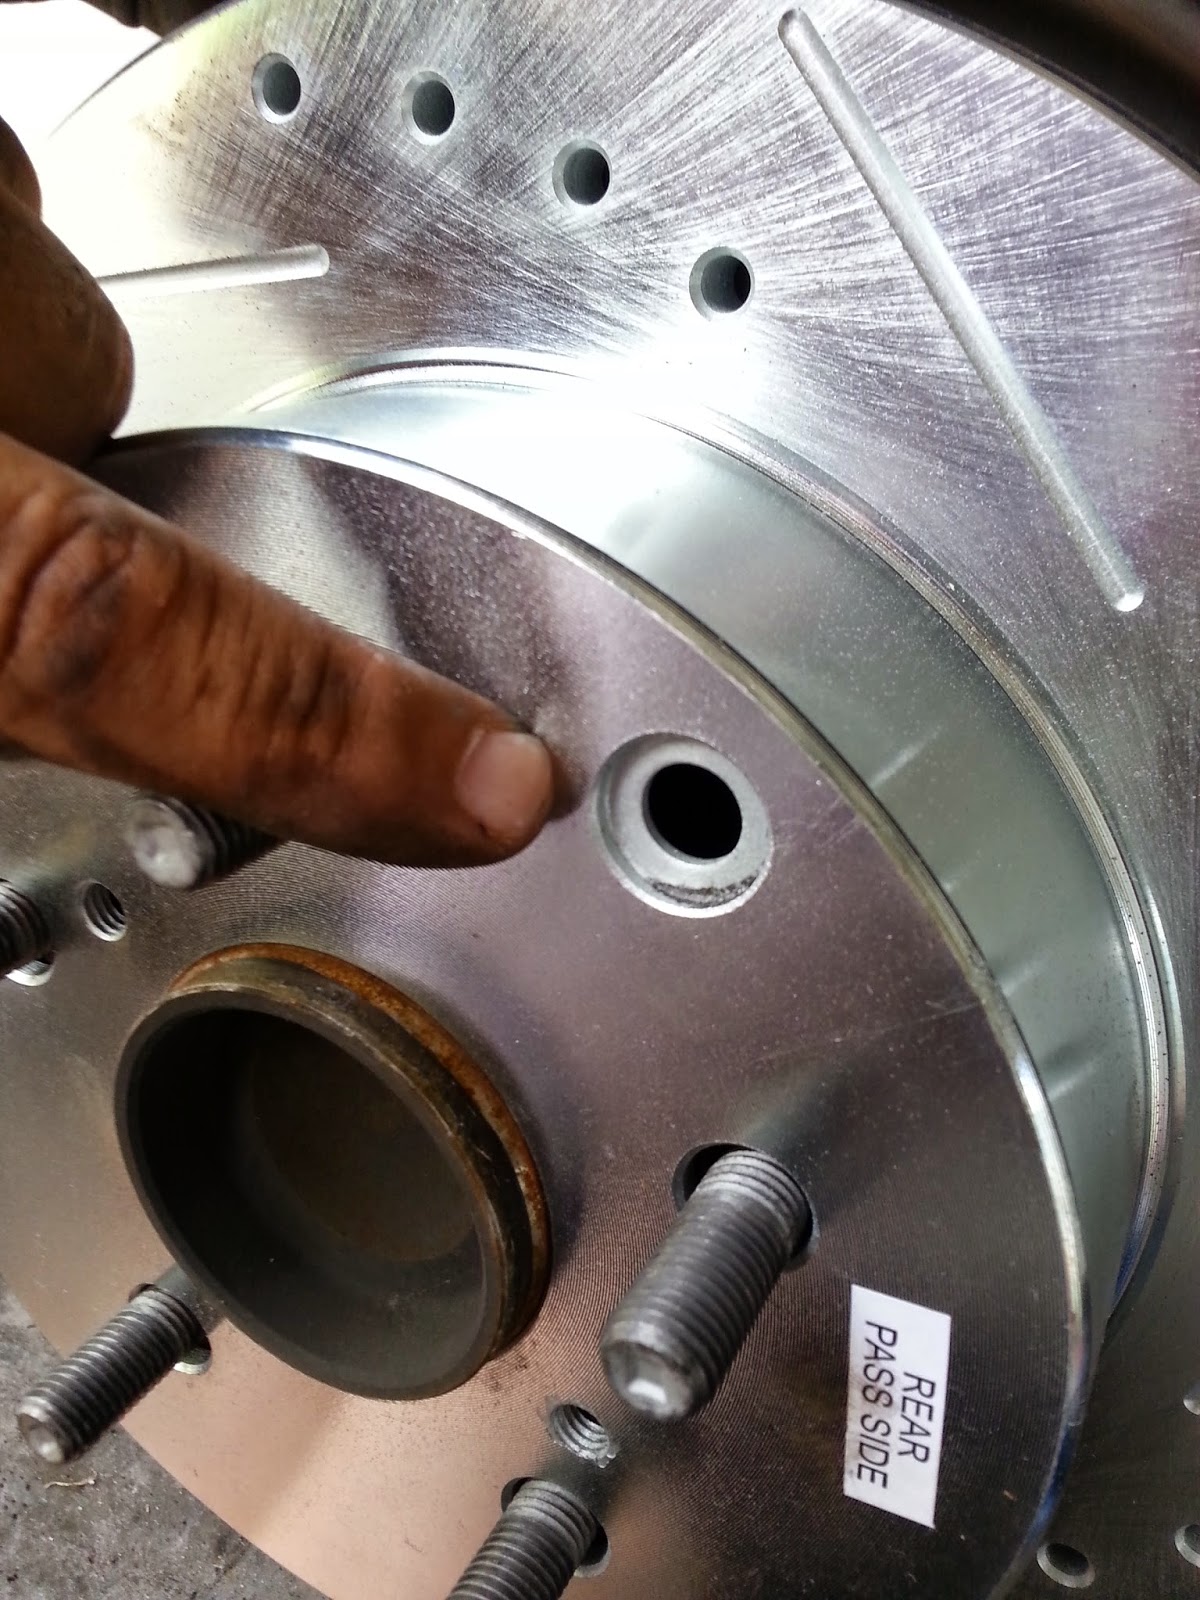 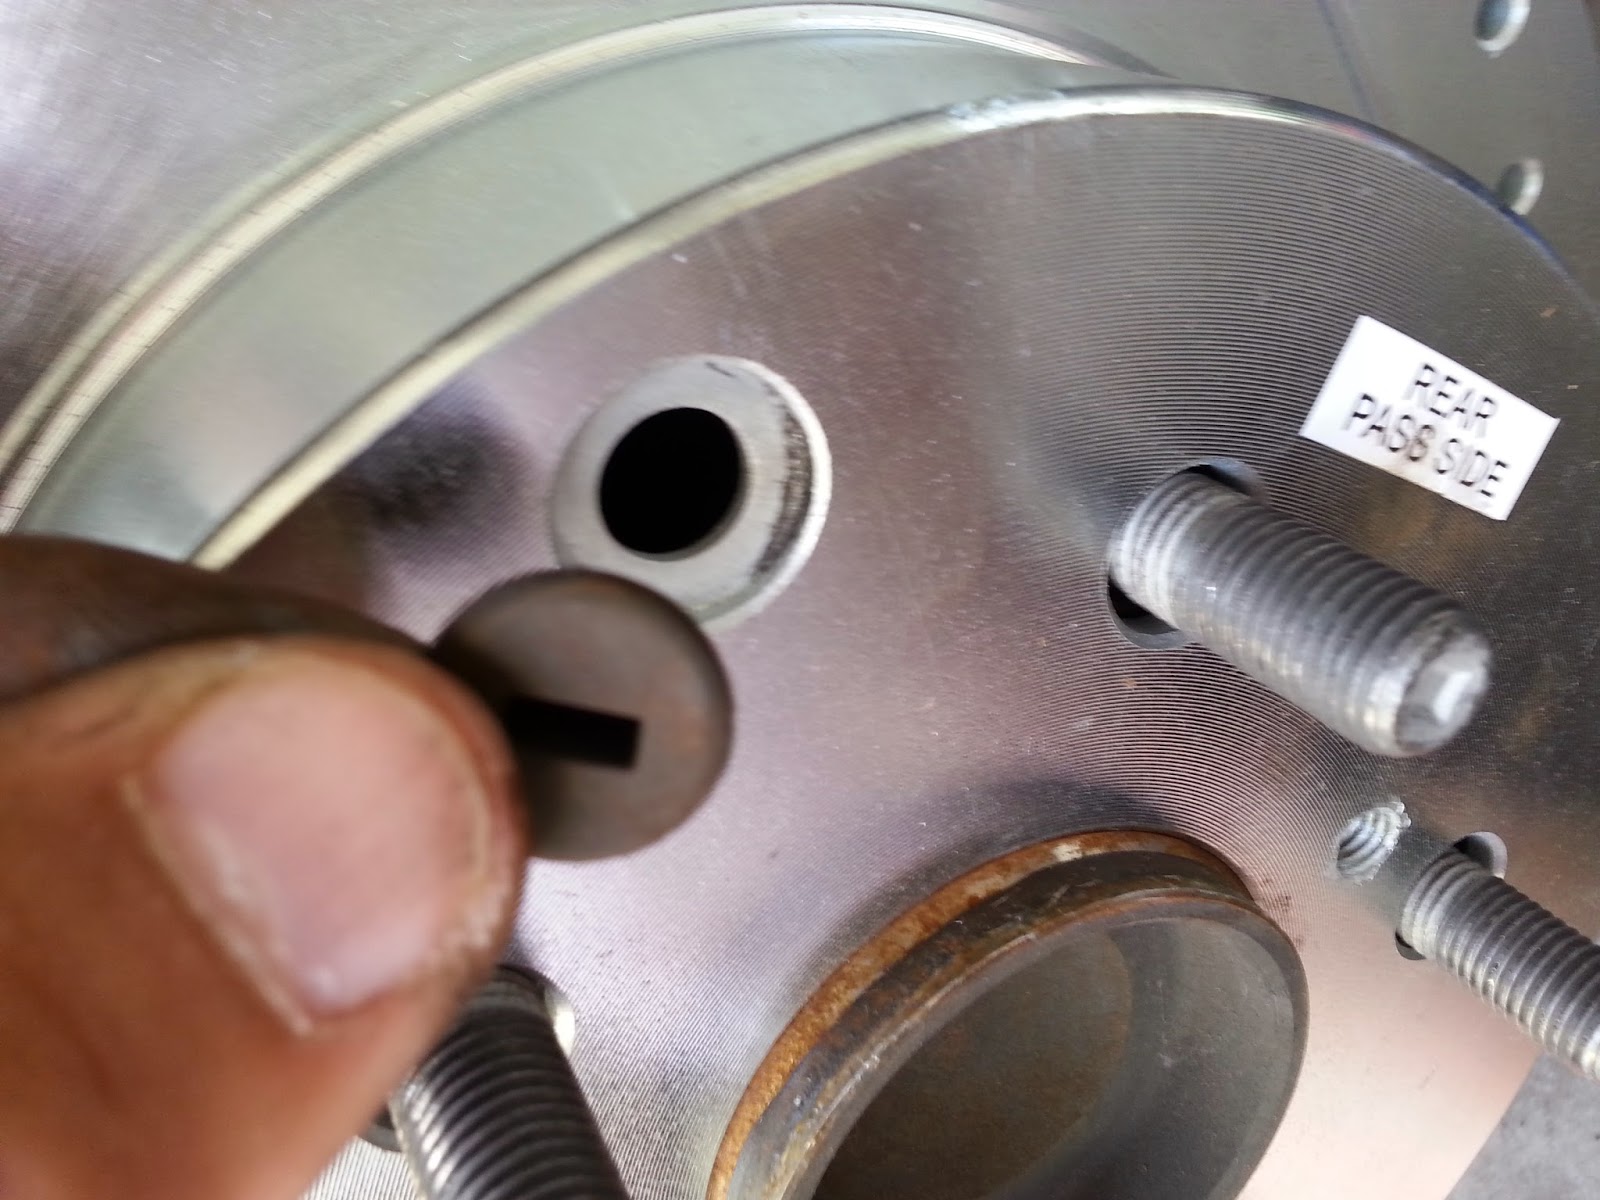 You noticed in the first photo there are slots and these slots are important because they must line up on the hole in the rotor - That is there so that you can adjust the emergency brake shoes - Make sure you transfer the rubber piece so that water or dirt doesn't get into the shoes 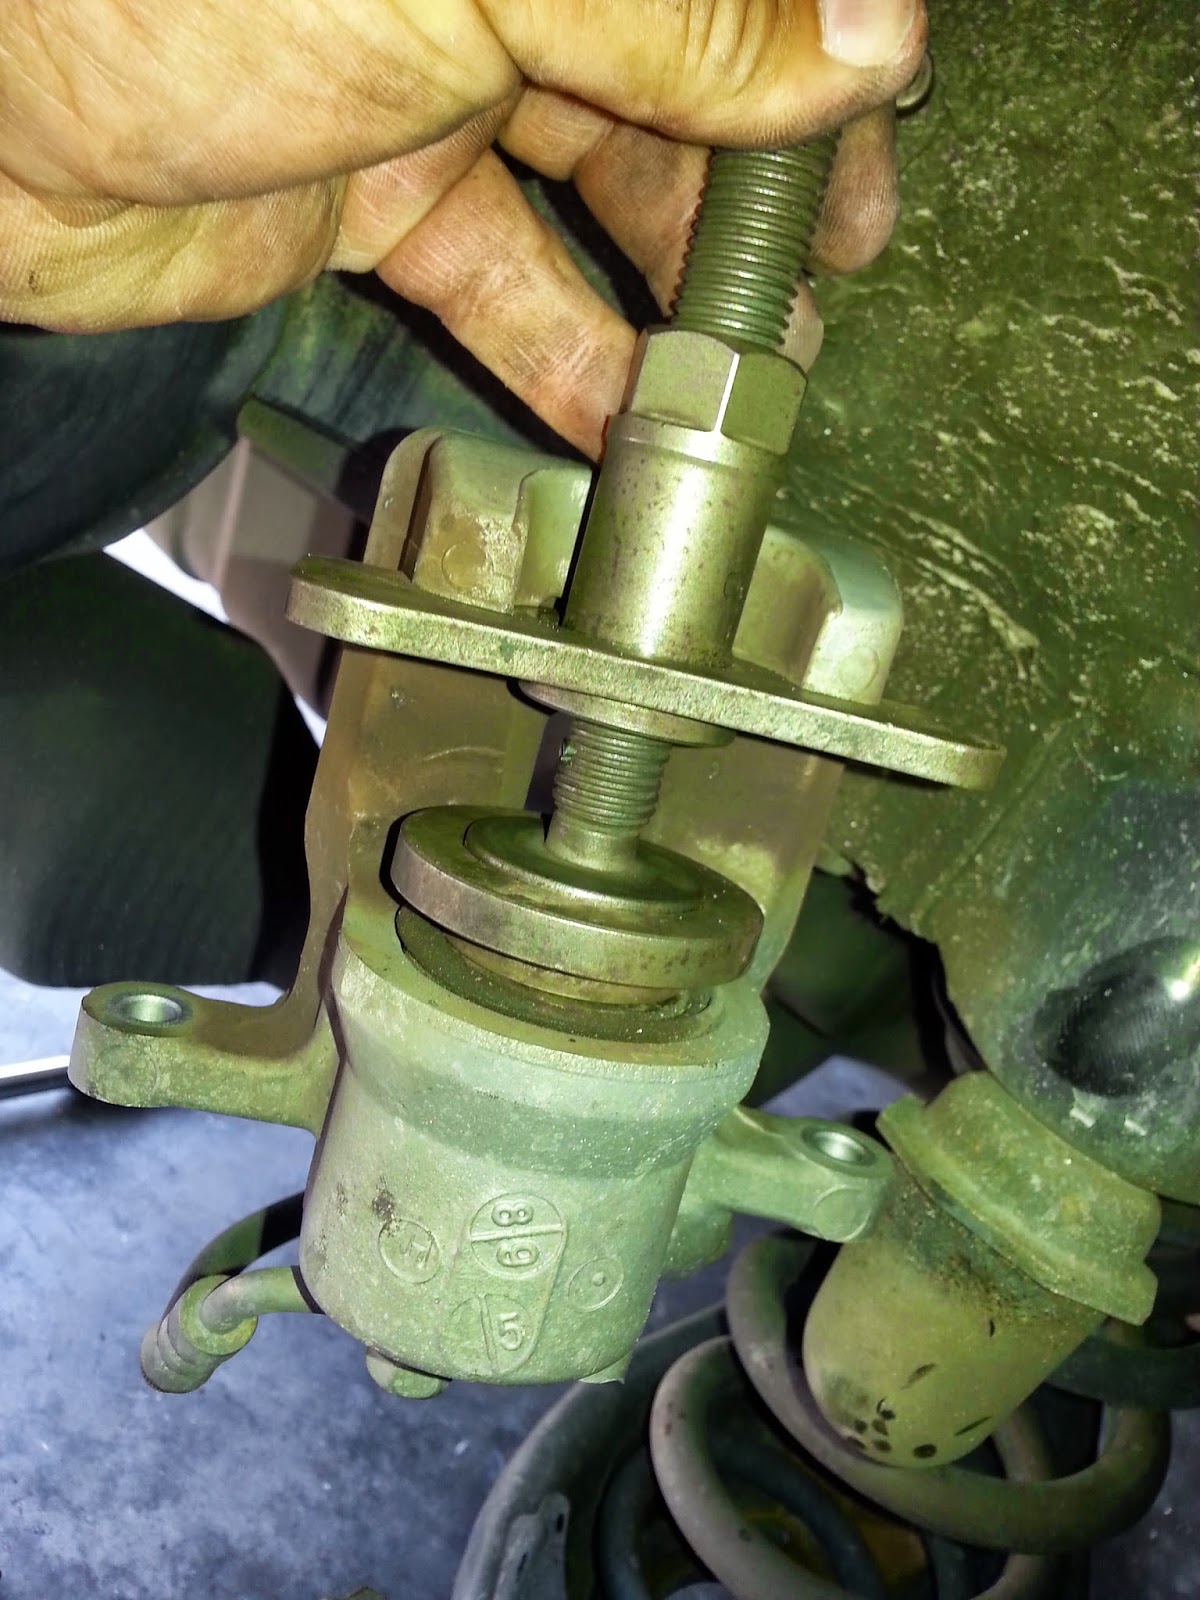 Gently push the caliper back 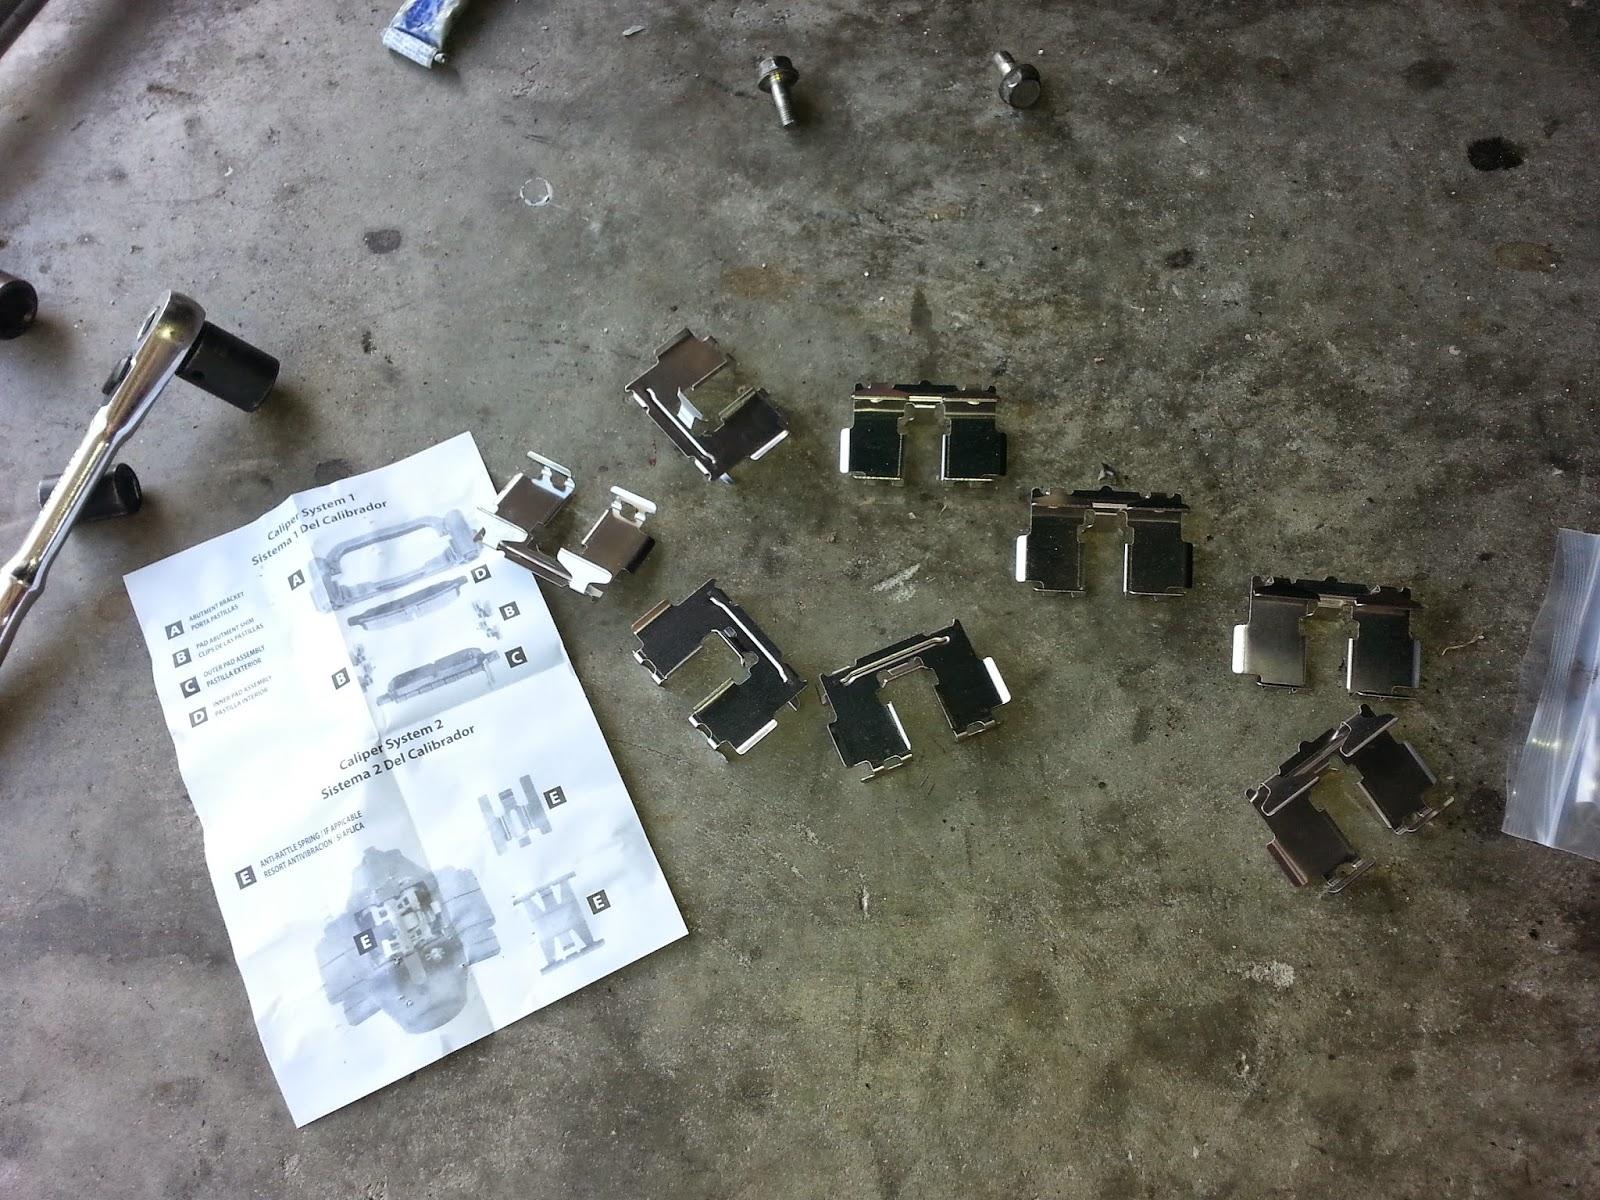 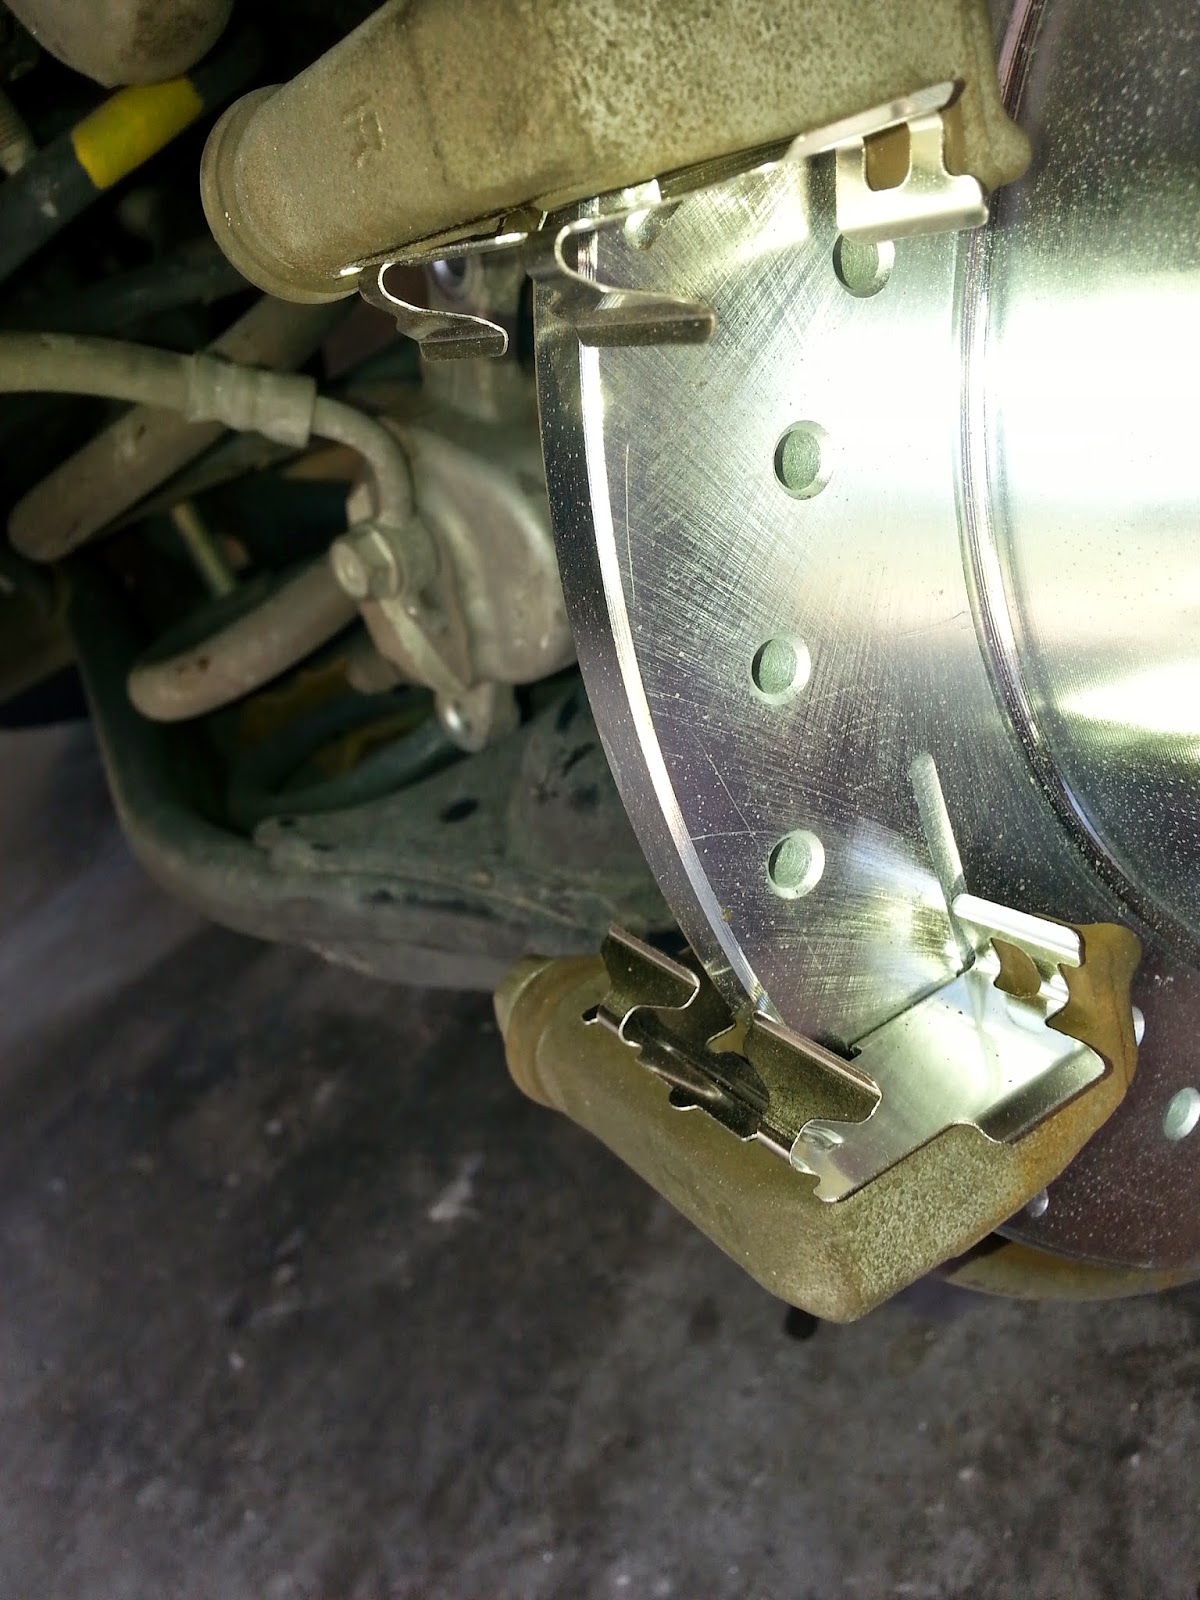 Remember to replace your brake hardware 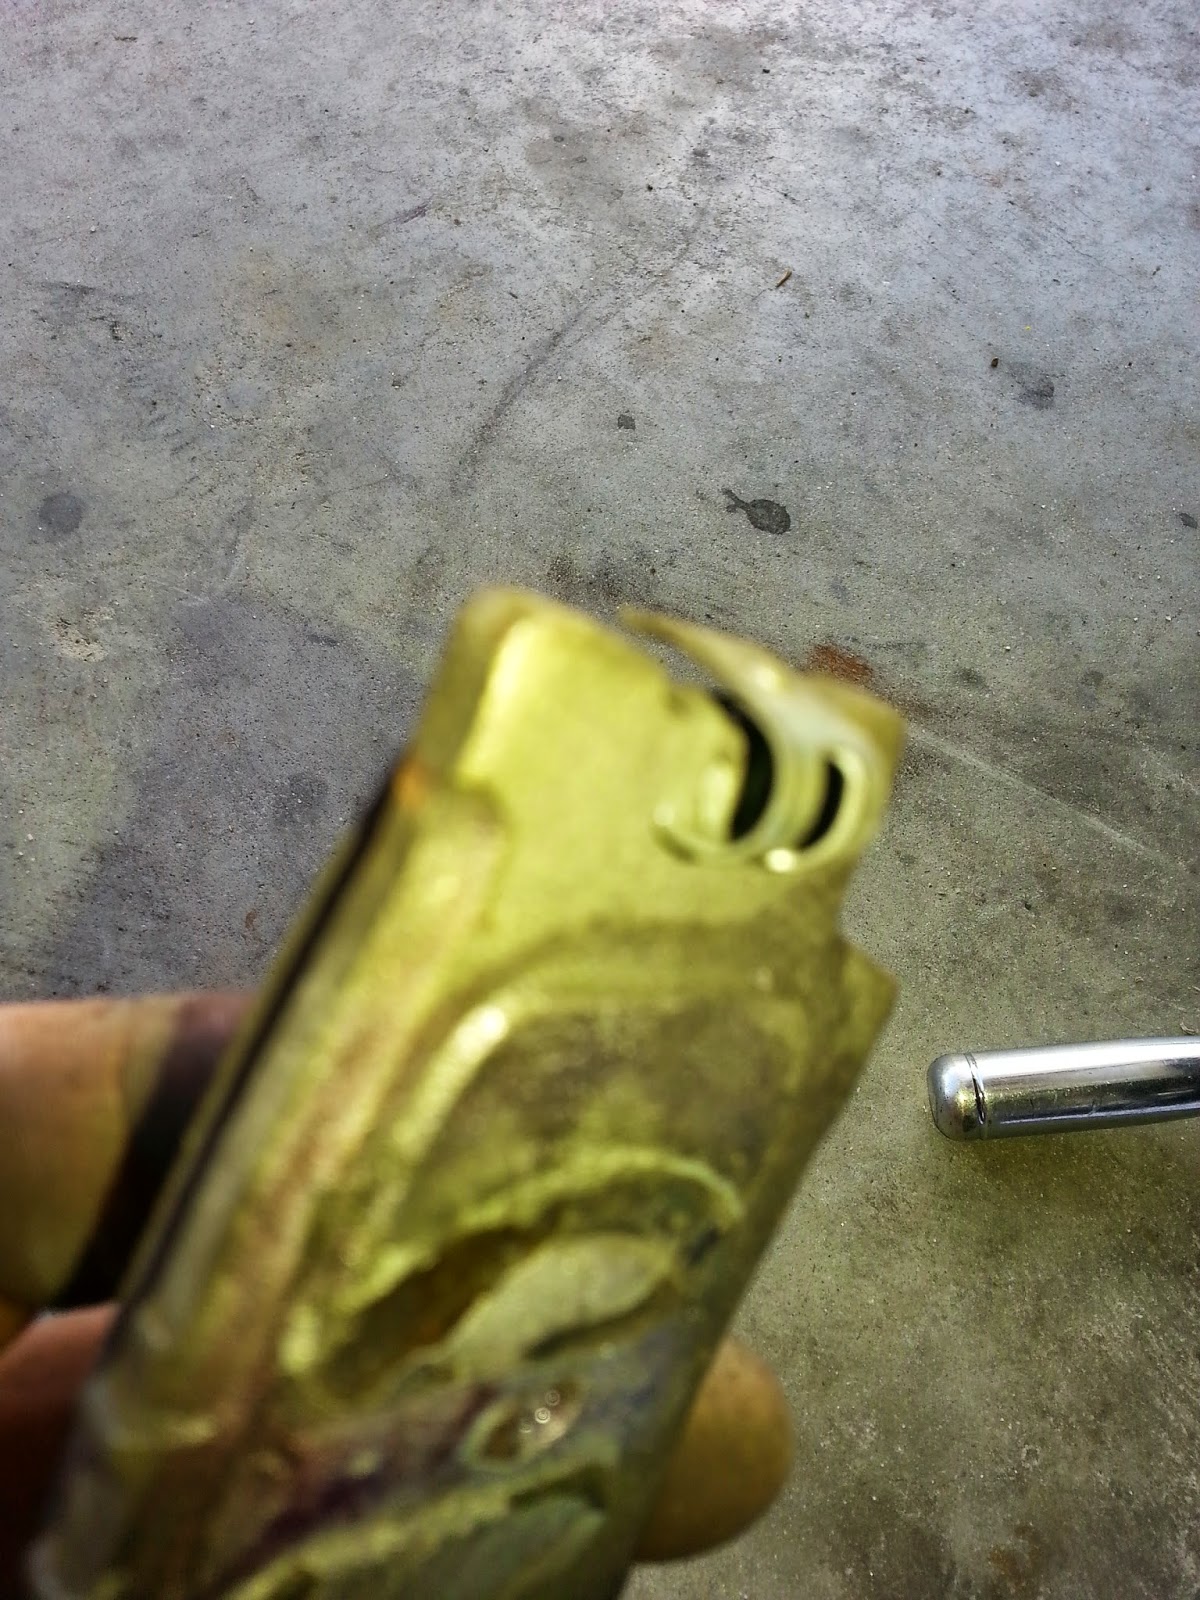 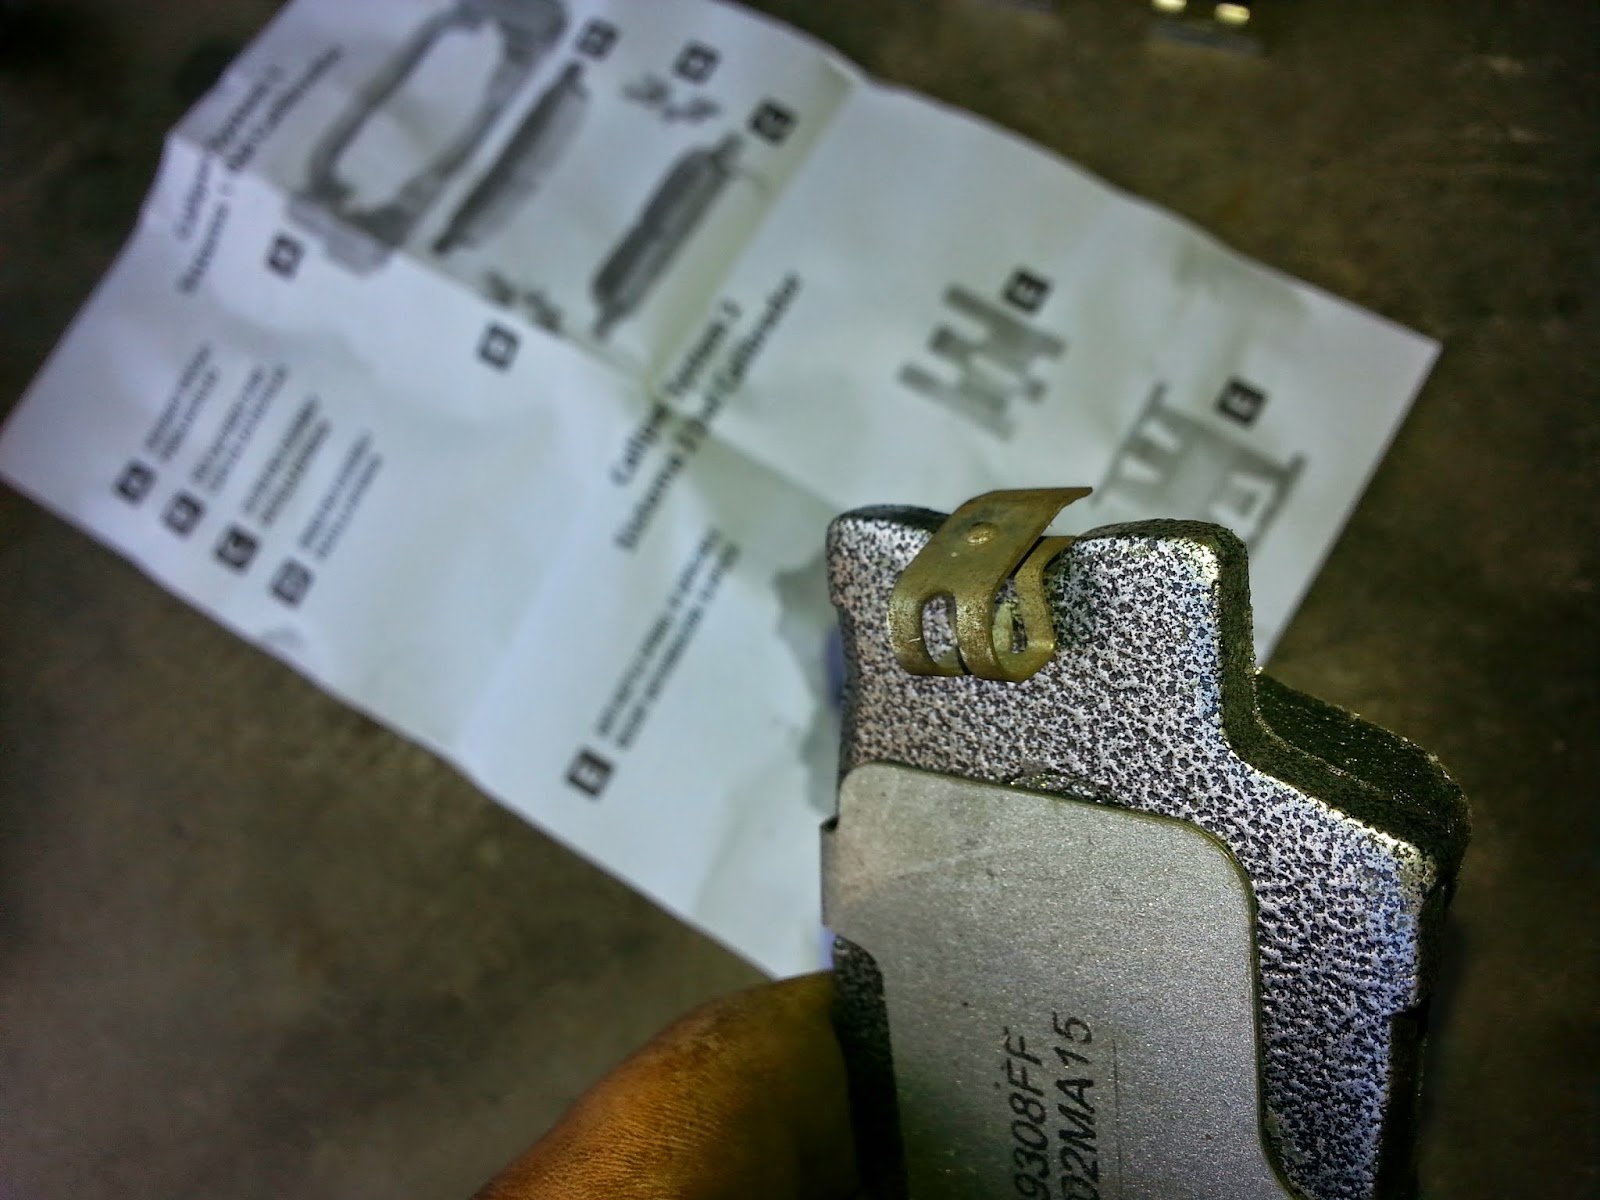 The rear pads have wear sensors - If they do not come with your brake hardware kit then remove the old one and transfer to your new pads 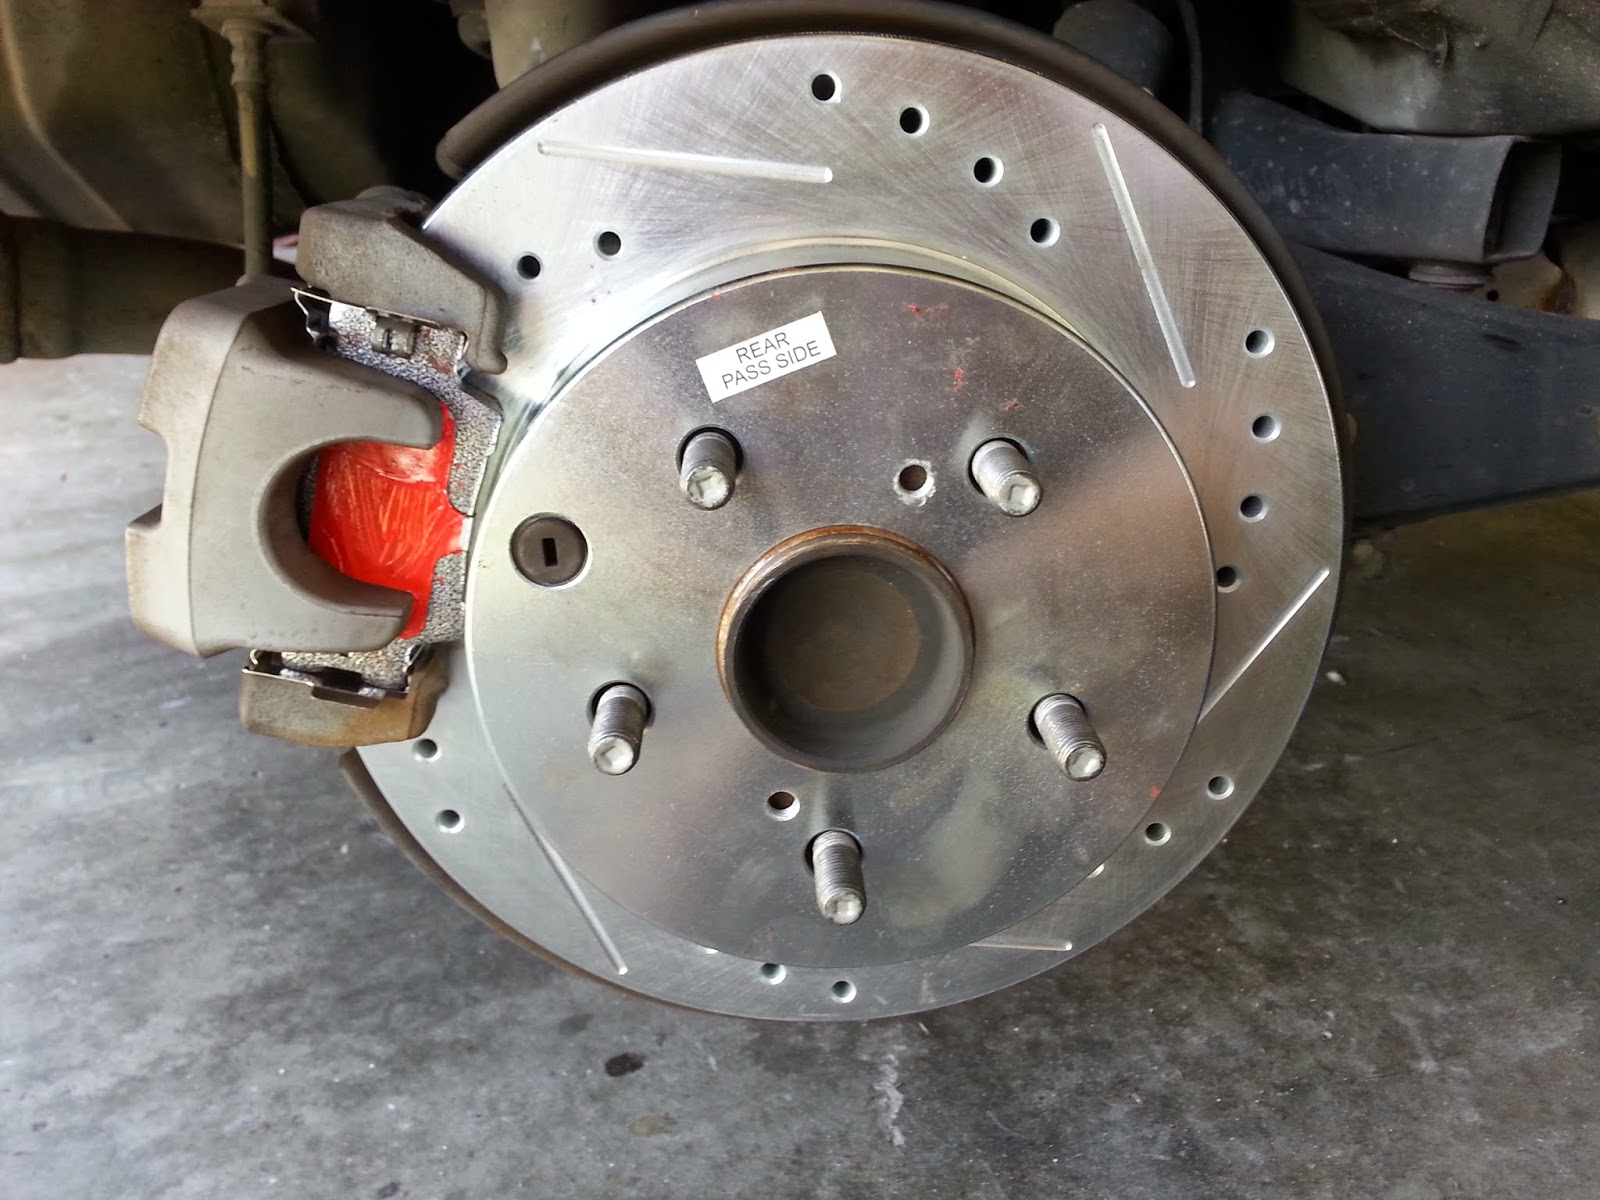 Once you are done then put everything back together the same way you took them off More DIY @ rinconrolla98.blogspot.com/2015/04/diy-2009-toyota-rav-4-rear-brakes-and.html. |
|
 Aww man, at least you tried. What are you planning to try next?
Oct 17, 2017 19:00:02 GMT -5
 Aug 12, 2020 13:45:24 GMT -5

